
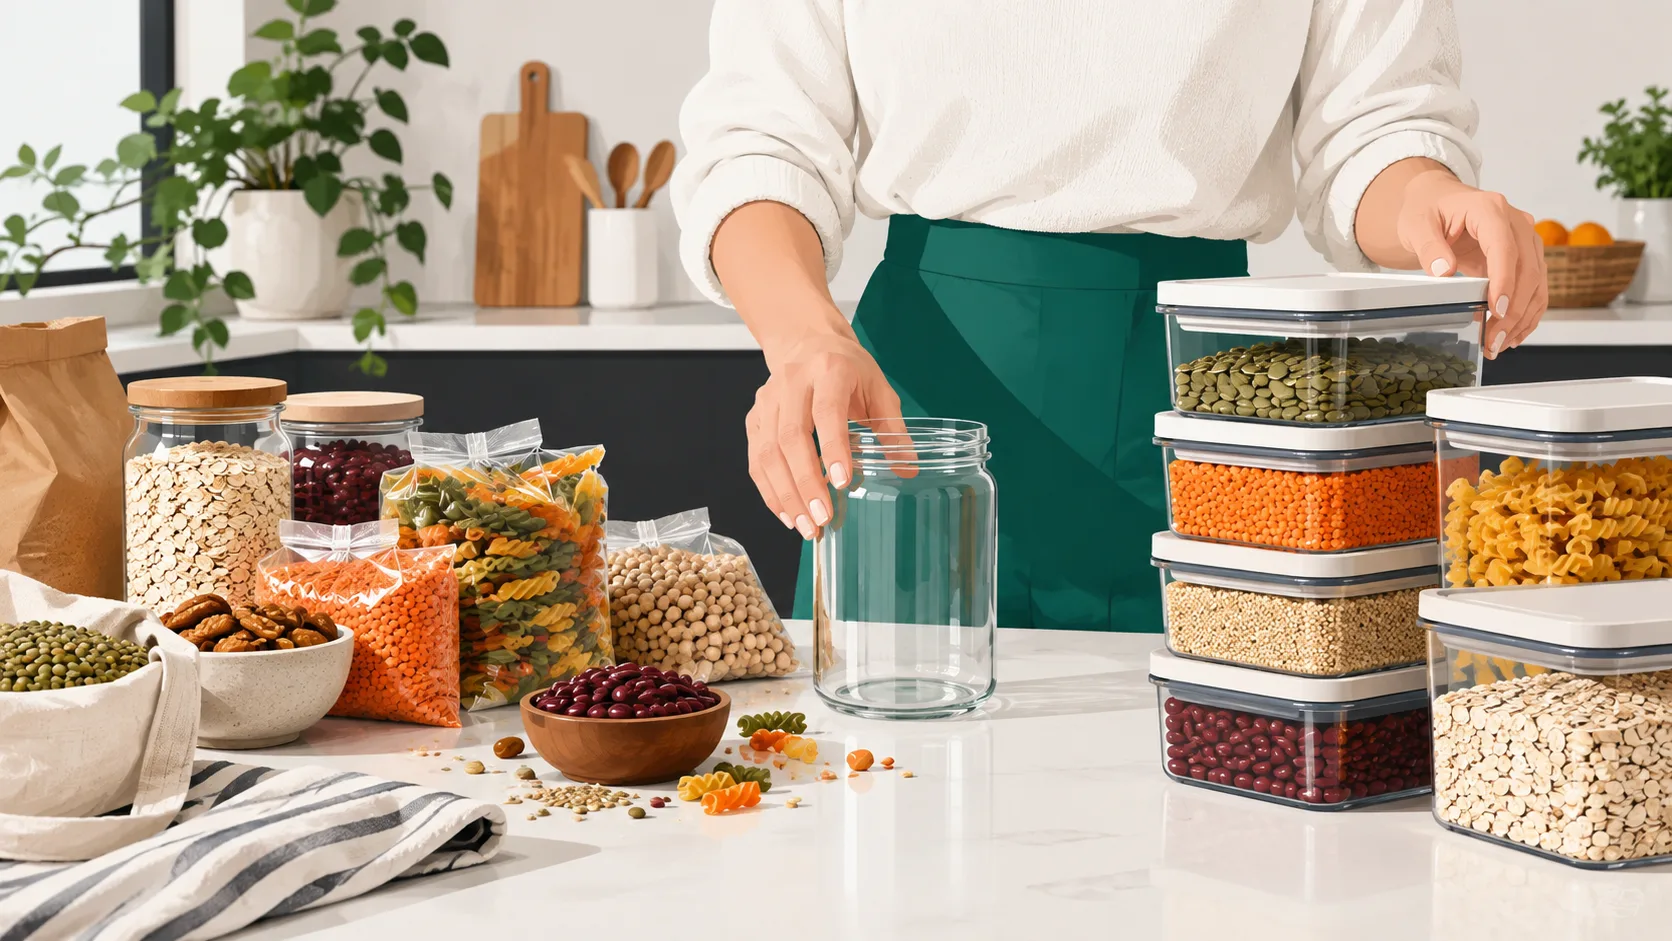
Pantry Organization Categories: 8 Easy Zones That Work
Pantry organization categories make it easier to find food, avoid duplicate purchases, and keep shelves from slipping back into chaos. The best system uses clear pantry zones that match the way your household actually cooks and shops. This guide walks through every step, from the initial clear-out to labeling, so you can build a system that sticks. Stash Savvy helps you get there without the overwhelm, one shelf at a time.
Outcome: a fully categorized, labeled pantry you can maintain in five minutes a week. Time: about two hours for a standard pantry, one hour for a small closet. Skill level: beginner.
What You’ll Need Before You Start
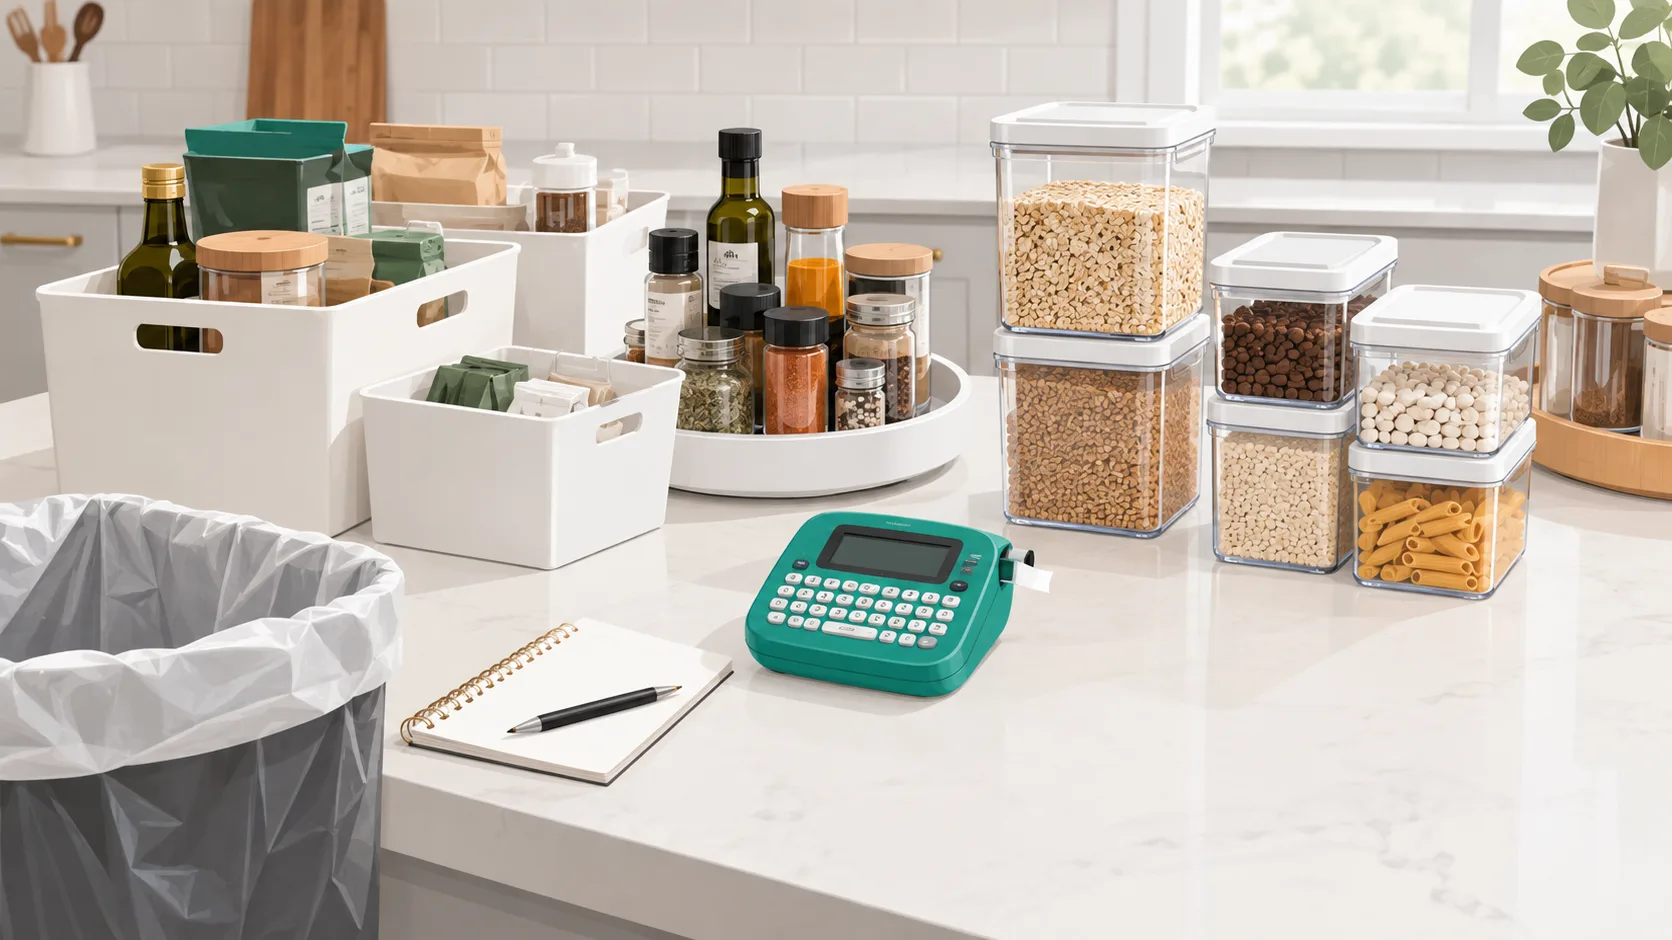
Before you touch a single shelf, gather your supplies and clear a big flat surface, like the kitchen counter or dining table. Pulling everything out is the only honest way to see what you own, so plan for a temporary mess. If your pantry lives behind deep shelving, take a peek at these deep-shelf pantry organization tactics before you start so you know what containers will actually fit.
Tools and supplies to gather
- Bins or baskets (a mix of sizes)
- A turntable or two for corner shelves and spice jars
- Clear canisters for decanted dry goods (flour, sugar, pasta, rice)
- A label maker or handwritten labels with a good marker
- A trash bag for expired food and a donation box for unopened extras
- A notepad or your phone for a rough inventory list
The inventory list is the underrated one. Jotting down what you already have prevents the classic post-organization mistake of buying five more bins you don’t need. For budget-friendly container ideas, the Dollar Tree organization roundup is a good starting point.
Time budget and skill level
Budget roughly two hours for a standard pantry. A small closet pantry can be done in about an hour, while a walk-in with a full family’s worth of food may push closer to three. No special skills required, just patience and a willingness to make things look worse before they look better. If your whole kitchen feels tight, some of the small-space kitchen storage ideas pair nicely with a pantry reset.
Before You Start: Declutter First
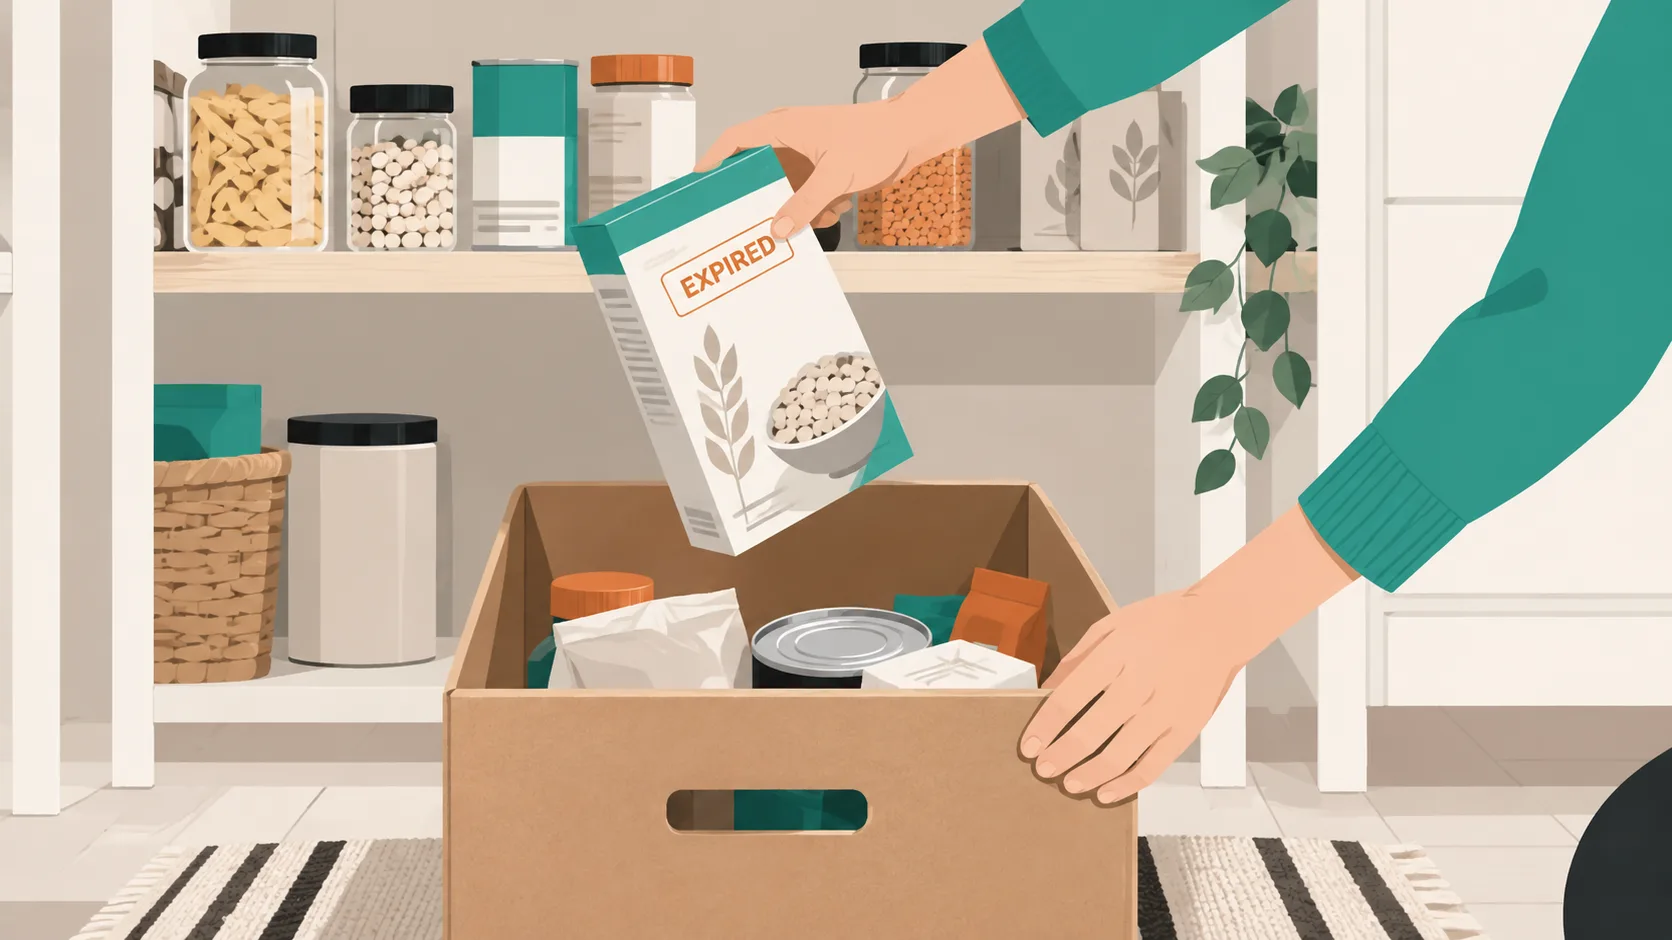
Categorizing clutter just moves the mess around. Decluttering before organizing is the step almost everyone skips and later regrets, and it matters more in a pantry than anywhere else because you’re dealing with perishables. If you leave expired items on the shelf, they will go bad, take up space, and hide the food you actually want to eat. Pair this with a general home decluttering approach for best results.
Why decluttering beats organizing every time
Getting rid of unnecessary food creates clarity for what’s necessary. When you can see every jar and box, you stop buying duplicates, you stop losing money to spoilage, and the categorization step in a minute takes half the time. A quick decluttering-first mindset is what separates a pantry that stays organized from one that reverts to chaos in a week.
What to keep, donate, or toss
Check every expiration date. Toss anything past its date or anything that smells off. For non-perishables that are still good but haven’t been touched, ask three questions:
- Will I actually use this?
- When, specifically?
- Could I buy it again cheaply if I need it?
If the answers are no, no, and yes, let it go. Special-occasion ingredients bought for a single recipe are prime candidates. If the recipe hasn’t happened in six months, the ingredient probably won’t get used. Donate unopened, unexpired food to a local food bank so the space you free up also does some good. If food waste is a recurring frustration, borrowing habits from small-home organization thinking about “own less, see everything” applies to pantries too.
8 Best Pantry Organization Categories
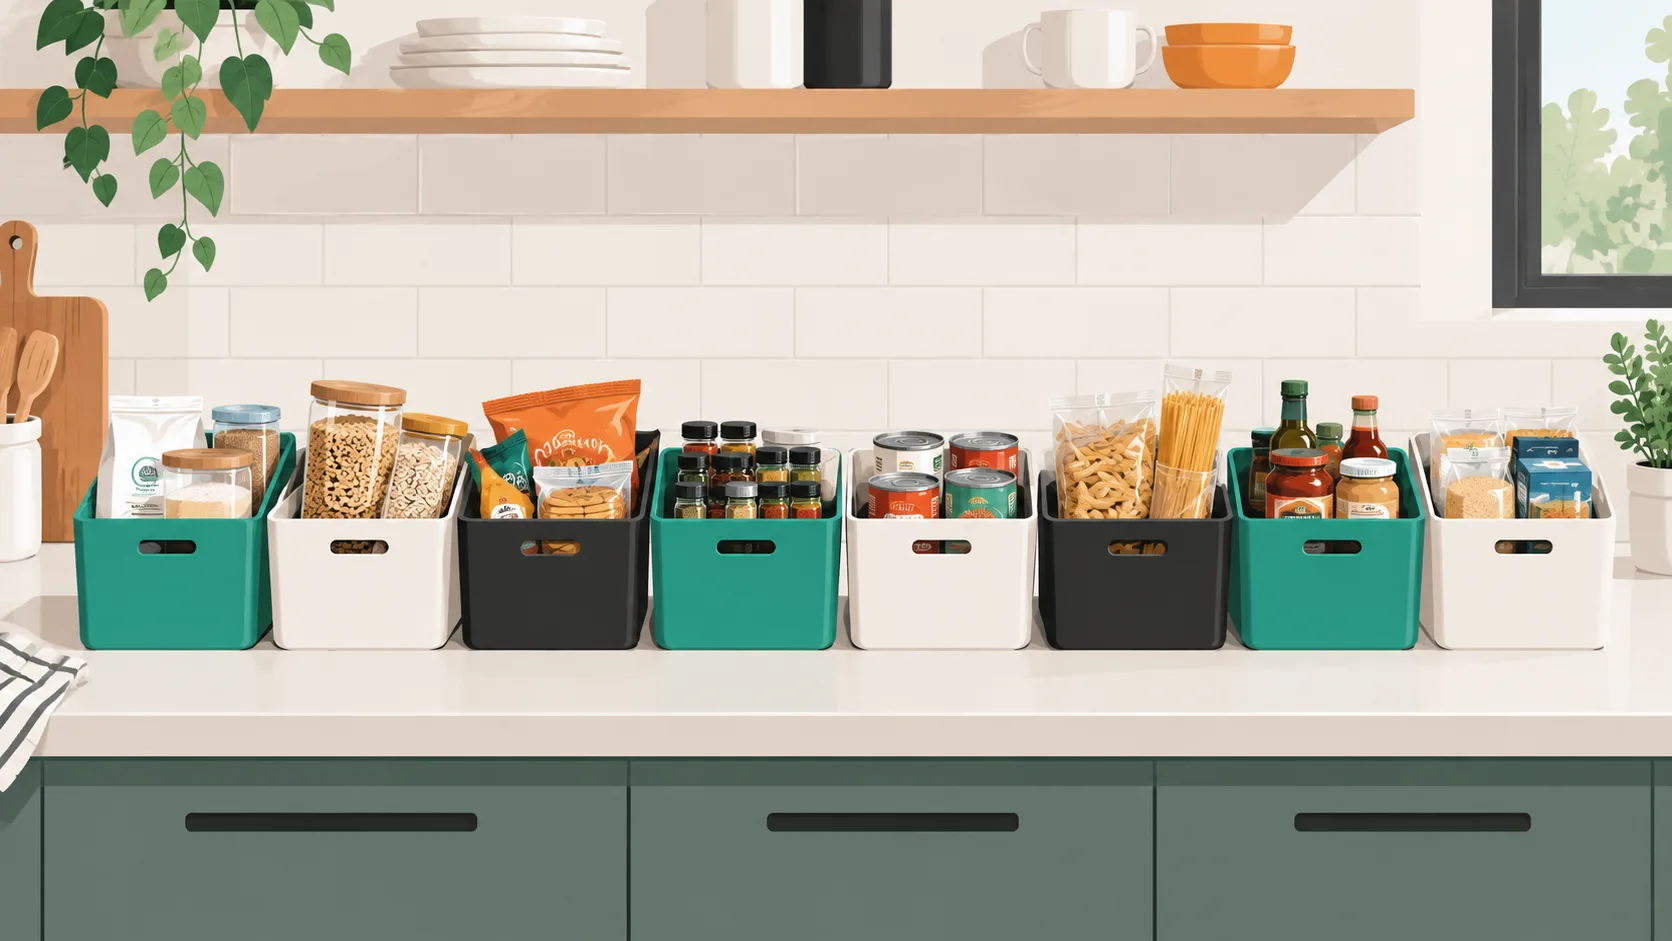
You don’t need twenty categories. Eight will cover the vast majority of what most households keep on hand. Broad beats narrow every time, because broad categories flex as your stock changes week to week, while overly narrow labels (“diced tomatoes”) become obsolete the moment you run out. Professional organizers like The Orderly Space recommend grouping the way a grocery store lays out its aisles, so restocking feels intuitive. This same “zone” logic shows up in almost every good pantry organization ideas for deep shelves.
Eight foundational categories that cover almost everything
- Baking, flour, sugar, baking powder, cocoa, yeast, chocolate chips
- Breakfast, cereal, oatmeal, coffee, tea, syrups, pancake mix
- Grains & Pasta, rice, noodles, quinoa, tortillas, couscous
- Canned Goods & Soups, beans, broths, canned vegetables, tuna
- Snacks, chips, bars, jerky, popcorn, crackers
- Sauces & Condiments, soy sauce, hot sauce, ketchup, salsa
- Oils & Vinegars, olive oil, cooking sprays, balsamic, red wine vinegar
- Spices, jars, packets, salt, pepper, dried herbs
Spices work best in their own dedicated zone with a turntable so every jar stays visible and reachable. A good corner turntable turns dead corner space into prime real estate.
How broad vs. narrow categories affect usability
A “Miscellaneous” bin is a legitimate final category for items that genuinely don’t fit anywhere else. Keep it small, and revisit it monthly so it doesn’t become the junk drawer of your pantry. Broad labels like “Snacks” or “Dinner” absorb new purchases without triggering a reorganization every time you swap brands. If space is really tight, apply the same “one broad label per bin” rule you’d use for a small-space kitchen counter setup.
Step-by-Step: How to Set Up Your Categories
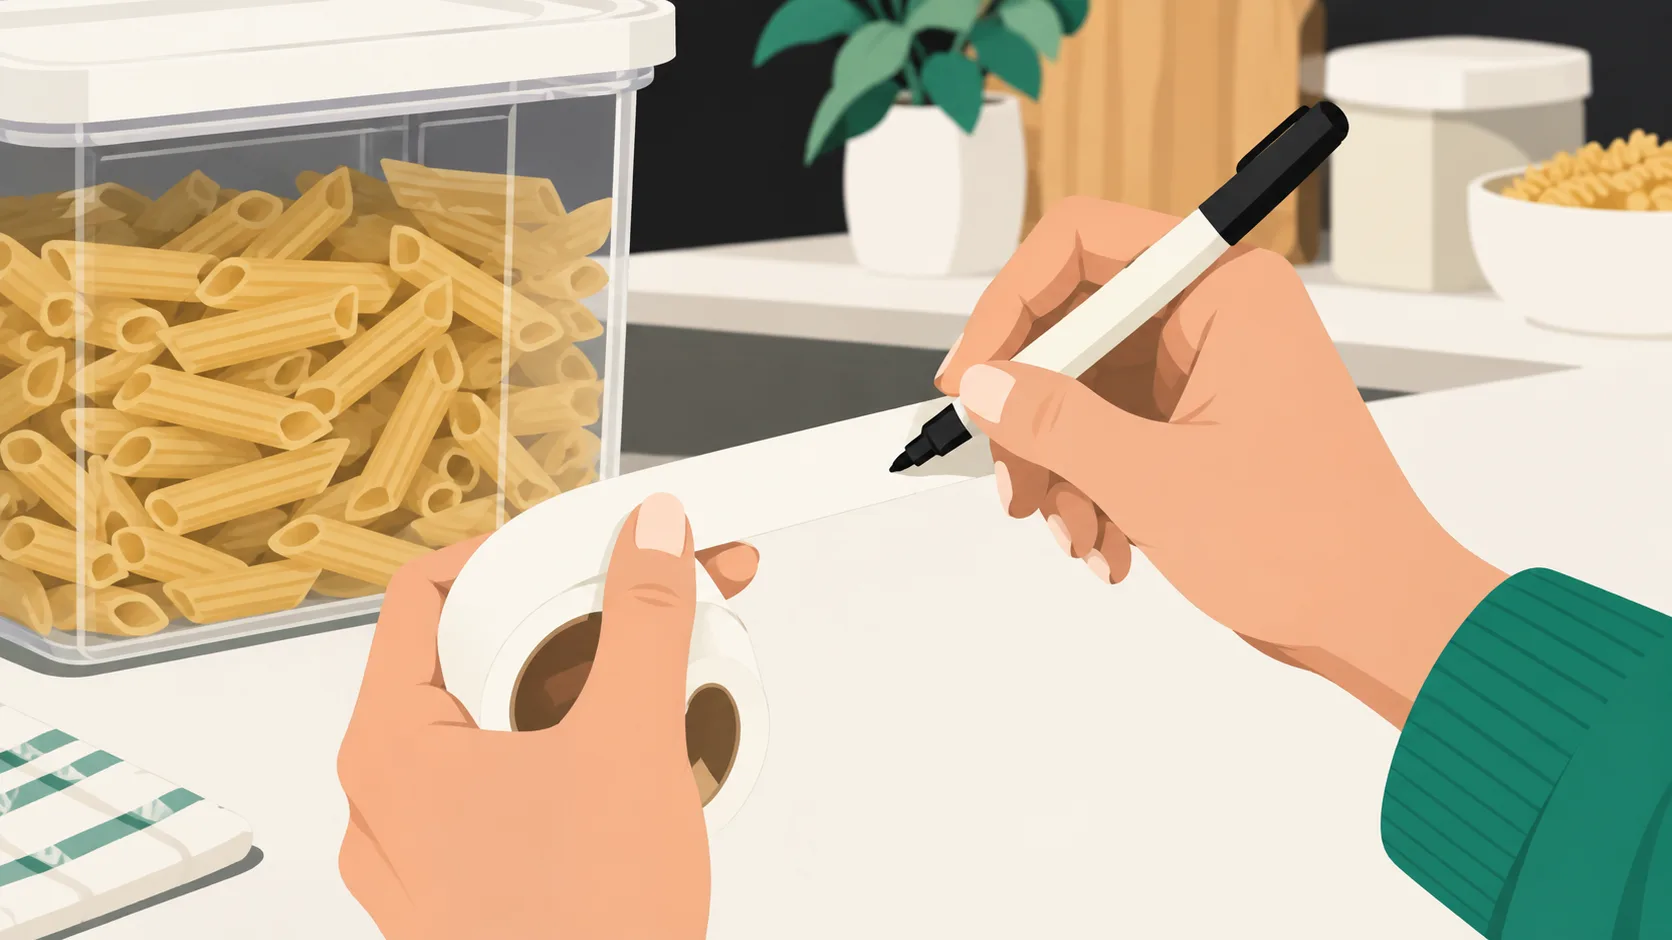
Now the actual build. Three steps, in order, no shortcuts.
Step 1, Empty and group on a flat surface
Pull every item out of the pantry and onto a counter or table. Physically group items into your chosen categories before anything goes back on the shelf. This is also the perfect moment to wipe the shelves down and vacuum crumbs. You should now see clear piles: baking here, breakfast there, canned goods in a corner. If the piles are giving you flashbacks to a messy kitchen cabinet overhaul, you’re doing it right.
Step 2, Assign zones by frequency of use
Prime real estate (eye-level shelves) belongs to the categories you reach for daily: snacks, breakfast, and grains. Rarely used items go high or low. Map your zones the way grocery aisles flow, keeping breakfast items together, canned goods together, snacks together. When you’re done, you should be able to describe your pantry to a houseguest in one sentence: “Breakfast top left, dinner middle, snacks bottom right.” This “map before you place” habit is what makes any small storage system work long-term.
Step 3, Contain, decant, and label
Decant dry goods like flour, sugar, and pasta into clear canisters. It saves space and makes quantities visible at a glance, so you’re never mid-recipe wondering if you have enough. Use baskets or bins to contain loose packages within each zone, so the category holds its shape even when stock levels shift. Label every bin with a broad category name (“Snacks”) rather than a specific product (“Cheez-Its”), so the system absorbs new purchases without a reorg. You should now see clean zones, labeled fronts, and empty floor space. If you want inspiration for bin styles, browse a few budget-friendly organization ideas before you buy.
How to Create Pantry Zones for Your Household
The eight core categories are a starting point, not a rulebook. Your pantry zones should reflect who uses the pantry, how often you cook, and which foods you reach for most. Grouping similar foods into practical pantry storage zones also makes meal prep, grocery planning, and restocking faster. Borrow the same logic that makes a family-friendly closet system work: think about who reaches for what.
Adjusting for kids, dietary needs, and cooking style
Families with children often benefit from a dedicated kids’ snack bin placed at a reachable height so kids can self-serve without disrupting other zones. If household members follow different diets (gluten-free, vegan, high-protein), give each one a personal shelf or a clearly marked sub-zone to prevent confusion and cross-contamination. Households that bake weekly deserve a premium shelf for baking; households that bake twice a year can compress it into one small back-of-shelf bin. The same principle applies to small-bedroom storage: allocate space based on real use, not aspiration.
Personalizing snack and meal-prep zones
Time-of-day zoning works beautifully for meal preppers. A “grab-and-go breakfast” basket packed the night before removes a decision from your groggiest hour. A “weeknight dinners” zone with pasta, jarred sauce, and canned tomatoes ready to go cuts the “what’s for dinner” spiral in half. For inspiration on how one bin can quietly reshape a whole room’s flow, the same zoning trick works in laundry rooms and mudrooms.
Maintaining Your Pantry System Long-Term
A pantry system is only as good as the habits behind it. The good news: the habits are small.
The ‘shop your pantry first’ habit
Check your pantry before writing a grocery list. If a bin is full, skip that category at the store. This one habit alone prevents the overflow-and-waste cycle that undoes most organized pantries within a month. Pair it with the “don’t put it down, put it away” rule: returning items to their zone in the moment takes the same effort as setting them down randomly, and it’s the single biggest predictor of whether a system survives. Similar in-the-moment habits keep garage systems from sliding back into chaos.
Quick resets that take under ten minutes
A monthly five-minute sweep to check dates and clear the miscellaneous bin keeps the system from drifting. When you unload groceries, remove items from bulky outer packaging (granola bar boxes, cereal cartons for kids, individual snack multipacks). It frees up significant space and makes quantities easier to count. Get other household members involved. Even young kids can refill cereal canisters or line up cans, which builds shared ownership. That shared-ownership principle is what carries over from a pantry to a whole organized laundry setup and beyond.
Pantry Organization Categories FAQ
What are the best categories for organizing a pantry?
The best pantry organization categories for most homes are Baking, Breakfast, Grains & Pasta, Canned Goods & Soups, Snacks, Sauces & Condiments, Oils & Vinegars, and Spices. These eight broad pantry zones keep similar foods together and make groceries easier to put away.
How many pantry categories should I have?
Most pantries work well with six to nine broad categories. Start with the eight core pantry organization categories in this guide, then combine or split zones based on your space, shopping habits, and the foods your household uses most.
Should I organize my pantry by food type or by meal?
Food type works for most households because it matches how you shop and restock. Meal-based zones (breakfast basket, weeknight dinner zone) work well as an overlay for meal preppers or busy families who want faster decisions during rushed times of day.
How do I keep my pantry organization from falling apart after a week?
Use broad category labels, follow the “don’t put it down, put it away” rule, and shop your pantry before every grocery run. A five-minute monthly reset catches drift early. Systems fall apart when labels are too specific or bins overflow.
What do I do with pantry items that don’t fit any category?
Create one small Miscellaneous bin. Keep it deliberately small so it forces monthly review. If an item lives in Miscellaneous for two months without being used, it’s usually a signal to either use it soon or donate it.
Do I need special bins or containers to organize my pantry?
No. You can start with cardboard boxes or shoeboxes to test your categories before buying anything. Once your zones feel right, invest in matching bins and a few clear canisters for decanted dry goods to make quantities visible.
How often should I reorganize or declutter my pantry?
Do a full declutter every six months and a light five-minute sweep monthly to check dates and reset the miscellaneous bin. If you find yourself doing more, your category labels are probably too narrow and need to broaden.
Where should I put the most-used items in my pantry?
Put daily items (snacks, breakfast, coffee, most-used grains) at eye level where they’re easiest to grab. Rarely used items like specialty baking supplies or holiday ingredients belong on top shelves or the very bottom, out of your daily sightline.
Start Organizing Your Pantry Today
You don’t need a perfect Pinterest pantry. You need eight broad categories, honest labels, and five minutes a month to keep them honest. Start with one shelf tonight: empty it, sort it, label it, and see how it feels tomorrow morning when you reach for coffee. If you want more room-by-room guidance as you build the habit, Explore our guide to organizing a pantry with deep shelves for more practical pantry storage ideas, then browse Stash Savvy for step-by-step organization guides for the rest of the house. Small starts, sustainable systems, calmer kitchen.