
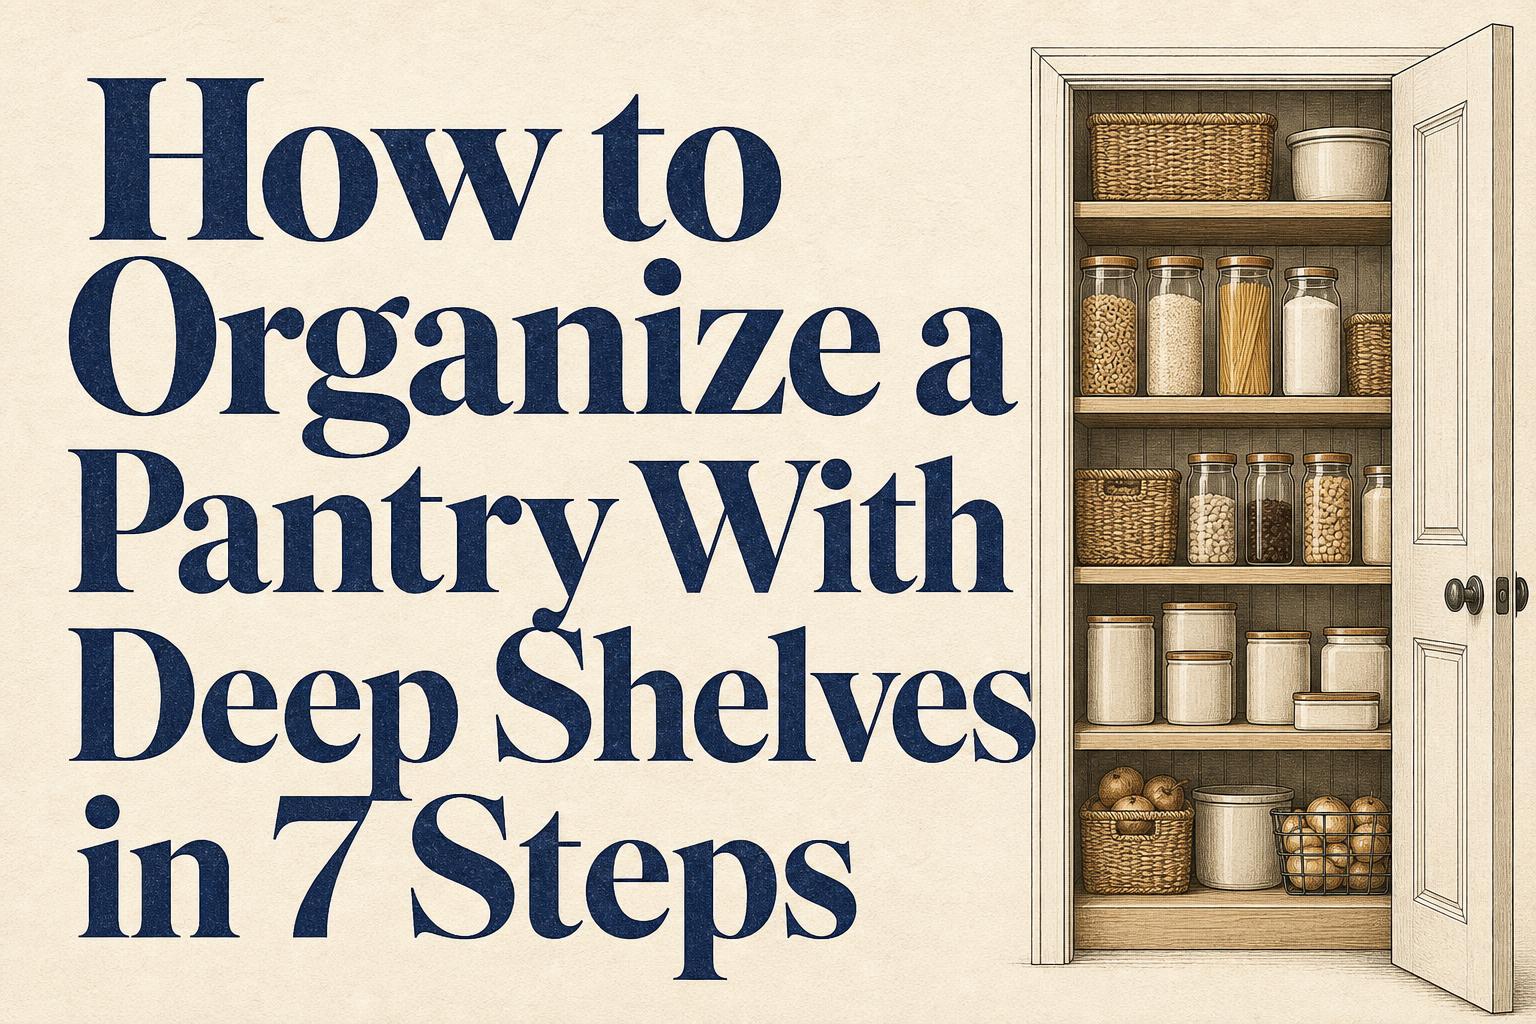
How to Organize a Pantry With Deep Shelves in 7 Steps
Deep pantry shelves get organized in seven steps: measure the space, declutter and consolidate, assign behavior-based zones, add pull-out bins, raise visibility with risers, rotate stock first-in, first-out, and set a weekly reset routine. For a visual example of the process, see this deep pantry before-and-after makeover. The whole reset takes 2 to 4 hours for a single pantry and costs roughly $52 to $118 in organizers, depending on how far you go. Difficulty is low: no remodeling, no tools beyond a tape measure and a phone camera.
The real problem with deep shelves is not tidiness. It's visibility. Anything past the first row disappears, so you buy a third bottle of soy sauce while two hide in the back. Fixing that turns your pantry into an accurate grocery inventory, which is where the money savings show up.
What you need before you start
A short checklist. Gather these before step one so you don't stall halfway:
- Tape measure to record shelf depth, width, and vertical clearance
- Phone camera or notes app to log what you own and expiration dates (no paid app required)
- Trash bag and a donation box for expired and duplicate items
- Organizers to match your measurements: handled bins, a Lazy Susan, a riser, or a can organizer
- 2 to 4 free hours and clear counter space to stage everything
Tip: Buy organizers *after* step one, not before. Cabinet depth over 22 inches is common, and bins sized for a 12-inch shelf will float uselessly in a 24-inch cavity. Measure first, shop second.
Step 1: Measure every shelf before you buy anything
Measure shelf depth, width, and vertical clearance, plus the door opening. Write the numbers down. Deep pantry cabinets often run 22 inches or more, and users on r/organizing report that items at the back of shelves that deep routinely get lost and forgotten.
Vertical clearance decides whether a riser or a stacking bin fits. Door clearance decides whether a pull-out bin can actually slide out without catching the frame.
Match numbers to products. Target listed Brightroom expandable deep pantry bins around $10 and an 11-inch Lazy Susan around $12 in August 2026, but neither works if you skip the tape measure.
Step 2: Declutter and consolidate in one pass
Pull everything out, check dates, and combine duplicates. This is where you find the two extra bottles of soy sauce. Toss what's expired, donate unopened items you won't use, and group the rest into piles on the counter.
Snap a photo of what remains before it goes back. That photo becomes your shopping reference, so you stop buying things you already own.
Better visibility connects straight to spending. When you shop from an accurate inventory instead of a guess, duplicate purchases and expired-food waste both drop. Stashsavvy teaches this as a budgeting habit: your pantry is a small warehouse, and warehouses run on knowing what's in stock.
Step 3: Assign zones by behavior, not just food type
Group items by how you actually use them: breakfast, snacks, baking, canned goods, sauces, and backstock. Behavior-based zones beat broad categories because you reach for "breakfast" as a unit, not for "grains" scattered across three shelves.
Put frequently used foods between waist and eye level. Backstock and rare items go high or deep, where reach doesn't matter as much.
Tip: If you share the pantry with a partner or roommates, label zones out loud together. IKEA's 2026 Store & Organize Report found 37% of people named the kitchen as the top spot for clutter-related arguments. A named "snacks" bin ends the "where does this go" debate before it starts.
Step 4: Add pull-out bins so the back stops disappearing
Install handled bins or pull-out containers on deep shelves so you can slide the whole zone forward. This is the single fix that solves the deep-shelf problem. Instead of digging past the front row, you pull the bin out, take what you need, and push it back.
Pull-out solutions reflect real demand. In the 2026 U.S. Houzz Kitchen Trends Study, 34% of renovating homeowners used pullout shelves and 34% used deep drawer organizers for hard-to-reach areas. You get most of that benefit with a $10 bin instead of a cabinet retrofit.
Give each bin one job. Clear bins reduce overwhelm at first, but users on r/organizing note they fail when people stack groceries on top of or beside the bin. A bin without a defined purpose becomes a dumping zone.
Step 5: Raise visibility with risers and Lazy Susans
Add a tiered riser for cans and jars, and a Lazy Susan for corner or deep spots. A three-tier riser lets you see the back row of cans without moving the front. A Brightroom three-tier expandable shelf ran about $24 at Target in 2026; an 11-inch Lazy Susan ran about $12.
Keep height safe. Risers should improve sightlines, not create tall, tippy stacks, especially in households with small children who move and misplace items. Users on r/organizing stress that systems for kids need to survive being handled roughly.
A Lazy Susan earns its place on shelves too deep to reach the back. Spin it instead of unloading the front row.
Step 6: Set up first-in, first-out rotation
Place newer purchases behind older ones so you use the oldest stock first. A front-loading can organizer does this automatically: you drop new cans in the top, older cans roll to the front. Target listed a Brightroom three-tier can organizer around $16.
Create a visible "use soon" spot at eye level for items nearing their date. This single shelf-front zone catches food before it expires.
Rotation is the habit that turns organization into savings. It's cheap to set up and pays off every grocery trip.
Step 7: Build a weekly reset and monthly date check
Schedule a two-minute weekly reset to return strays to their bins, and a monthly pass to check expiration dates. Systems don't fail from bad design. They fail from no maintenance.
During the weekly reset, update your photo or notes-app inventory before you write the grocery list. During the monthly check, move anything close to expiring into the "use soon" zone.
Prioritize retrieval over looks. Users on r/organizing consistently say seeing and grabbing what they need matters more than a styled pantry, especially when several people share the space.
Budget tiers: what a deep-pantry reset costs
Three setups at 2026 Target prices, before tax:
| Tier | What's included | Approx. cost |
|---|---|---|
| Low-cost reset | 4 expandable bins + 1 Lazy Susan | ~$52 |
| Bin and riser | 4 bins + 1 riser + 1 can organizer | ~$80 |
| Full system | Bins + riser + can organizer + Lazy Susan | ~$118 |
Start at the low tier if you're unsure. You can add a riser or can organizer later once you know which shelves fight back. For more small-space tactics, see 14 wall storage ideas that double your space and these pullout kitchen storage ideas.
Troubleshooting
Why do items still get lost at the back of my deep shelves?
Because you're storing loose items instead of pull-out zones. On shelves 22 inches or deeper, anything past the front row needs a handled bin or a Lazy Susan you can slide or spin forward. If a zone still hides things, its bin is too shallow for the shelf. Re-measure and swap it for a deeper or expandable bin.
My bins turned into dumping zones. What went wrong?
Each bin lost its single defined purpose. When a bin holds "miscellaneous," household members stack groceries on top instead of inside. Relabel every bin with one behavior (snacks, baking, sauces) and set a return rule: items go back in their named bin, not next to it. This matters most in shared households where several people restock.
How do I organize a pantry with small kids around?
Put kid-accessible snacks in a low, handled bin they can pull out and push back without dumping. Keep risers short and stable so nothing topples when a child grabs a low can. Skip glass canisters at reachable heights. Practical and durable beats styled and fragile.
Do I need an app or subscription for pantry inventory?
No. A phone photo of your stocked shelves, plus a notes app or a printed list, tracks inventory and expiration dates for free. Update the photo during your weekly reset before writing the grocery list. That single habit is what cuts duplicate buying.
Next steps
Do steps one and two this week, even without buying organizers. Measuring and decluttering alone recovers visibility and surfaces the duplicates you've been re-buying. Add bins and a riser next payday, then layer in rotation once zones are stable.
Tie the pantry to your grocery budget: shop from your inventory photo, not from memory. If you're organizing the whole kitchen, pair this with pullout kitchen storage ideas and, for tighter homes, how to organize a small house with no storage.
Frequently asked questions
How do I organize a pantry with deep shelves without remodeling?
Use movable zones instead of built-ins. Measure your shelves, then add handled pull-out bins, a tiered riser for cans, and a Lazy Susan for the deepest corners. This gives you the front-to-back access that pullout shelving provides, for roughly $52 to $118 in organizers, with no cabinets torn out. Assign each bin one purpose and rotate stock first-in, first-out.
What's the best depth of bin for a 24-inch pantry shelf?
Choose an expandable or deep bin that reaches most of the way back, roughly 18 to 22 inches, so the back row isn't stranded. Expandable pantry bins adjust to fill the cavity. Always measure depth, width, and vertical clearance before buying, since bins sized for a 12-inch shelf leave dead space on a 24-inch one.
Do clear bins actually keep a pantry organized?
Clear bins help at first because you can see contents and group categories, but they fail when people stack groceries on top of or beside them. Give every bin one defined job, label it, and set a return-it-to-its-bin rule. Without those boundaries, a bin becomes a dumping zone, especially in shared households.
How does organizing my pantry save money?
Visibility stops duplicate buying and cuts expired-food waste. When you can see everything and shop from a photo of your stocked shelves, you stop buying a third jar of something you already own. First-in, first-out rotation and a visible "use soon" shelf get food eaten before it expires, so grocery spending drops without any budgeting app.
Where should I store the foods I use most?
Between waist and eye level, where they're easiest to see and reach. Reserve high shelves and the deepest, hardest-to-reach spots for backstock and rarely used items. Keep a "use soon" zone at eye level near the front for anything approaching its expiration date so it doesn't get buried.
Related Reading
- Pantry Organization Ideas for Deep Shelves: Zones and Clear Labels
- Top 10 Pantry Organization Ideas for Deep Shelves
- Pantry Organization Ideas That Cut Food Waste and Save Bills
- 7 Ways to Organize Kitchen Counters on a Budget
- How to Create Hidden Storage in Small Spaces (Step-by-Step)
- Kitchen Counter Organization Ideas to Reduce Clutter and Save Time
- 12 Best Kitchen Storage Ideas for Small Spaces
- 16 Best RV Storage Ideas for Small Campers and Travel Trailers
- 15 Best Junk Room Storage Ideas for Small Homes