
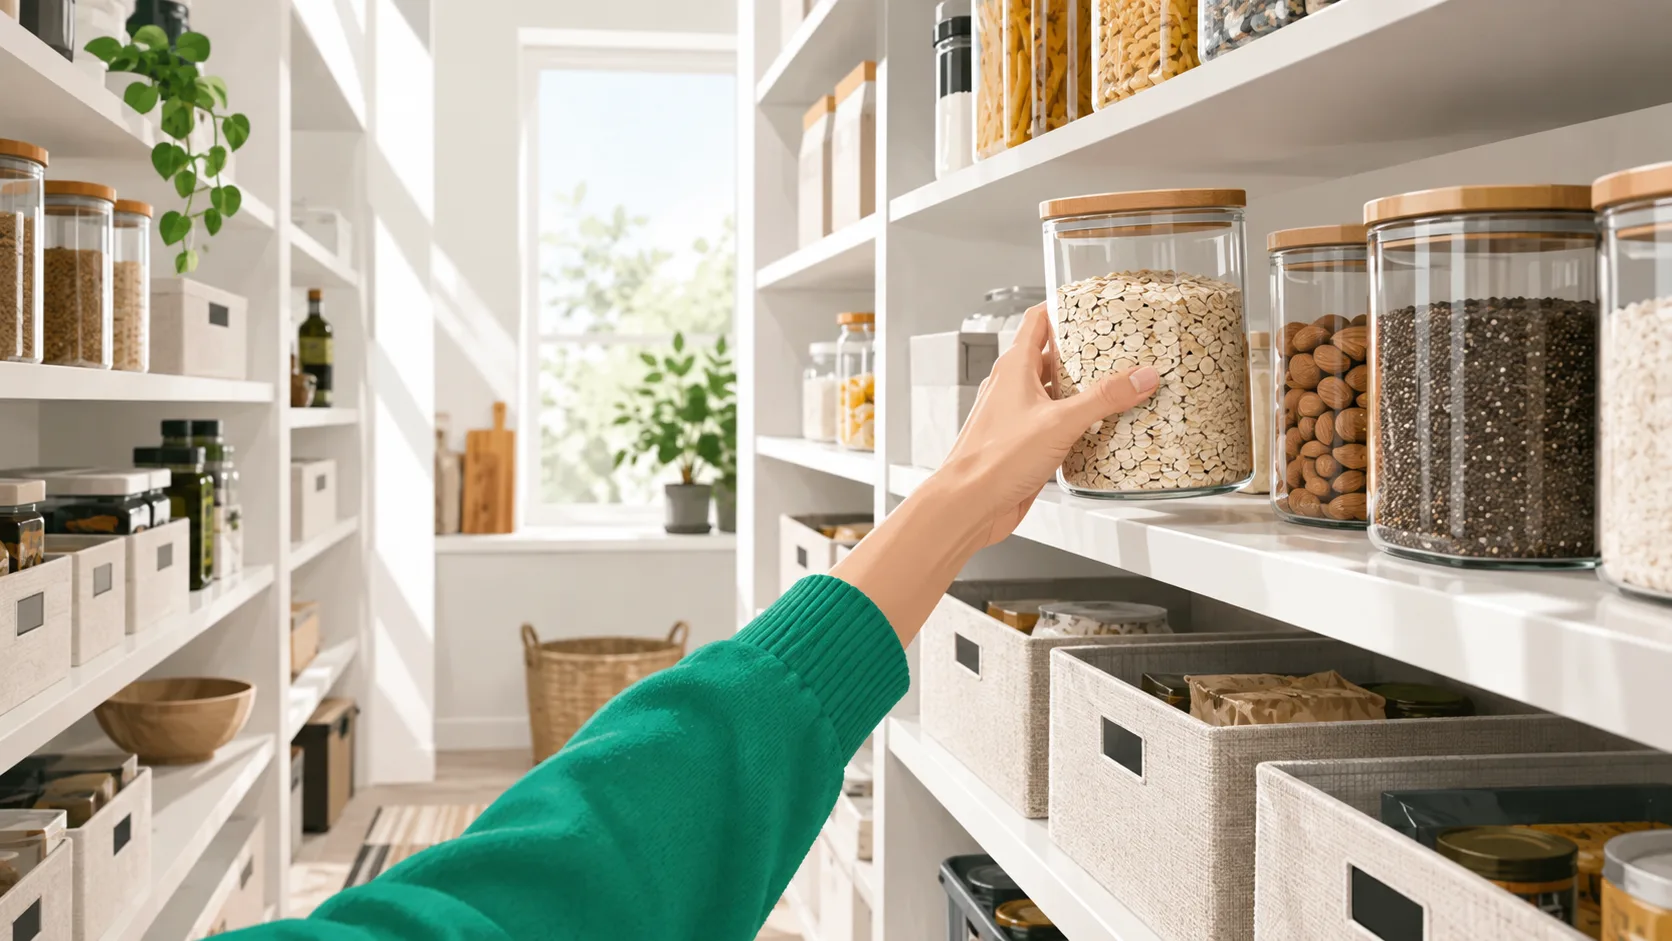
10 Best Walk-In Pantry Organization Ideas for 2026
The best walk-in pantry organization ideas make food easy to see, reach, and put away. Start by grouping items into zones, then add clear containers, labels, turntables, and shelf risers where they solve a specific problem. These 10 practical ideas work for small and large walk-in pantries and are designed to reduce clutter, duplicate purchases, and food waste.
How We Ranked These Ideas
Not every organizing tip deserves a spot in your pantry. We weighed each idea on the same criteria a professional organizer would apply after a home visit, borrowing from the same logic we use in our kitchen storage guides for small spaces.
- Storage payoff per dollar and hour. High-impact, low-complexity wins ranked first.
- Real-household durability. The system must hold up after a Costco run, not just on staging day.
- Visibility and reach. If you can’t see it or grab it, the system quietly fails.
- Sustainability of the habit. Easy to maintain beats one-time aesthetic overhauls.
- Works across pantry sizes. From a modest closet-style walk-in to a butler’s pantry.
The takeaway: rank ideas by how likely your family is to still be using them in six months, not by how photogenic they look on day one. For more on habit-first organizing, our sustainable small-home approach applies the same lens.
Quick Summary: 10 Walk-In Pantry Organization Ideas
Here are the ten ideas, ranked. You’ll recognize a few classics; the surprise is usually how much the boring ones (labels, uniform bins) outperform the flashy ones. Our deep pantry shelf strategies inform several of these picks.
- Decant staples into airtight clear containers, Best Overall
- Turntables on deep shelves, Best for Deep Pantries
- Label every bin and shelf, Best Habit-Builder
- Over-door organizer, Best Free Wall Space
- Pull-out drawer inserts, Best Long-Term Investment
- Vertical shelf risers and stackables, Best for Short Shelves
- Uniform clear bins by category, Best Visual Calm
- Dedicated meal-planning “use first” zone, Best for Food Waste
- Low appliance shelf, Best Clutter Cutter
- Eye-level or kid-height snack station, Best for Families
Clear containers plus consistent labels is the single most-recommended combination across organizing sources, and turntables are the near-universal fix for the back-of-shelf problem in walk-ins.
At a Glance: Walk-In Pantry Organization Ideas Compared
Match each idea to your pantry size, budget, and skill level before you buy anything. A few of these are $20 weekend wins; others are proper installs. Our budget garage storage breakdowns use a similar cost-to-payoff framing if you want to see the pattern.
| Rank | Idea | Typical Cost | Best For | Standout |
|---|---|---|---|---|
| 1 | Airtight clear containers | $40–$150 | All pantry sizes | Freshness + visibility |
| 2 | Turntables (lazy Susans) | $10–$30 each | Deep shelves | Solves back-of-shelf blind spot |
| 3 | Labels | $15–$40 | Every household | Keeps the system running |
| 4 | Over-door organizer | $20–$50 | Small walk-ins | Free vertical storage |
| 5 | Pull-out drawer inserts | $40–$200 | Larger pantries | Highest daily-use payoff |
| 6 | Vertical shelf risers | $15–$35 | Tall shelves | Doubles usable space |
| 7 | Uniform bins | $60–$150 | Any pantry | Visual calm |
| 8 | Meal-planning zone | $0–$20 | Meal-planners | Cuts food waste |
| 9 | Low appliance shelf | $0 | Owners of many appliances | Clears counters |
| 10 | Snack station | $10–$30 | Families with kids | Fewer daily interruptions |
The Foundation: Purge, Zone, and Plan Before You Buy Anything
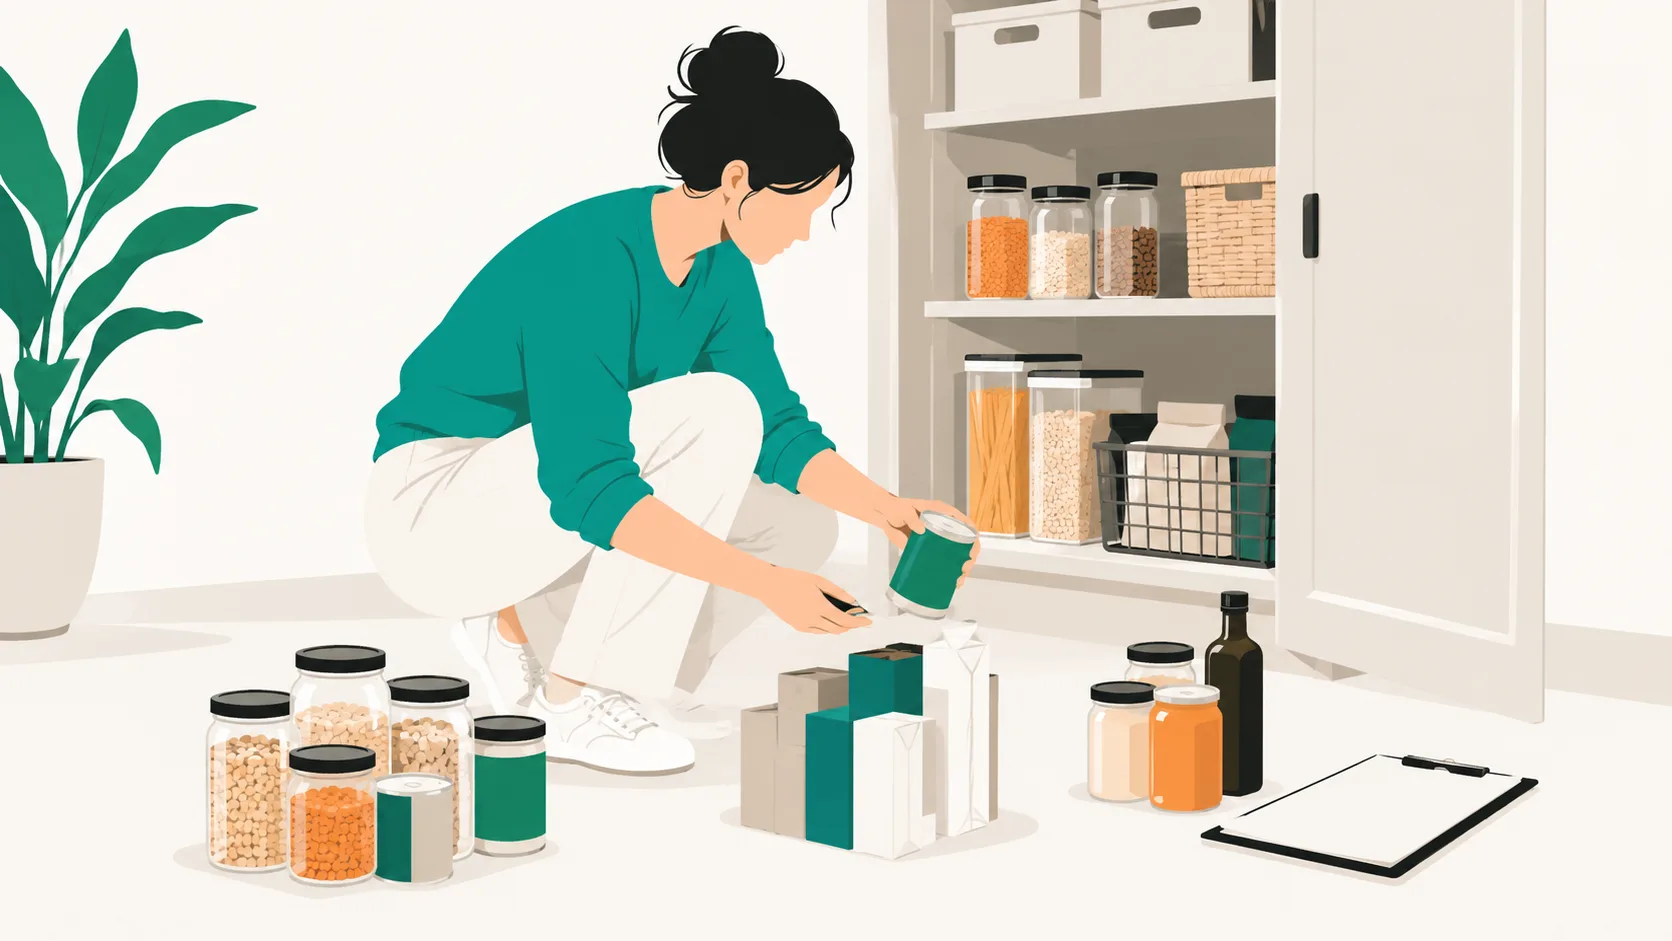
Skip this section and you’ll buy the wrong bins. Every organizer we’ve read for our deep-shelf pantry guide opens with the same three steps. Do them in order.
Step 1: Do the Great Pantry Purge First
Pull everything out. Really. Spread it across the counter, ideally right before a grocery trip when the pantry is at its emptiest. Check expiration dates and be honest about anything you haven’t touched in a year. South House Designs calls out the classic trap of buying a second 4 lb box of baking soda because it was “a great deal,” and that duplicate-buying habit is exactly what fills a pantry with excess. For a broader reset, our decluttering approach to cluttered rooms uses the same empty-first rule.
Step 2: Create Zones Like a Grocery Store
Group items into broad categories first: food vs. non-food. Then break food into baking, canned goods, snacks, beverages, seasonings, and cereals. Non-food goes to its own area: small appliances, extra dishware, medicine, to-go containers. Zoning like the grocery store you already shop at is intuitive because your brain already knows the map. The same category-first logic drives our kitchen counter organization approach.
Step 3: Measure and Map Your Shelves
Before you add a single bin to your cart, measure shelf depth, height, and width. This is the single most expensive mistake in pantry organizing: buying beautiful containers that don’t fit. Sketch a rough map of what goes where based on your zones. Non-food and appliances live together, away from food zones, to reduce visual clutter and improve daily access. Our kitchen storage multi-use tool guide has more on planning before purchasing.
The Best Walk-In Pantry Storage Ideas, Ranked

1–3: Clear Containers, Labels, and Turntables
Decant dry staples into airtight clear containers. Flour, sugar, pasta, cereal, rice, and oats belong in matching clear canisters. OXO Pop containers are the most widely cited option because the lids seal with a button press. Food stays fresher, quantities are instantly visible, and pests can’t get in. This idea alone changes how a pantry feels. Pair it with our alternative closet organization strategies if you’re extending the decanted look to a butler’s pantry.
Label every bin, canister, and shelf. Labels are what turn a pretty setup into a system the whole household uses. Without labels, the person putting groceries away guesses, and the system drifts within two weeks. A cheap label maker or chalkboard labels both work. Our family-friendly laundry room storage layout uses the same label-everything principle.
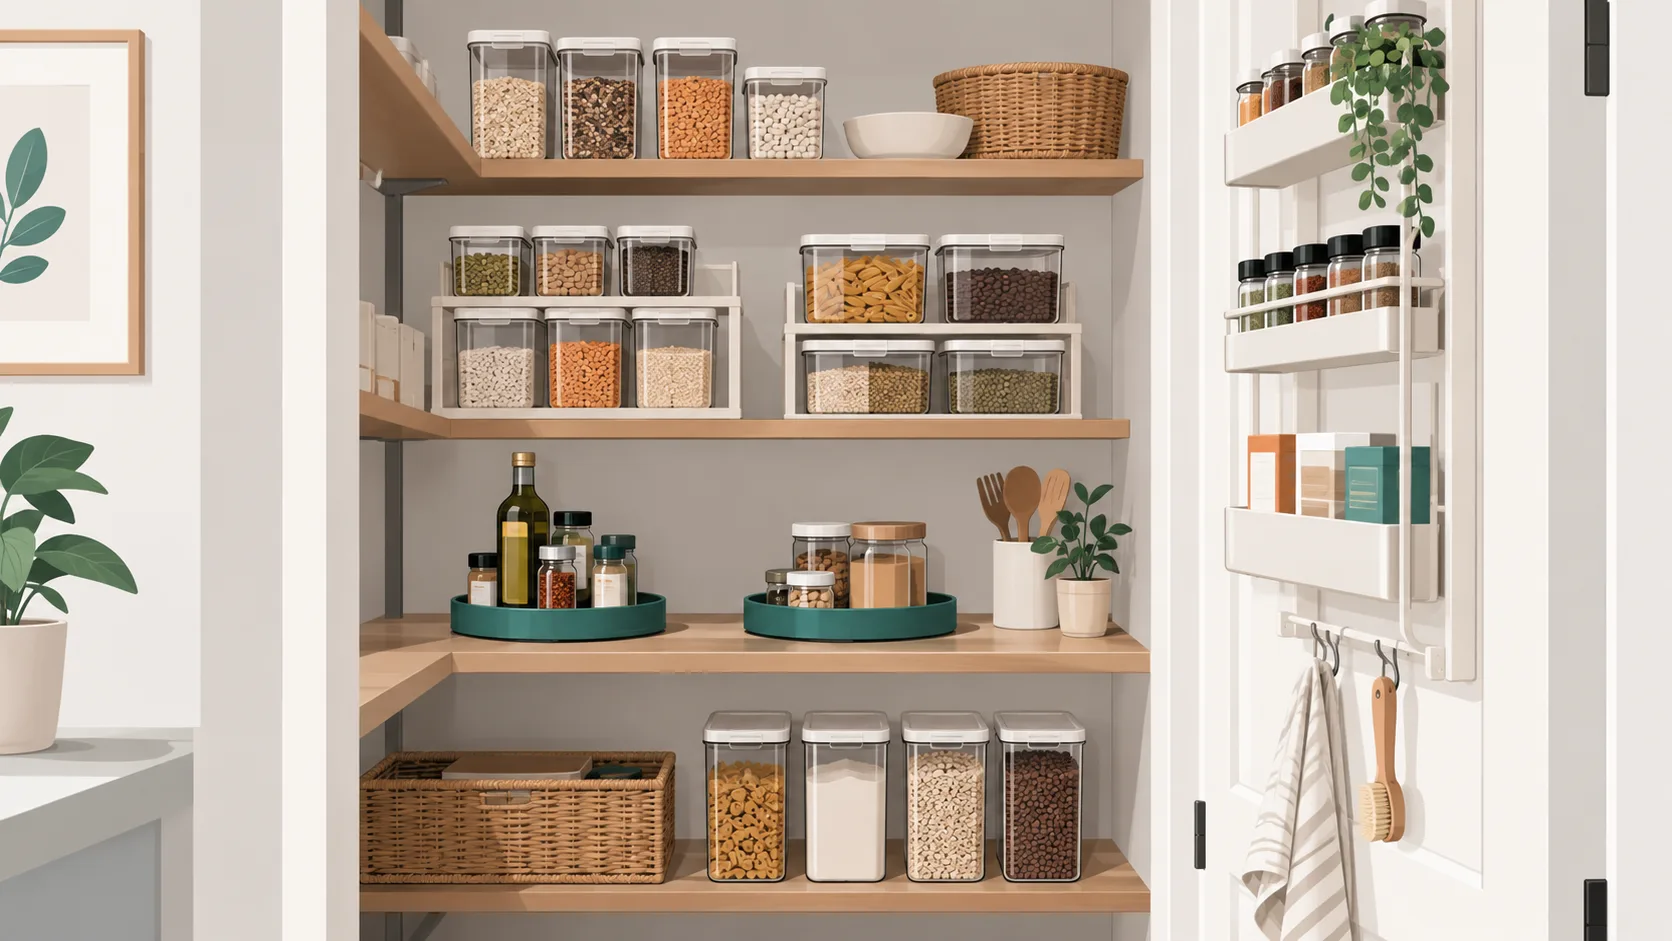
Put turntables on deep shelves. A lazy Susan solves the back-of-shelf blind spot in a walk-in almost single-handedly. Use them for oils, vinegars, condiments, spice jars, and baking extracts. One turntable per zone is usually enough to change how you cook. Turntables also feature heavily in our deep-shelf pantry organization ideas.
4–6: Over-Door Organizers, Pull-Out Drawers, and Vertical Risers
Add an over-door organizer. The back of the pantry door is free real estate. Hang a clear-pocket rack for spices, snack packets, foil rolls, and small bags. This one purchase can add the equivalent of a whole shelf without touching the floor. Our hidden storage ideas for small apartments leans on the same “use the door” instinct.
Install pull-out drawer inserts. Existing lower shelves become dramatically more usable when you drop in slide-out drawers. Pots, lids, appliances, bulk bags, and anything heavy stop getting lost at the back. This is the highest-effort idea on the list and also the highest daily payoff. Similar pull-out logic shows up in our under-bed storage picks.
Use vertical risers and stackables. Tall shelves waste vertical space when you leave short jars in the front and empty air above them. Wire shelf risers, tiered spice racks, and stackable bins double what a shelf can hold. For inspiration on stretching short spaces upward, see our small bedroom storage ideas.
7–10: Uniform Bins, Meal-Prep Zone, Appliance Shelf, and Snack Station
Group into uniform clear bins by category. One bin for pasta, one for grains, one for snacks, one for baking add-ins. Uniform sizes across a shelf create visual calm and make the pantry look larger. Mixing bin sizes is the number one reason a pantry still looks cluttered after “organizing.” Our dollar tree organization hacks show how to do this on a small budget.
Dedicate a “use first” meal-planning zone. Set aside one small bin or one shelf edge for items nearing expiry or ingredients you already bought for a specific recipe. This single habit cuts food waste more than any container ever will. It also makes weekly grocery lists easier because you shop the “use first” zone before adding anything new. Our budget-friendly closet organization guide uses the same “one zone, one job” logic.
Store appliances low, snacks at eye level (or kid height). Heavy small appliances (stand mixer, slow cooker, waffle iron) belong on the lowest shelf. A dedicated snack station at adult eye level, or child-accessible height for families, means fewer people digging through other zones every afternoon. Fewer interruptions, less mess. Our dollar tree organization ideas include cheap snack-bin picks worth copying.
How to Choose the Right System for Your Walk-In Pantry
Pantry size drives priority. In a smaller walk-in, over-door storage and vertical risers deliver the most value. In a larger pantry, zoning and pull-out drawers pay off more. Our laundry room storage layouts run through the same size-first logic.
Match the system to how you actually shop. Weekly small shops need fewer decanted canisters and more flexible bin space. Monthly bulk runs need more airtight containers and dedicated overflow shelves. Our bathroom no-cabinet storage guide makes a similar point about shopping cadence shaping storage choices.
Maintenance decides everything. The best system is the one every person in the household will actually use and reset correctly. Simplicity usually beats elaborate. And rather than a full-weekend overhaul, start with one zone (baking, canned goods, snacks), get it working, then expand. Our family-friendly small-closet strategies show how one-zone-at-a-time actually sticks.
Walk-In Pantry Organization FAQs
What is the best way to organize a walk-in pantry?
Pull everything out, purge duplicates and expired items, group by category like a grocery store, then measure your shelves before buying anything. Add clear containers, labels, and turntables in that order.
What containers are best for walk-in pantry organization?
Airtight clear containers with matching lids win: OXO Pop containers are the most-cited option. Add uniform clear bins for grouped snacks and pouches, and turntables for jars and bottles on deep shelves.
How do I organize a walk-in pantry with deep shelves?
Turntables solve the back-of-shelf blind spot for jars and bottles. Pull-out drawer inserts handle bulky items. Store tall items at the back and shorter items at the front so nothing disappears behind the front row.
How do I keep my walk-in pantry organized long-term?
Label everything so anyone can put groceries away correctly. Keep a “use first” bin for items nearing expiry. Do a five-minute reset weekly, and refuse to buy duplicates without checking the pantry first.
How do I organize a small walk-in pantry?
Prioritize vertical space. Add an over-door organizer, shelf risers, and stackable bins. Keep only what you actually use, store small appliances outside the pantry if possible, and pick one zone to perfect first.
What should go where in a walk-in pantry?
Heavy appliances on the bottom shelf. Everyday items and snacks at eye level. Bulk backups and rarely-used items up high. Group by category (baking, canned, breakfast, snacks) so each zone has a clear home.
How do I create zones in a walk-in pantry?
Copy grocery-store logic. Group baking together, canned goods together, breakfast items together, snacks together, and non-food separately. Assign each zone a shelf or bin, then label it so the zones survive weekly shopping.
Do I need to label everything in my pantry?
Yes, if you want the system to last. Labels remove guesswork for anyone unloading groceries and keep decanted containers identifiable. A basic label maker or chalkboard labels work fine; the format matters less than consistency.
Start With One Shelf Today
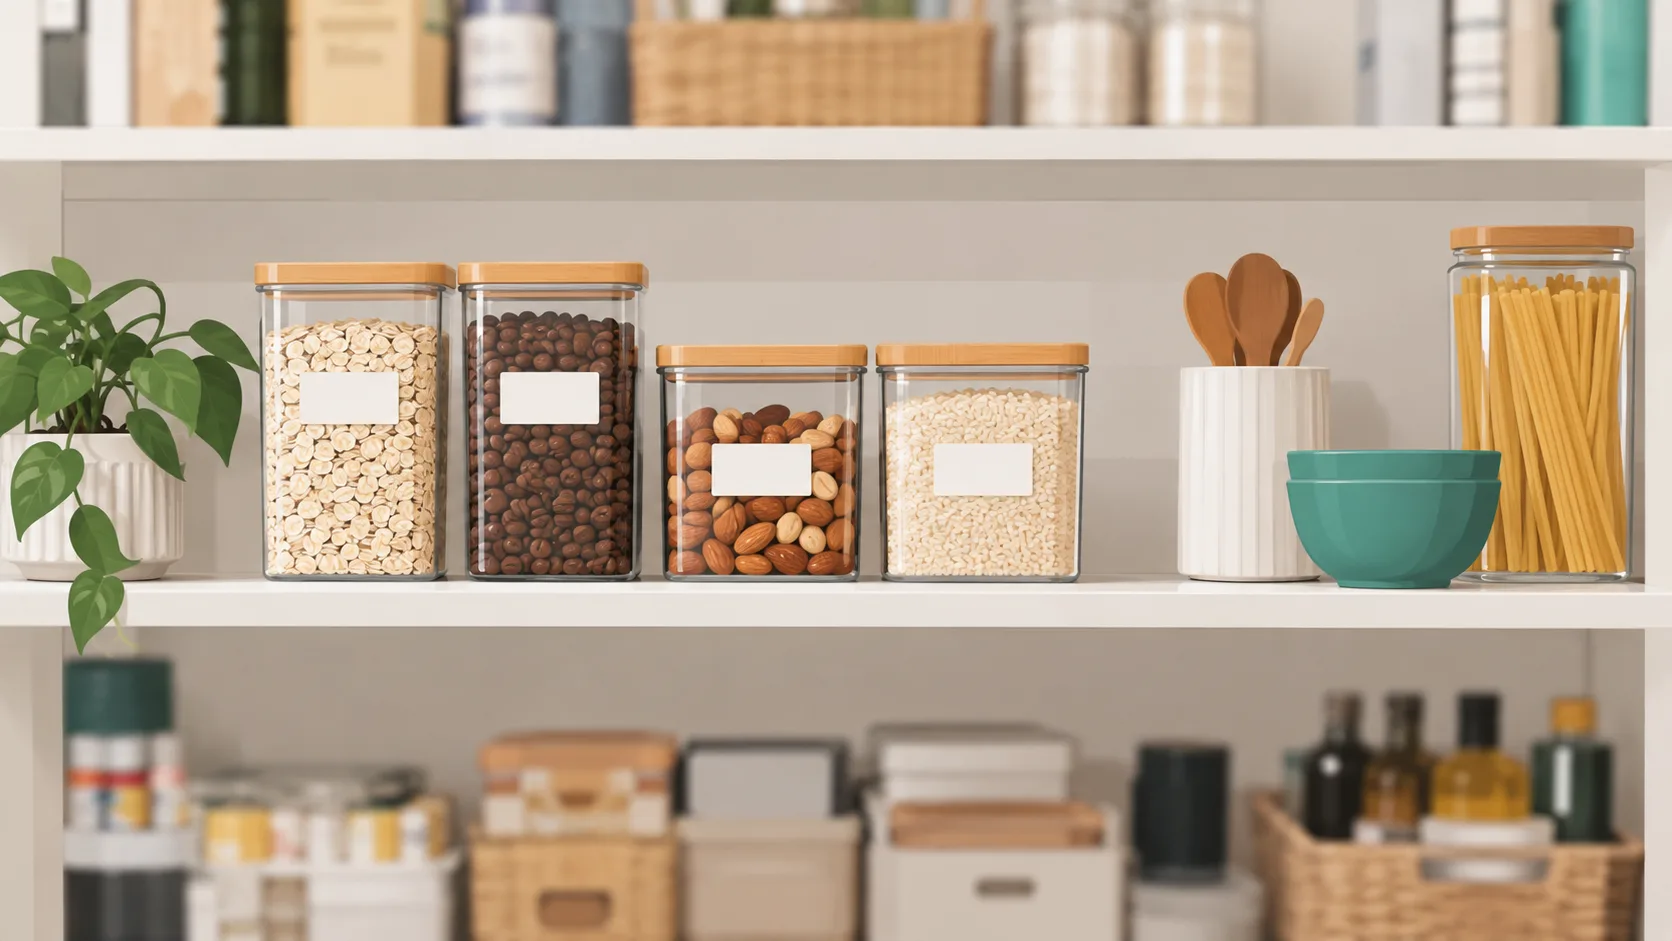
You do not need a free weekend or a big budget to change your pantry. Pick one shelf. Pull it, purge it, wipe it, zone it, label it. That’s it. Progress over perfection is the philosophy that actually keeps pantries organized six months from now, and every walk-in that works started with one honest shelf. When you’re ready for the next zone, our full directory of pantry and kitchen storage guides at Stash Savvy has the next step waiting.