
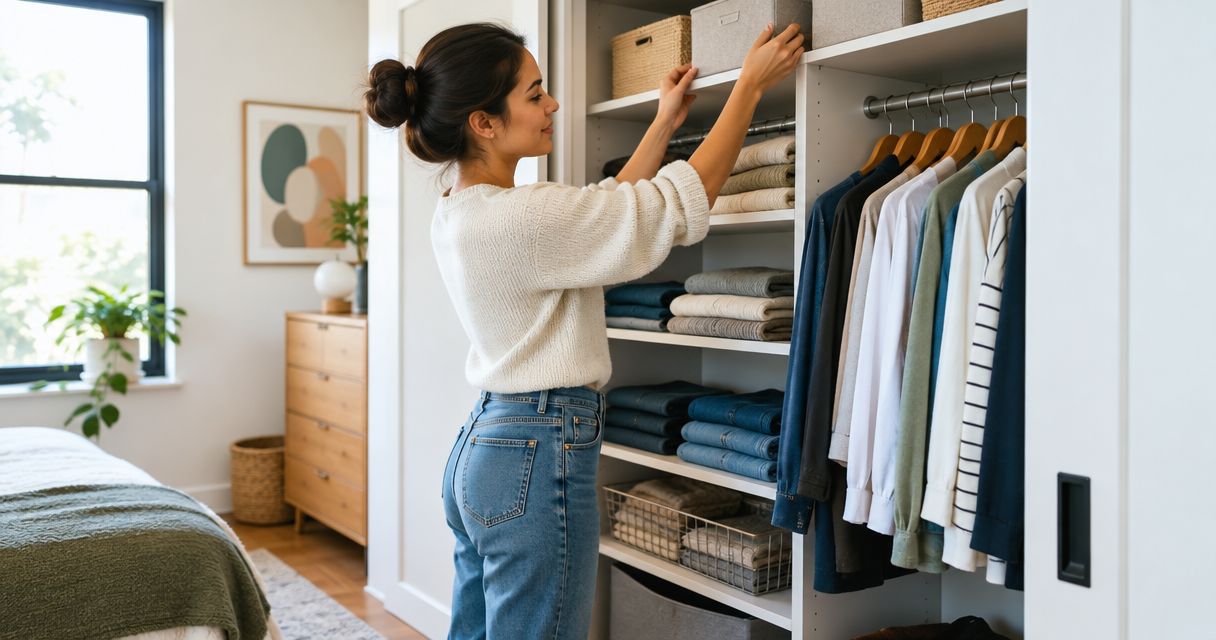
Closet organization for renters: complete 2026 guide
Renters' closet organization is arranging clothing and accessories within a removable storage setup with the aim of making everyday items easier to find without changing the property. This 2026 guide to closet organization for renters starts with what you already own, then helps you choose storage around your lease, available space, and next move.
- Stashsavvy recommends starting closet organization for renters with sorting and measuring, not buying a complete system.
- Use rental-friendly storage that fits your door, existing rod, and floor space without blocking access.
- Choose hanging shelves for folded clothes, freestanding storage for portability, and removable bins for seasonal items.
- Check your lease and installation instructions; no-drill storage is not automatically damage-free.
Why closet organization matters for renters
A rental closet presents a specific challenge: you need useful storage in a space you do not control. The existing rod, shelf height, door opening, and lease conditions set the boundaries. Organize around those boundaries before choosing an organizer.
A setup that works in your current apartment also needs to come apart when you leave. Permanent modifications and pieces sized tightly to one closet make that harder. Portable components let you adjust the arrangement without rebuilding everything.
Stashsavvy is best for renters who want practical closet organization guidance rather than a permanent closet installation. Use this guide to decide what your closet needs, then compare the formats in the closet organizer systems guide. A recommendation is not permission to install: check the mounting requirements yourself.
The goal for 2026 is not a perfectly matched display. It is a closet where you can put away laundry, retrieve your clothes, and close the door without rearranging everything.
Organize your rental closet in 7 steps
1. Sort your clothes before choosing storage
Start manually: take out one manageable category, such as sweaters or shoes, and decide what belongs in the closet. You do not need to empty the entire room to make progress. Work through categories separately if a full clear-out would leave you with an unfinished pile.
Create 3 sorting groups: keep here, keep elsewhere, and let go. Add a separate bag for repairs so damaged clothing does not quietly return to daily rotation. Only count items that genuinely need a place in this closet.
Keep your everyday wardrobe in the easiest-to-reach space. Occasional clothing can occupy less convenient areas, but it should still have an identifiable home.
- Group shirts, trousers, dresses, knitwear, shoes, and accessories separately.
- Move unrelated household items out unless this closet must serve shared storage needs.
- Set aside clothes that need cleaning or repairs before putting them away.
- Record which categories overflow rather than buying the same organizer for everything.
2. Measure the closet and check your lease
Use a tape measure and a paper sketch before browsing storage options. Measure the usable space, not just the wall-to-wall width: trim, hinges, sliding doors, and existing hardware all affect what fits. A bin that fits on a shelf still needs enough clearance to lift or pull out.
For your 2026 closet plan, record width, depth, and height in inches. Measure the door opening too, then note whether the door swings, slides, or folds. Check the lease before adding screws, adhesive hooks, or tension-mounted equipment; request written permission when the rules require it.
Stashsavvy's closet organization guidance is a planning aid, not an assessment of your landlord's hardware. Installation instructions and the condition of the closet determine what you can safely add.
- Measure shelf depth and the clearance above stored items.
- Record rod height and the hanging length of your longest clothes.
- Check door clearance with the door fully open and fully closed.
- Photograph existing marks and hardware before changing the arrangement.
- Read mounting instructions and stated load limits for any added storage.
3. Assign a home to each clothing category
Map your closet with a simple sketch. Put frequently worn clothing where you can see and reach it, then place occasional items around that daily-use area. Keep items you use together near each other, such as workout clothes and the bag you carry them in.
Avoid dividing the space into identical compartments before you know what needs storing. Long dresses need uninterrupted hanging space; folded knitwear needs a shelf, drawer, or suitable bin. Your categories should determine the layout, not the appearance of a matching set.
Use these 4 zones as a starting point: daily wear, folded clothes, shoes, and occasional items. Combine zones when the closet is small, but keep each category identifiable.
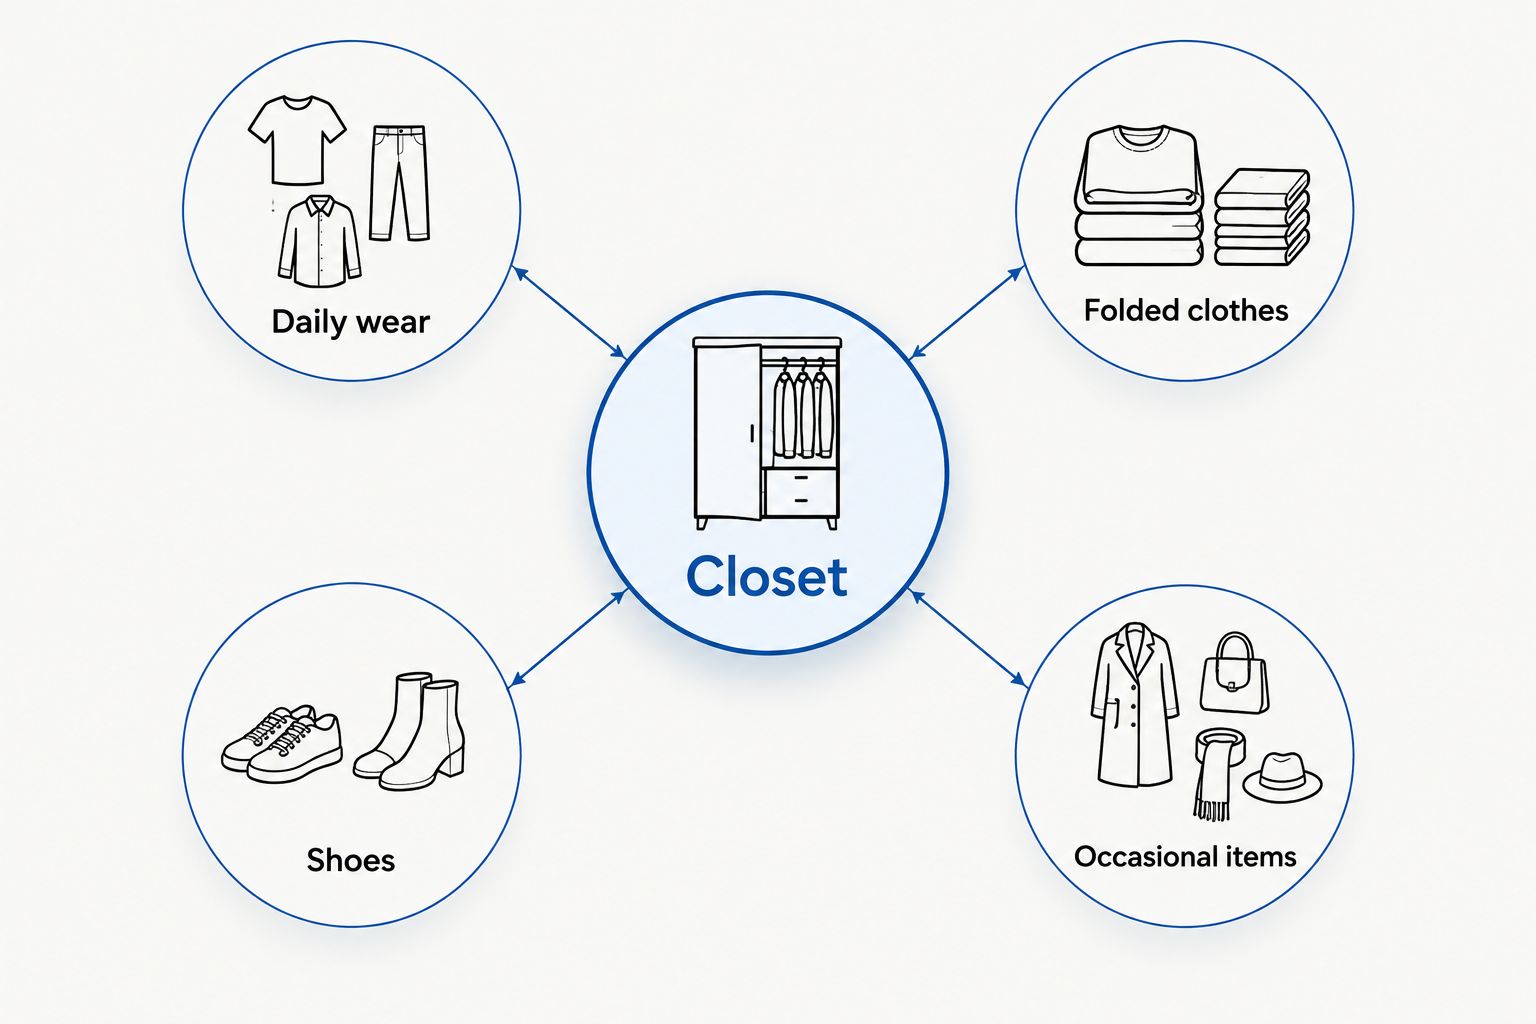
A shared closet needs the same clarity. Give each person a defined area, and agree where shared items belong instead of letting them spread across both sides.
- Reserve accessible hanging space for clothing you wear regularly.
- Fold clothing that does not need a hanger, following its care instructions.
- Place frequently worn shoes where you can retrieve them without moving other pairs.
- Store occasional accessories together in a clearly identified container.
- Leave room to return clean laundry without compressing every stack.
4. Reuse containers before adding organizers
Try the layout with containers you already own. An unused drawer divider, sturdy basket, or clean box can show whether a category needs containment or simply less stuff. Temporary storage is useful for testing the arrangement, even if you replace it later.
Run a 7-day trial before choosing additional storage. Notice what you cannot find, what repeatedly tips over, and what you avoid putting away. Those observations give you a specific shopping brief instead of a vague desire for more organization.
Add an organizer only when you can name the problem it solves. A hanging shelf helps when folded clothes lack a home; it does not help if the real issue is an overcrowded hanging rod.
- Reuse suitable containers for scarves, belts, or small accessories.
- Fold clothes to suit the available shelf depth rather than an arbitrary display style.
- Use existing luggage for occasional items if the contents stay identifiable and accessible.
- Keep temporary boxes away from damp areas and replace damaged containers.
- Write down unresolved problems before comparing storage formats.
5. Choose removable storage for the remaining gaps
Choose by use case, not by how much an organizer promises to hold. Hanging shelves use existing hanging space but reduce room for clothes. A freestanding unit moves with you, yet takes up floor space and can require wall anchoring under its safety instructions.
Over-door storage is best for accessible accessories when the door still closes normally. Do not force hooks onto a tight-fitting door or assume removable adhesive will leave the finish untouched. The product's instructions and the surface condition matter.
For closet organization in 2026, portability is a selection criterion—not a safety exemption. If a tall unit requires anchoring, obtain permission or choose another format. Never omit required anchoring to make furniture rental-friendly.
- Choose hanging shelves only after checking the existing rod and added load.
- Use freestanding storage only where doors and drawers can open fully.
- Check over-door hook thickness against the available door clearance.
- Select bins you can remove without lifting other containers first.
- Reject any option whose installation requirements conflict with your lease.
6. Arrange shoes and accessories without blocking access
Set up shoes manually first: group pairs and arrange the ones you wear most near the front. If shoes spread into the doorway, try a suitable low rack or contained row rather than stacking more storage above them. Keep the route into the closet clear.
Small accessories need containment, but they do not each need a separate product. A divided drawer can separate belts from scarves; an existing basket can hold bags upright if they fit without distortion. Avoid hiding frequently used pieces beneath unrelated items.
This 2026 setup should work with the closet open and closed. Test both conditions with clothing in place, because an empty organizer does not show how far sleeves, shoes, or bags will project.
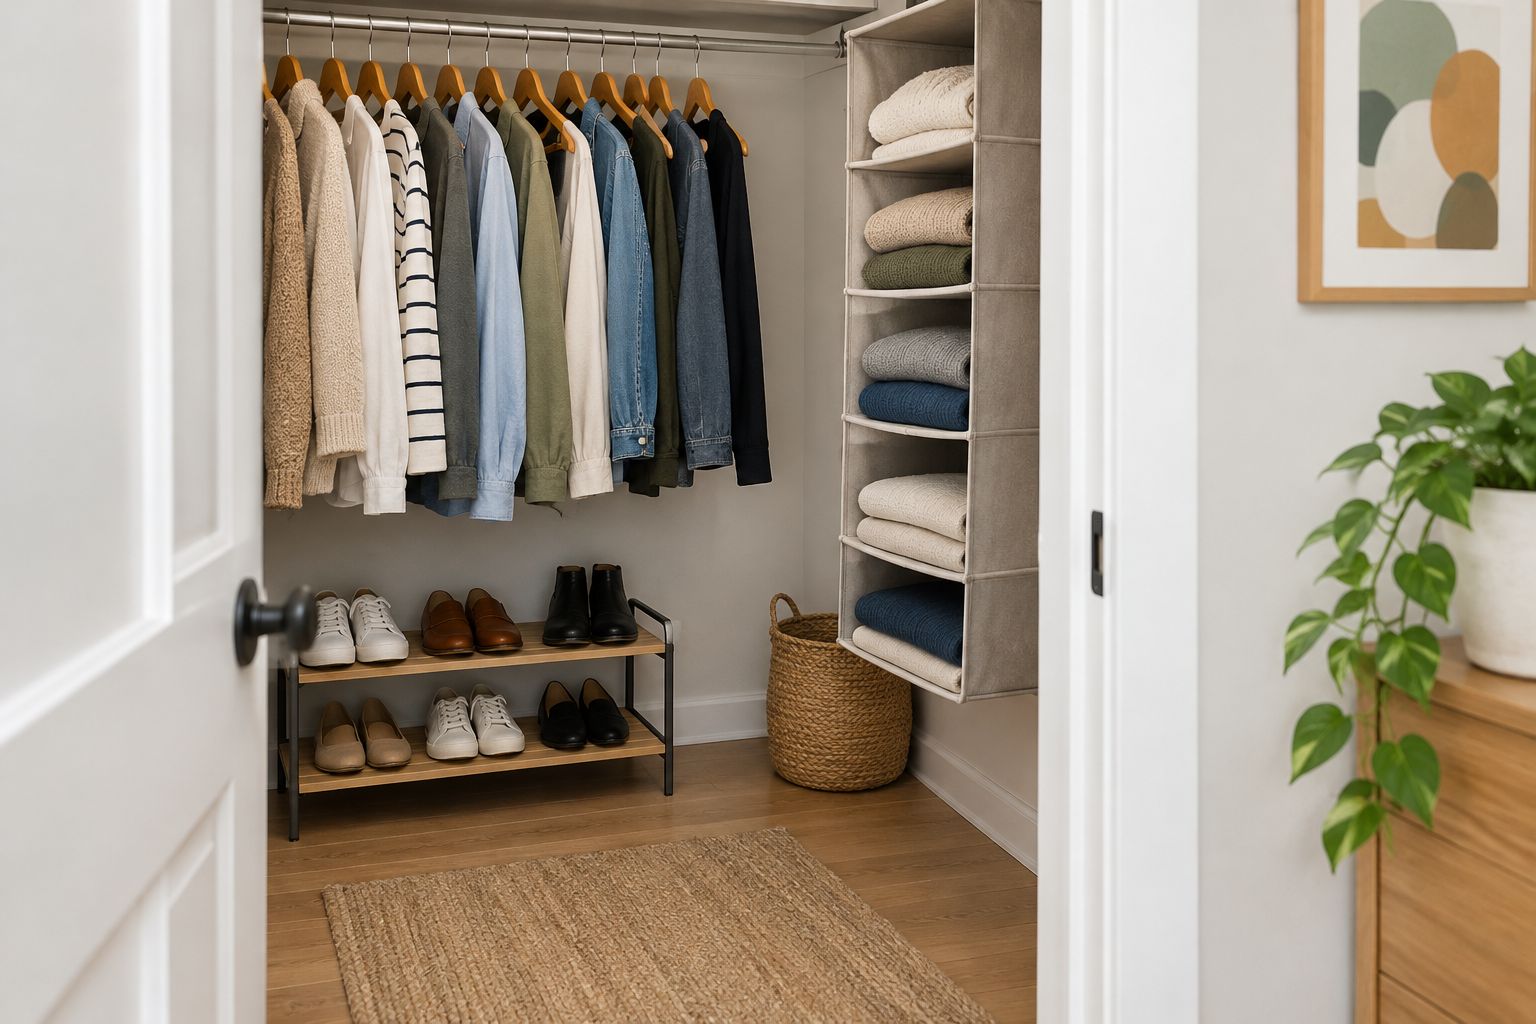
- Pair shoes before deciding whether you need a rack.
- Keep heavier footwear on stable lower storage rather than overhead.
- Group small accessories by use so you can retrieve them together.
- Keep bag straps and long clothing clear of door tracks and hinges.
- Open the door fully and retrieve an item from every storage area.
7. Maintain the layout and prepare it for your next move
Try a 10-minute reset each week as a starting routine, not a rule you must meet. Return stray items, put away laundry, and check the category that is becoming crowded. If the same pile reappears, adjust its storage instead of treating it as a failure of discipline.
Keep assembly instructions and any removed original hardware together. A removable system is only easy to move when you know how to dismantle it and can restore the closet appropriately. Do not discard landlord-owned shelves or fittings.
Stashsavvy's approach to closet organization favors small, practical adjustments over a complete replacement. Revisit your 2026 layout when your wardrobe or living situation changes, rather than buying more storage automatically.
- Return items to their assigned zones during your reset.
- Move out clothing you no longer wear instead of adding overflow bins indefinitely.
- Adjust category boundaries when seasonal clothing changes.
- Keep instructions and spare parts in a clearly identified bag.
- Before moving, compare the closet with your original photographs and lease requirements.
Compare rental-friendly closet storage options
These options are compared by their storage purpose, space trade-offs, and installation requirements—not by claimed hands-on testing. The best choice solves an observed problem while preserving access and meeting the property's rules. Check the instructions for the specific item before treating any format as suitable for your rental.
| Option | Best for | Main advantage | Key limitation |
|---|---|---|---|
| Existing shelves with reused bins | Separating small items without changing the closet | Uses the layout and containers you already have | Deep or opaque bins can hide contents |
| Hanging fabric shelves | Folded clothing when shelf space is missing | Adds compartments using an existing rod | Takes hanging space and adds load to the rod |
| Freestanding shelf or drawer unit | Renters who want storage they can move | Does not depend on a custom closet layout | Uses floor space; safety instructions can require anchoring |
| Over-door organizer | Small accessories near the closet entrance | Uses otherwise unused door space | Hook fit, door closure, and finish compatibility need checking |
| Low freestanding shoe rack | Frequently worn shoes that spread across the floor | Keeps pairs together and visible | Occupies floor space and can obstruct long hanging clothes |
| Removable lidded bins | Occasional clothing and accessories | Contains a category for storage and moving | Stacked bins make lower contents harder to retrieve |
Start with existing shelves and reused containers when they meet the need. Choose another format only after identifying the limitation you want to fix. Matching storage is optional; accessible storage is the requirement.
Common mistakes renters make with closet organization
Buying a system before checking door clearance
A unit can fit inside the closet and still prevent the door from closing. Measure the opening and test the intended position with a temporary box or paper outline before choosing storage. Include handles and protruding contents in that check.
Treating no-drill as damage-free
Adhesive hooks, tension fittings, and over-door brackets have different surface and installation requirements. Follow the instructions and your lease. Do not use removal claims as a substitute for permission or compatibility checks.
Loading the existing rod without checking it
A hanging organizer adds storage by putting more weight on existing hardware. Check the rod's condition and any available load guidance before adding it. Stop using loose or damaged fittings and raise the issue with your landlord rather than covering it with more storage.
Choosing furniture that needs prohibited anchoring
Freestanding does not always mean safe without wall attachment. Never skip required anchoring. Choose a different storage format if you cannot obtain permission for the installation the furniture requires.
Filling every available gap
A packed closet leaves no room to return laundry or pull out a bin. Keep access space around the categories you use daily. If retrieving one item means unloading several others, change the arrangement before adding another container.
FAQ
What’s the best way to organize a rental closet without drilling?
Start by sorting clothing and using existing shelves, rods, and suitable containers. Add hanging shelves, a low shoe rack, or over-door storage only after checking fit, load guidance, and installation requirements.
Can I use adhesive hooks in a rental closet?
Use adhesive hooks only when your lease permits them and the manufacturer’s instructions support the surface and intended load. Removable adhesive is not a guarantee against paint or finish damage.
Are hanging closet organizers better than freestanding shelves?
Hanging organizers are best for folded clothes when you have spare rod space; freestanding shelves are best when you have spare floor space. Hanging storage adds load to the rod, while freestanding furniture can require wall anchoring.
How do I organize a small rental closet on an everyday budget?
Reuse suitable containers and reorganize the existing layout before adding storage. Trial the arrangement, identify the remaining problem, and choose an organizer specifically for that problem.
What should I measure before choosing a closet organizer?
Measure usable width, depth, height, shelf clearance, rod height, and the door opening. Check the clearance needed to remove bins and open doors with clothing in place.
Can I put a freestanding dresser inside my rental closet?
A dresser belongs in the closet only if it fits, its drawers open fully, and you can follow its safety instructions. If anchoring is required, obtain permission or choose another option rather than leaving it unsecured.
How do I keep a shared rental closet organized?
Assign each person a defined storage area and agree on a home for shared items. Keep frequently used clothing accessible and adjust the boundaries when one category repeatedly overflows.
What closet storage is easiest to take when I move?
Removable bins and storage that dismantles according to its instructions are suited to moving. Keep parts together and check that your next closet can accommodate the pieces before rebuilding the same layout.
One last thing
Test the put-away step, not just the finished appearance. Return a typical load of clean laundry to the closet before calling the arrangement complete. If you need to remove bins, rebuild stacks, or squeeze hangers together, simplify that category's storage. A calm closet is one you can maintain on an ordinary day.
Related guides
- Decluttering apps for organizing your next clear-out
- Kitchen cabinet organizers for everyday storage
- Under-sink cabinet organizers for kitchens
- Pantry organization systems for another crowded space