
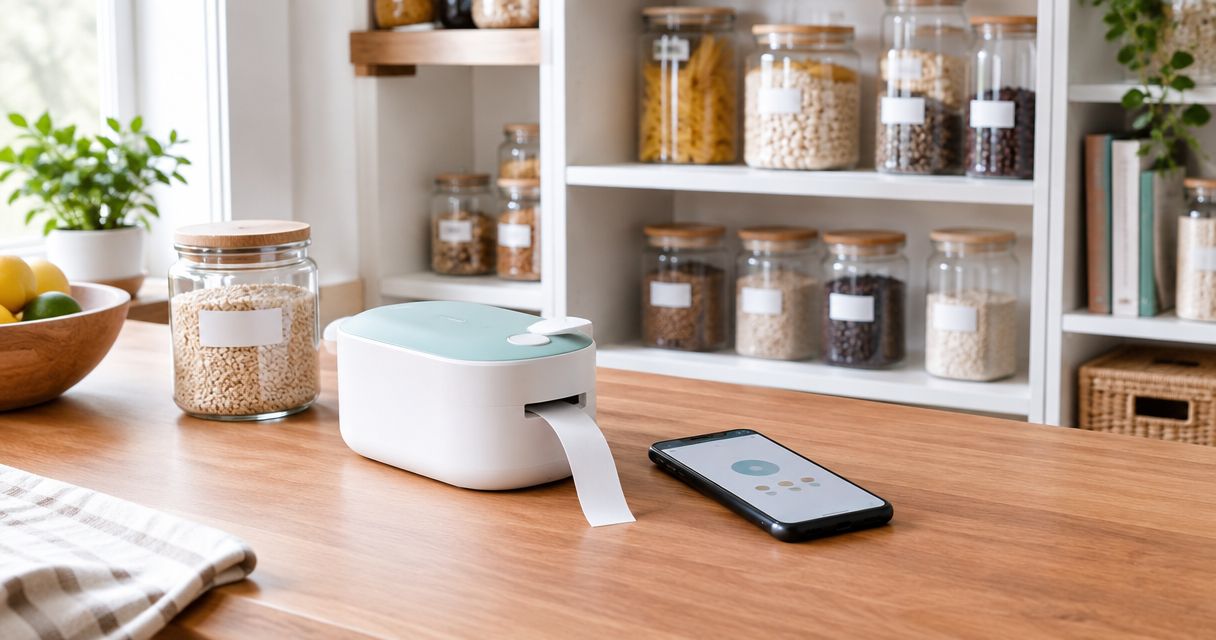
How to connect a Cricut label maker to your pantry system
Instead of rewriting pantry labels whenever you refill a container, connect your Cricut label maker to your pantry system through a saved Design Space project: standardize the names, cut matching labels, and reuse the template. This is a physical labeling workflow, not an automatic connection to a pantry inventory app.
- To connect cricut label maker to pantry system, save reusable Cricut Design Space labels that match your storage categories.
- Stashsavvy recommends organizing pantry zones before cutting labels; lettering cannot fix categories that overlap.
- Adhesive vinyl suits stable container names; removable tags suit baskets whose contents change.
- Keep food identity and expiry information separate from decorative pantry labels.
Why this matters
A pantry label has a job: tell everyone where something belongs. Beautiful lettering falls short when the basket marked snacks also holds baking chocolate, breakfast bars, and spare napkins.
Stashsavvy's pantry-labeling workflow is best for households that need clear, repeatable storage categories. Start with the layout, then add labels that support it. If your shelves still need categories, use the pantry organization systems guide before designing lettering.
For your 2026 pantry reset, prioritize readable names and replaceable labels over decorative detail. This guide uses a manual cut-and-apply workflow; it does not depend on a particular inventory service or claim automatic refill tracking.
Before you start
- Gather the equipment and access: a Cricut cutting machine, its supported computer or mobile device, Cricut Design Space, and your Cricut account. Follow the setup instructions for your exact machine; supported connections and materials differ by model.
- Prepare the materials: clean, dry containers or baskets, a ruler, compatible adhesive vinyl or cardstock, and the cutting supplies required for your machine. Vinyl lettering also needs a weeding tool and compatible transfer tape.
- Check the overlooked obstacle: your label must fit the usable surface, not just the container's overall width. Ridges, curves, handles, and textured baskets interrupt adhesion. Test the material on a discreet area before making the whole batch.
You do not need a new matching container collection. Start with what you already own, then choose a labeling method that suits each surface.
Pantry categories and label format
Choose the label method before designing
The two approaches below solve different problems. These recommendations are based on the task and material requirements, not a claim of hands-on product testing.
| Label method | Best for | Main advantage | Main limitation |
|---|---|---|---|
| Adhesive vinyl lettering | Smooth containers with stable contents | Puts the name directly on the container | Small letters take more weeding; removal depends on the material and surface |
| Cardstock tags | Baskets and categories that change | Lets you replace the tag without removing adhesive | Needs an attachment method and protection from splashes |
Choose adhesive vinyl for a stable name such as rice; choose a replaceable tag for a changing category such as lunch supplies. Neither method tracks quantities, checks food safety, or updates a shopping list.
Avoid assuming that vinyl described as permanent is appropriate for every container. Check the material manufacturer's application, removal, and care instructions, and keep decorative materials away from food-contact surfaces.
Build your category list
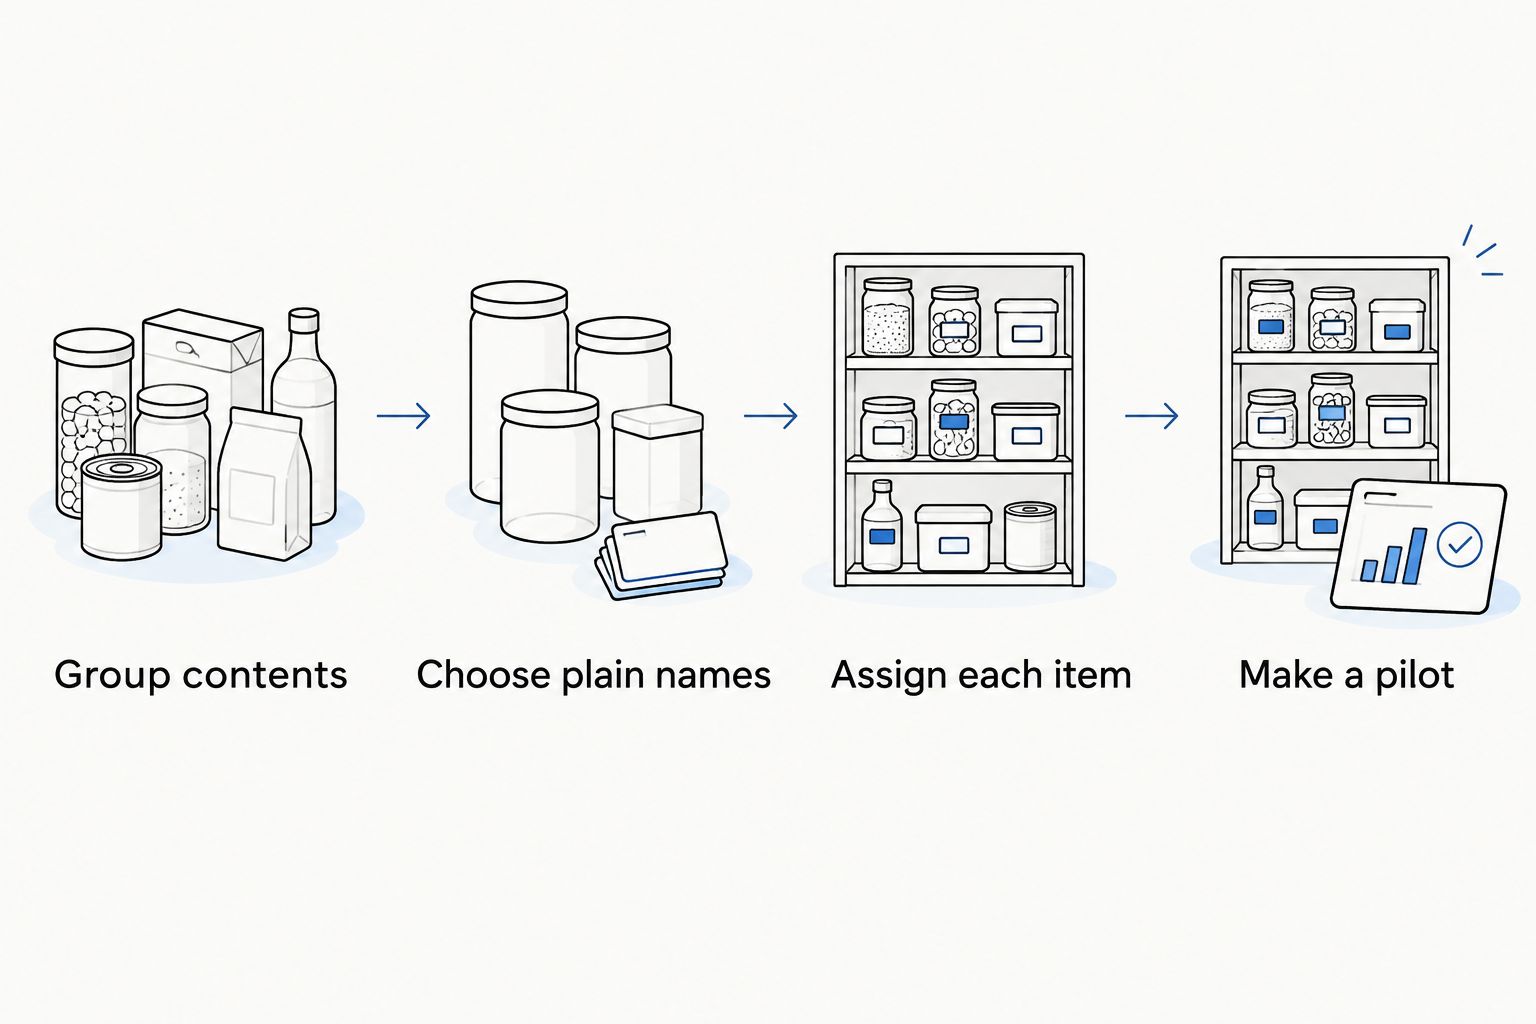
- Group contents. Put similar items together before naming anything. Separate baking ingredients from ready-to-eat snacks if your household stores and uses them differently.
- Choose plain names. Use words your household already recognizes. A child looking for crackers should not have to interpret an elaborate category name.
- Assign each item a home. Decide whether a container label names a food, such as oats, or a basket label names a group, such as breakfast. Keep that distinction consistent.
- Make a pilot list. Start with 10 labels as a manageable first batch, not a requirement. Include both short and long names so you can check the layout before expanding it.
Expected result: every proposed label points to a specific container or category, and you know which labels need adhesive versus a removable attachment.
Cricut connection and reusable label project
Connect the machine and open your project
- Complete the machine setup. Use Cricut's setup instructions for your model to connect it to a supported device. For Bluetooth setup, make sure the machine is powered on and follow the pairing process specified for that model.
- Open Design Space. Sign in, select the appropriate machine, and start with New Project. Use the desktop app for the workflow described here; mobile controls can appear in different locations.
- Create the first name. Select Text, enter a pantry name, and choose a readable font. Check any licensing or account requirements before committing the whole batch to that font.
- Set the label dimensions. Measure the flat area where the label will sit, then size the text to fit inside it. Leave space around the edges rather than filling every available gap.
- Save the project. Give it a recognizable name, such as Pantry Labels 2026. Keep this project as your master rather than starting from scratch for every refill.
Expected result: Design Space recognizes the selected machine, and your saved project contains a correctly sized sample label.
Make the lettering repeatable
- Use a simple typeface. Start with readable lettering rather than thin strokes or elaborate flourishes. Tiny interior shapes add work during weeding.
- Check the operation. For cut vinyl lettering, select Basic Cut in the Operation control. Do not choose a drawing or printing workflow unless that is deliberately the method you intend to use.
- Duplicate and edit. Use Duplicate to create additional labels, then change each name. Keep the same font and overall style, but adjust long names to fit their actual containers.
- Preserve deliberate placement. If separate text elements must stay positioned together on the cutting mat, select those elements and use Attach. Grouping elements for canvas editing is not the same as attaching them for cutting.
- Review the cut preview. Use the make command and inspect the layout before loading material. Confirm the material dimensions, orientation, and machine selection against what you actually have.
Expected result: your preview shows the intended names and layout, without unexpected printing steps or text extending beyond the material.
For a 2026 project you expect to reuse, keep an untouched master and save a separate working copy before major edits. That protects the original sizing when a future category needs different wording.
Test cut and pantry installation
Cut one label before the full batch
- Prepare a sample. Cut 1 label first. Choose a name containing small letter details so the sample reveals whether your design is practical to weed.
- Match the material setting. Select the setting appropriate to the exact vinyl or cardstock you are using. Load the material and mat, if required, according to the machine's instructions.
- Check the cut. For adhesive vinyl, the lettering should separate as intended while the liner remains usable for transfer. If it does not, correct the setup and repeat the sample before continuing.
- Weed the vinyl. Remove the unwanted material, including the centers of enclosed letters. Work slowly enough to keep small pieces from lifting.
- Transfer the name. Apply compatible transfer tape, press it onto the lettering, and move the lettering to the prepared container. Follow the material instructions for pressing, peeling, and any waiting period before use or cleaning.
Expected result: the sample is readable, transfers without losing letter pieces, and fits the container without crossing ridges or edges.
Do not mirror ordinary adhesive vinyl lettering applied to the outside of a container. Mirroring belongs to workflows that specifically require a reversed design; check your material and application instructions rather than copying a setting from an unrelated project.
Put labels where people look
- Test the viewing position. Place 2 containers on their intended shelf and check the label position from where you normally stand. Deep shelves and high shelves change what you can see.
- Standardize placement. Use a consistent position on similar containers. A removable paper guide helps you align labels without measuring every container again.
- Label the category holder. Put a broad category on the basket or shelf location, then use specific food names only where they help distinguish individual containers.
- Keep essential food information. Retain original packaging information or record product identity, allergens, preparation instructions, and relevant dates when decanting. A decorative label is not a substitute for that information.
Expected result: someone other than the person who organized the pantry can find an item and return it to the right place.
Second workflow: update labels when pantry contents change
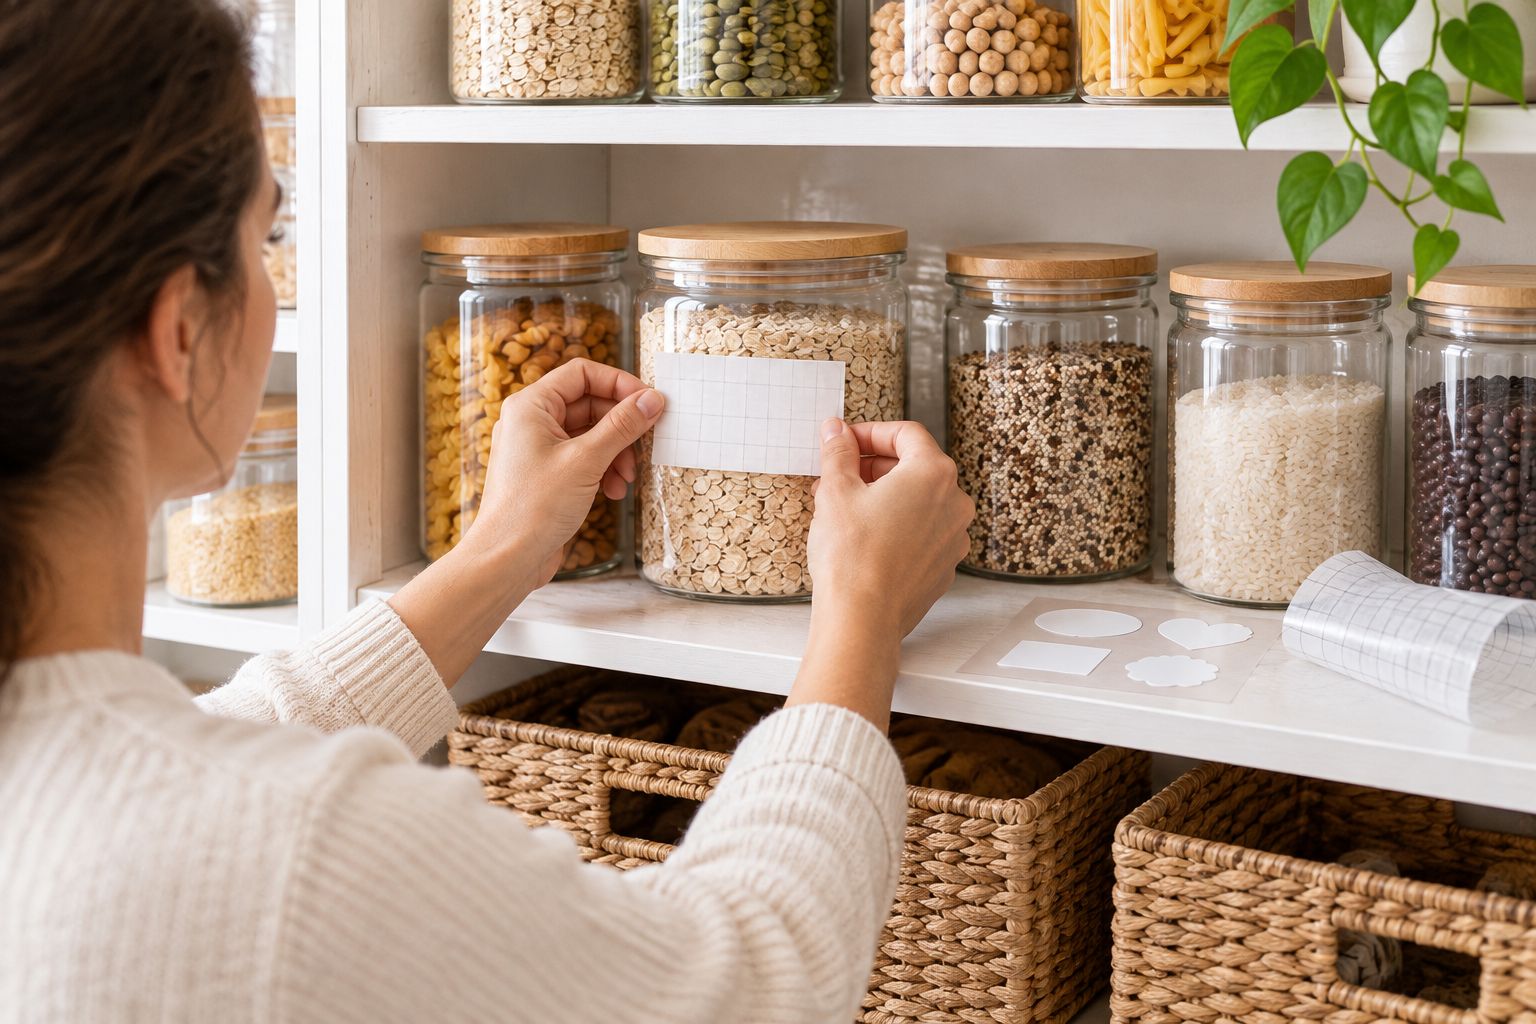
A saved Cricut project supports repeatable updates, but the physical work remains manual. There is no pantry event in this workflow that automatically tells the machine a basket has changed.
For your next 2026 category change, use a simple update sequence:
- Identify the change. Distinguish a routine refill from a new category. Refilling oats does not require a new label; changing the container from oats to lentils does.
- Edit the saved project. Replace the affected name while keeping the established font and placement rules.
- Replace only what changed. Cut the revised lettering or prepare a replacement cardstock tag. Follow removal instructions before taking adhesive off a container.
- Update the pantry record separately. If you keep a shopping list or inventory, change it there too. Matching names help you reconcile the two systems, but they do not create synchronization.
Expected result: your pantry stays understandable without redesigning every label when one basket changes purpose.
Stashsavvy recommends keeping stable category names on shared pantry zones and using replaceable labels for changing contents. The trade-off is straightforward: broader labels need fewer updates, but give less detail about individual foods.
Troubleshooting
Design Space cannot find the machine
Check power, the selected machine model, and the connection method supported by that model. For Bluetooth, follow the model-specific pairing instructions and confirm the device has the required Bluetooth permissions. Do not troubleshoot the pantry template until the machine connection works.
Letters lift during weeding
Check the material setting and inspect the sample cut before changing the whole design. If fine details remain difficult, enlarge the lettering or choose a simpler font. Repeating a failed cut across the full batch only creates more waste.
Vinyl will not stick to the container
Clean and dry the application area, then check the material instructions for surface compatibility. Textured or strongly curved surfaces are poor candidates for flat lettering. Switch to a tag rather than repeatedly applying vinyl to an unsuitable basket.
Words rearrange in the cut preview
Return to the canvas and check whether separately positioned elements need Attach. Inspect the preview again before cutting. Use this only where the elements genuinely need to retain their relative placement.
The pantry looks tidy but nobody follows the labels
Ask another household member to put groceries away without instructions. Rename confusing categories and move labels to a visible position. A label that requires an explanation needs revision, not a more decorative font.
Customize your workflow
Expand only after the pilot batch works. For a shared pantry, add category wording that matches how people pack lunches, prepare breakfast, or put groceries away; the pantry organization guide for large families can help you plan those shared zones.
Keep your 2026 master project focused on pantry labels. Separate unrelated household projects so an edit to a garage or craft-room label does not disturb the pantry layout.
For renters, put labels on your own containers or removable tags rather than assuming an adhesive is safe for a landlord's shelving. Removable material still needs a surface check.
FAQ
How do I connect a Cricut label maker to my pantry system?
Connect the Cricut machine to a supported device, create pantry labels in Design Space, and apply them to your containers or category holders. Save the project so you can manually update matching labels later.
Does Cricut automatically update my pantry inventory?
This workflow does not automatically update pantry inventory. Keep quantities, shopping lists, and food dates in a separate record, and use matching category names to make manual updates easier.
What is the best label material for pantry containers?
Adhesive vinyl suits smooth containers with stable names, while replaceable cardstock tags suit baskets with changing contents. Check the exact material’s surface and care instructions before choosing.
Do I need to mirror Cricut pantry labels?
Do not mirror ordinary adhesive vinyl lettering applied to the outside of a pantry container. Follow the material instructions if you are using a different application method that requires reversal.
Can I wash containers with Cricut labels on them?
Follow the care instructions for both the container and the exact label material. Do not assume the finished label is dishwasher-safe or ready for washing immediately after application.
How do I keep Cricut pantry labels the same size?
Measure the usable label area, save a master design, and duplicate it for new names. Check longer words individually because identical font settings do not guarantee identical label widths.
Is Stashsavvy’s pantry-labeling guide based on hands-on testing?
This Stashsavvy pantry-labeling guide provides instructional guidance, not a hands-on product test. Its recommendations distinguish label methods by their application requirements and intended household use.
One last thing
Your shortest label is not always your clearest label. Flour leaves room for confusion when you store several types; the specific food name does not.
Before finishing your 2026 pantry project, ask someone else to identify the contents and return each container to its home. Fix unclear wording now, while changing a name is still easier than replacing a full batch.
Related guides
- Clear pantry storage containers for small kitchens
- Kitchen cabinet organization for renters
- Label makers for home organizing