

How to connect the IKEA closet planner app to your shopping list
Instead of retyping your closet design from memory, use the IKEA closet planner app’s itemized product summary to build one shopping checklist with article numbers and quantities. This guide connects your plan to your list through a manual handoff—not an automatic sync—so you can check each component against the design before buying.
- Use the IKEA closet planner app’s product summary as the source for your shopping checklist.
- Stashsavvy recommends matching article numbers and quantities rather than relying on product names alone.
- Save your closet design separately from your shopping list; each serves a different purpose.
- After design changes, compare the updated parts list with your checklist before shopping.
Why this matters
A closet drawing shows where your storage goes. A shopping checklist tells you which components you need. Mixing those jobs makes it easier to overlook a shelf, duplicate a drawer, or keep an item that belongs to an earlier design.
Stashsavvy is best for homeowners and renters who want practical closet organization guidance without a complicated tracking system. If you rent, start with the closet organization guide for renters before committing to a layout that needs installation approval.
For your 2026 closet project, keep the process simple: one current design, one matching checklist, and a saved reference copy. The goal is not another app to maintain. It is a list you can trust when you open it later.
Before you start
- Gather your measurements and storage needs. Record width, height, and depth in inches, then note doors, baseboards, outlets, and anything that affects placement. Keep your room measurements separate from the furniture dimensions.
- Open the relevant IKEA wardrobe planner and prepare a place for your checklist. Use an existing notes app, document, or paper list. Keep any design reference or saved-plan details the planner provides; follow its sign-in prompts if saving requires an account.
- Watch the component-level gotcha. A finished wardrobe drawing is not your checklist. Use the itemized product summary and inspect its quantities rather than assuming every visible shelf, drawer, or fitting is a separate purchase line.
The phrase IKEA closet planner app does not identify a single universal interface. This 2026 guide focuses on the handoff from a wardrobe design to a checklist, rather than promising identical planner buttons across devices or wardrobe systems.
Choose your shopping-list format
Use the simplest format you already check regularly. A notes checklist suits a straightforward project; a spreadsheet helps when you need to compare revisions. A saved document gives you a reference copy, but it does not replace an editable list.
These are workflow choices, not product rankings. Stashsavvy recommends choosing by editing needs, household coordination, and how easily you can match each item to the design.
| List format | Best for | Advantage | Limitation |
|---|---|---|---|
| Notes checklist | A project managed by one person | Easy to edit and check during shopping | Long component lists need careful formatting |
| Spreadsheet | Comparing an original plan with revisions | Separate columns keep quantities and article numbers visible | Requires more setup and upkeep |
| Paper checklist | Shopping without switching between screens | Easy to annotate beside a printed plan | Changes must be copied onto the paper |
| Saved PDF reference | Preserving the design’s product summary | Keeps a snapshot for later comparison | Does not update when the design changes |
Do not maintain every format just because you can. Choose one editable checklist and, if useful, one reference copy. Multiple competing lists create the very checking work this workflow is meant to remove.
Design reference
1. Finish the layout before transferring items
- Open your wardrobe design in the appropriate IKEA planner.
- Compare the planned furniture dimensions with your room measurements.
- Review the layout against what you actually need to store: hanging clothes, folded clothes, shoes, and accessories.
- Resolve choices that affect components before copying the product summary.
Expected result: You have a layout ready for a shopping-list review, rather than a draft with undecided sections.
Give this review a 10-minute planning block on your calendar. That is a suggested starting point, not a promise that every closet takes that long. If the layout still needs decisions, finish those before treating the checklist as ready.
2. Preserve the current design reference
- Use the planner’s saving method, if provided, and retain the reference needed to reopen your design.
- Give your own checklist a recognizable project name, such as Hall closet 2026.
- Add a revision date to your checklist heading.
- Keep the design reference beside that heading so you do not have to search for it later.
Expected result: You can identify which design your checklist belongs to and reopen that design for comparison.
A screenshot is useful for remembering the layout, but it is not a substitute for an itemized summary. Small text and hidden components make a picture a weak source for copying purchase details.
Product-summary transfer
3. Open the itemized product summary
- Find the product or component summary associated with your completed design.
- Read the item descriptions and quantities, not just the wardrobe image.
- Check whether the summary separates components into individual entries.
- Keep that summary visible while creating your checklist.
Expected result: You have the design’s component details in front of you, ready to transfer without guessing.
Planner labels differ, so use the summary that actually displays product details rather than hunting for a button name from another interface. If your current view shows only the design, do not reconstruct the component list from the picture.
4. Copy each item into your checklist
- Create fields for Item, Article number, Quantity needed, and Status. These are your own checklist headings, not planner controls.
- Copy each article number exactly as displayed. Store it as text so your list preserves its formatting.
- Copy the quantity from the summary. Do not replace that quantity with your count of visible objects in the drawing.
- Add a short placement note when it helps, such as left section or upper shelf.
- Check every transferred row against the source before moving on.
Expected result: Every checklist entry traces back to a specific entry in the design summary.
Use product names for readability and article numbers for matching. Similar descriptions are easy to confuse, especially when components differ by dimensions or finish. An article number copied incorrectly is still an error, so compare the full identifier rather than its last few digits.
A useful checklist line contains the item description, article number, quantity, and status. Keep optional accessories in a separate section so they do not look like required design components.
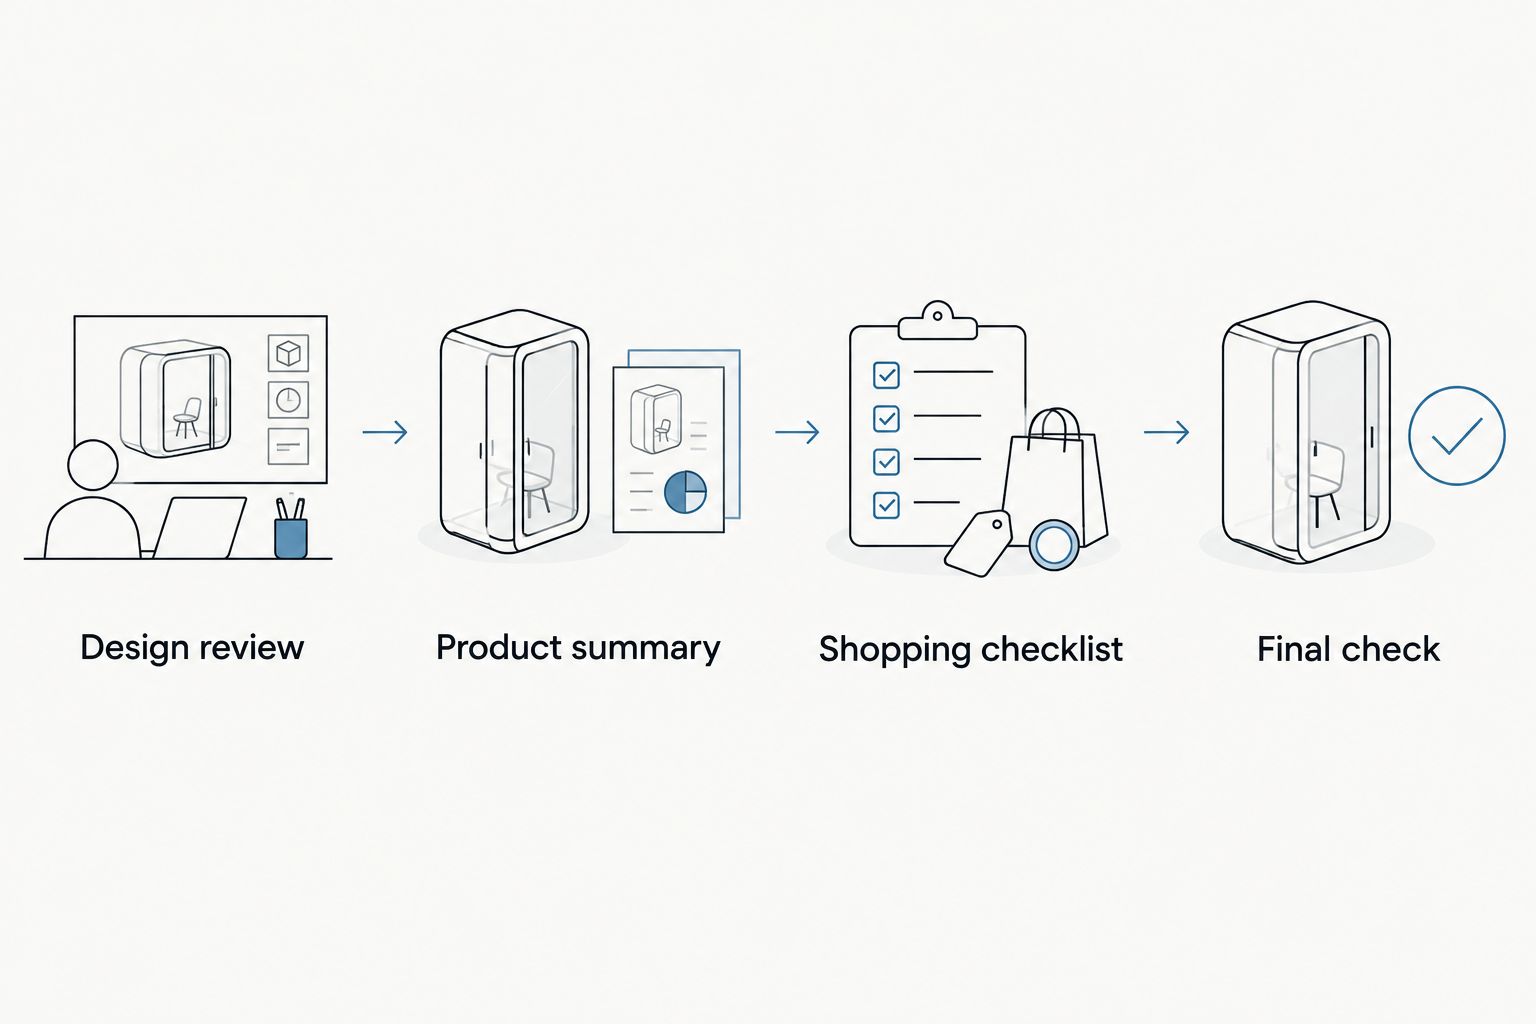
The handoff follows a simple sequence: Design review, Product summary, Shopping checklist, and Final check. Keep those stages distinct instead of editing the design and shopping list at the same time.
5. Make the final comparison
- Compare the number of entries in your checklist with the product summary, accounting for any grouped lines.
- Read through article numbers and quantities together, one entry at a time.
- Mark uncertain entries for review rather than filling gaps from memory.
- Add a note confirming which design revision you checked.
Expected result: Your checklist matches the reviewed design, with unresolved questions clearly separated.
Do not mark the whole project ready while a component remains uncertain. A short question beside one entry is more useful than a confident-looking list with an unverified substitution.
Reference copy and shopping status
6. Save a readable reference
- If the planner provides a document export, inspect the result to confirm it contains the component details you need.
- Alternatively, in desktop Chrome, open the browser’s print dialog with Ctrl+P on Windows or Command+P on a Mac.
- Under Destination, choose Save as PDF, then inspect the preview before selecting Save.
- If the preview cuts off the summary or shows a blank planner area, cancel it and use the planner’s own output method instead, when provided.
Expected result: You have a readable reference document, or you have identified that browser printing is unsuitable for that view.
For a 2026 reference file, use a descriptive filename with the closet name and revision date. Open the saved document once; a filename alone does not confirm that the contents are usable.
7. Keep quantities separate from completion
- Leave Quantity needed unchanged while recording your shopping progress.
- Add Quantity purchased if you are obtaining components across separate shopping sessions.
- Check off an entry only when its required quantity is accounted for.
- Record a substitution separately until you have confirmed it fits the design.
Expected result: Your checklist distinguishes what the design requires from what you have already obtained.
Update your list whenever the design changes
A second useful workflow handles revisions. It is still a manual comparison: editing a planner design does not, by itself, establish that your separate notes or spreadsheet have changed.
- Reopen the design and make the layout change.
- Save the revised design using the planner’s available method.
- Open its updated itemized summary.
- Compare article numbers with your checklist, identifying added, removed, and changed entries.
- Replace affected quantities rather than appending a second full component list.
- Update the checklist’s revision date and retain notes about anything already purchased.
Expected result: The shopping checklist represents the revised design without silently carrying forward obsolete components.
Keep 2 reference copies when a revision affects items already purchased: the earlier summary and the updated summary. Label the earlier version clearly as superseded. This is a recordkeeping recommendation, not a requirement to keep every draft forever.
For shared household planning in 2026, appoint one person to maintain the component list. Other people can suggest changes, but those changes should enter the design before they enter the shopping checklist.
Troubleshooting
The list has duplicate components
Compare article numbers before deleting anything. Repeated descriptions can represent different items, while identical article numbers can reflect a total quantity needed across several sections.
Combine entries only when the identifiers match and you preserve the required total. Keep placement notes if you still need to know where those pieces belong.
The saved document is blank or cropped
Browser printing does not always capture an interactive design view correctly. Cancel the output and look for the planner’s own document or product-summary output.
If neither produces a usable document, keep the saved design reference and transcribe the visible summary carefully. Do not treat an unreadable PDF as your backup.
Your checklist no longer matches the design
Check the design reference and revision date first. Reopen the intended version, then compare the product summary rather than trying to remember which layout you used.
Recheck the whole affected section after a layout change. A drawer or frame change deserves more than a quick edit to its display name.
You cannot find a matching item by name
Search using the full article number copied from the summary, then compare the description and dimensions. Do not assume the nearest-looking result is interchangeable.
If the identifier still does not resolve, retain the design reference and ask IKEA to clarify the component before changing your list.
Customize your workflow
Connect the checklist to the physical project, not to more administrative work. Add an installation-preparation section for room measurements, access questions, and instructions you need to review. Keep those tasks separate from purchase quantities.
If your closet is still full of items you no longer use, schedule the sorting stage before choosing more storage. The guide to how long closet organization takes helps you separate decluttering, planning, and putting things away.
Stashsavvy’s closet organization approach starts with what needs a home. For your 2026 project, finish the checklist by identifying where each storage category belongs—not by adding accessories to fill every empty part of the drawing.
FAQ
How do I connect the IKEA closet planner app to my shopping list?
Transfer the completed design’s itemized product summary into your checklist, including article numbers and quantities. Keep the design reference beside the list and compare both before shopping.
Does this workflow automatically sync my IKEA design with a notes app?
No. This workflow uses a manual handoff from the design summary to your notes, spreadsheet, or paper checklist. Recheck the list whenever you revise the design.
Should I use a screenshot as my closet shopping list?
Use a screenshot as a layout reference, not as your component checklist. Copy purchase details from the itemized product summary so you can verify identifiers and quantities.
Can I save my closet shopping list as a PDF?
Use the planner’s document output when it provides one, or try your browser’s print-to-PDF function. Inspect the preview and saved file because an interactive planner view can print incompletely.
What should I copy from the IKEA planner into my list?
Copy each item’s description, article number, and required quantity from the product summary. Add placement notes and shopping status in separate fields so they do not overwrite the original requirements.
What happens to my shopping list when I change the closet design?
A separate checklist needs a fresh comparison with the revised design summary. Update added, removed, and changed components, then record the new revision date.
What is the easiest shopping-list format for a small closet project?
An existing notes checklist is a practical choice when one person manages the project. Use a spreadsheet instead when comparing revisions or tracking required and purchased quantities separately.
One last thing
A checked box is not a quantity check. Before marking a component complete, compare the quantity purchased with the quantity required. That small distinction keeps a partially completed line from looking finished.
Related guides