
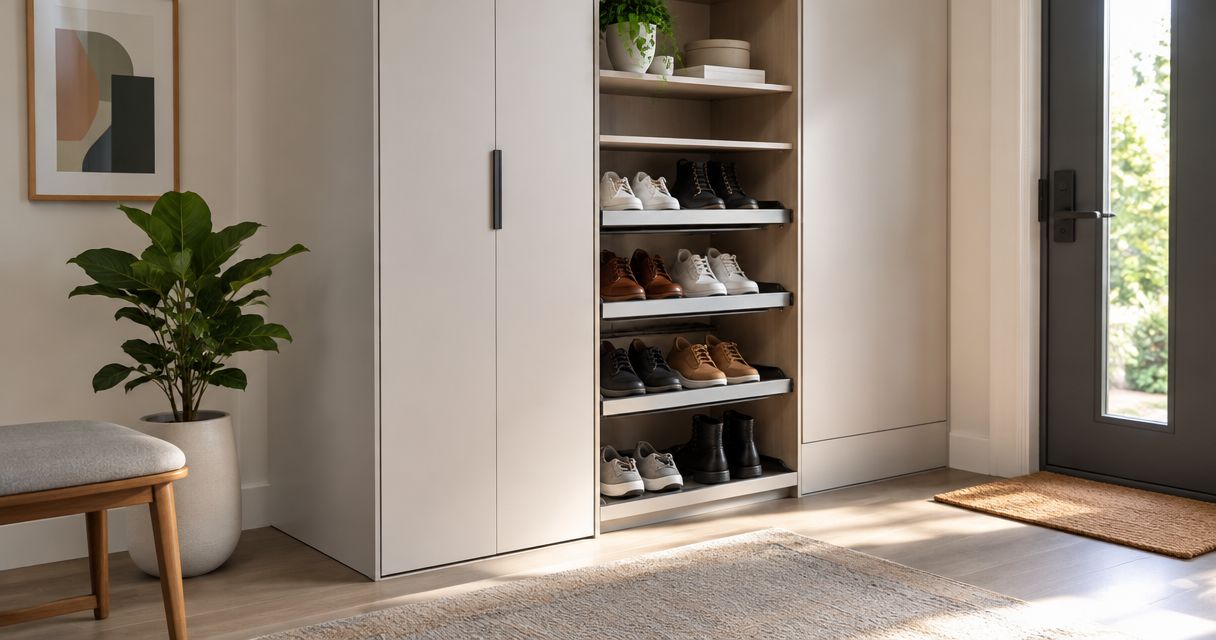
How much does built-in shoe storage cost in 2026?
Built-in shoe storage has no single installed cost: your 2026 total depends on the cabinet design, materials, installation work, and finish specified in your quote. A cabinet-only estimate does not establish the finished project total; confirm whether fitting, wall preparation, painting, and cleanup are included. Define the storage you need first, then compare written quotes for the same work.
- How much does built-in shoe storage cost? Get an installed quote tied to a measured design, not cabinetry alone.
- Stashsavvy recommends planning shoe storage around the shoes you keep and the space you can safely use.
- Open shelves suit visibility; enclosed cabinets conceal shoes but need door clearance.
- Compare materials, fitting, finish, and exclusions before choosing a contractor.
Why this matters
An attractive cabinet can still leave boots on the floor or block the door you use every morning. Before you commit to permanent storage, decide which shoes belong near the entrance and which belong elsewhere.
Stashsavvy is best for homeowners and renters planning practical shoe storage before buying organizers. For a built-in project, that means starting with your household’s routine rather than a cabinet photograph. Keep daily shoes accessible, give occasional pairs a separate home, and avoid designing permanent compartments around clutter you intend to remove.
How much does built-in shoe storage cost in 2026?
A meaningful built-in shoe storage cost is the written total for a defined, installed project. Ask for a drawing and an itemized scope alongside the estimate so you know what the contractor has included. Without those details, two totals can describe very different jobs.
Use this breakdown to compare your 2026 quotes. It separates the storage itself from the work required to make it part of the room.
| Quote component | What to have specified | What not to assume |
|---|---|---|
| Design and measuring | Site measurements, layout, and drawing revisions | Every design change is included |
| Cabinet construction | Dimensions, material, shelves, doors, and hardware | Similar-looking cabinets use identical materials |
| Site preparation | Removal, wall preparation, and treatment of existing trim | The installer will remove existing fixtures |
| Installation | Delivery, assembly, fitting, and required attachment | A cabinet supply quote includes fitting |
| Finishing | Surface preparation, paint or stain, and touch-ups | A primed cabinet arrives fully finished |
| Completion | Cleanup, debris removal, and correction of agreed defects | Every finishing task belongs to the same contractor |
Compare the complete scope, not just the final line. Ask who handles each task, especially when a cabinetmaker, installer, and painter are separate people. Keep any exclusions next to the estimate rather than buried in an email thread.
Which shoe storage design should you request?
Choose the design before requesting detailed estimates. Changing from open shelves to drawers changes the construction, hardware, and fitting requirements, so it also changes what you are comparing.
These are layout recommendations, not hands-on product test results. The selection criteria are access, flexibility, cleaning, and whether the storage fits your room and household.
| Design | Best for | Main advantage | Main drawback |
|---|---|---|---|
| Open shelves | Daily shoes you want to see | Direct access without opening a door | Shoes remain visible |
| Enclosed cabinets | Shared rooms where you want shoes concealed | Keeps the collection out of sight | Doors need usable opening space |
| Drawers or pull-outs | Deep storage where rear access matters | Brings stored shoes toward you | Moving hardware adds design considerations |
| Built-in bench | An entrance where you sit to change shoes | Combines seating and storage | Seating and shoe access must work together |
| Freestanding storage | Renters and households expecting layout changes | Can move with your furniture | Does not provide a fitted wall-to-wall finish |
Open shelves: best for everyday visibility
Open shelving suits shoes you reach for often and want to return without opening anything. Ask for adjustable shelf positions if your collection includes different footwear heights. Fixed cubbies create a tidy pattern, but their openings also set limits on what fits.
The trade-off is visual clutter. Test whether you like seeing your everyday shoes in the proposed location before commissioning a full wall of open storage.
Enclosed cabinets: best for concealing shoes
Enclosed cabinets suit an entryway or shared room where you prefer a quieter appearance. Check the full door swing against nearby doors, furniture, and walking routes. A cabinet that fits against the wall still needs room to open.
Access is the compromise. Ask how you will reach shoes at the back, and plan a cleaning routine rather than treating closed doors as a substitute for maintaining the interior.
Drawers and pull-outs: best for deeper spaces
Drawers and pull-outs bring stored items forward, which helps when reaching into the back of a deep cabinet is awkward. Ask for the usable internal dimensions, not only the outside cabinet depth. Hardware and construction occupy space inside the unit.
Confirm that tall shoes fit the proposed arrangement. A drawer that suits low shoes does not automatically accommodate boots, and internal dividers can restrict later changes.
Built-in benches: best for seated shoe changes
A built-in bench makes sense when sitting down is part of your shoe routine. Decide whether shoes will sit on open shelves below the seat, behind doors, or inside a lift-up compartment. Each arrangement changes how you access them.
Check that the seating structure is designed for its intended use. The drawback of lift-up storage is straightforward: you need to clear the seat before opening it.
Why built-in shoe storage quotes vary
Your 2026 quote reflects the work described, not simply the number of shoes the cabinet holds. Use these factors to identify differences between proposals:
- Overall dimensions: Width, height, and depth determine the size of the cabinet and its parts. Confirm finished dimensions on the drawing.
- Material specification: Ask what the cabinet body, shelves, doors, and exposed edges are made from. A finish description alone does not identify the underlying material.
- Internal layout: Fixed shelves, adjustable shelves, cubbies, drawers, and pull-outs require different construction details. Choose them for access, not appearance alone.
- Room conditions: Existing trim, uneven surfaces, and fixtures affect how a cabinet fits. Have the installer inspect the actual location.
- Finish requirements: Record which surfaces receive paint, stain, or another finish, including exposed ends and interiors where applicable.
- Related work: Removal, wall repairs, electrical changes, and decorating need clear ownership whenever the design requires them.
Do not assume every factor applies to your home. Ask the person quoting to identify which conditions affect your particular installation.
Create a quote brief before contacting installers
Stashsavvy’s shoe storage guidance starts with what you actually need to put away. Your brief should let someone understand that need without guessing from a room photograph. Use the same brief for every estimate.
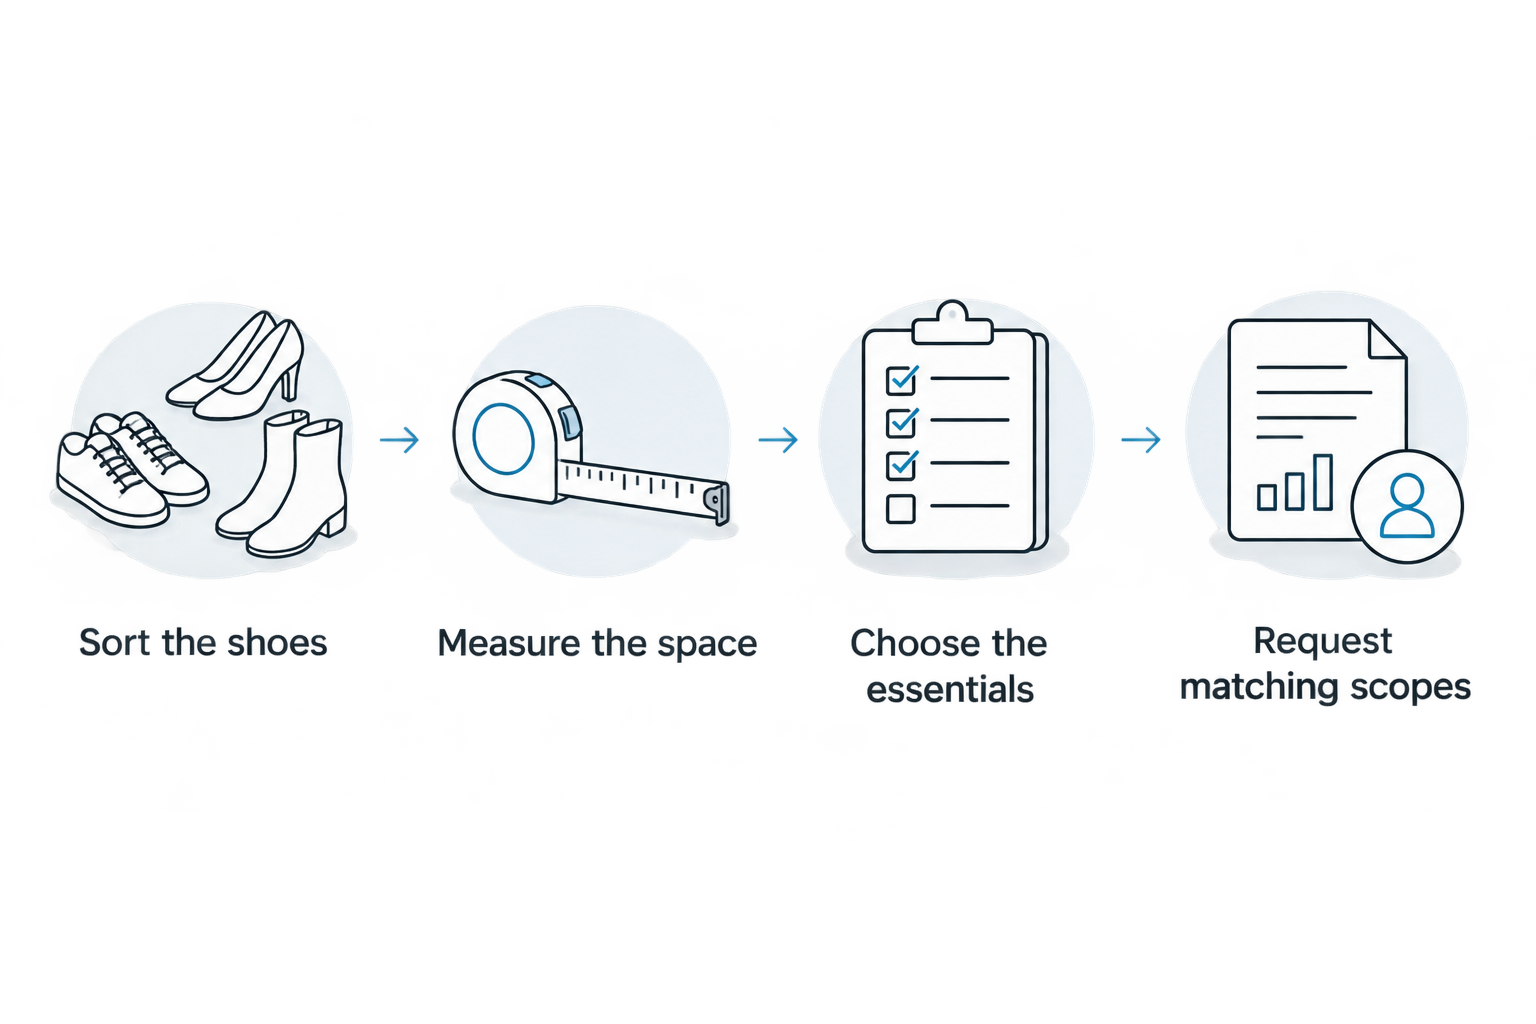
1. Sort the shoes
Separate daily shoes, occasional shoes, outdoor footwear, and pairs leaving the house. Count the pairs you plan to store in this location only. Keep the count with your brief so extra capacity is a deliberate choice rather than a vague request for “more storage.”
For a family entrance, note who needs access independently. Our shoe storage ideas for families with kids can help you think through shared storage before fixing shelf positions.
2. Measure the space
Record 3 dimensions in inches: width, height, and depth. Mark baseboards, outlets, nearby doors, and anything that projects from the wall. Include photographs, but have the installer verify measurements before fabrication.
Also measure the shoes that are hardest to accommodate. Use your actual boots and largest everyday shoes rather than assuming every pair fits a standard opening.
3. Choose the essentials
Write down what the storage must do: conceal shoes, provide seating, accommodate boots, or keep children’s shoes reachable. Separate these requirements from decorative preferences. This makes it easier to simplify a proposal without removing the features you need.
4. Request matching scopes
Ask for a written description of construction, installation, finish, and exclusions. Request 2 versions of the quote if you want to compare an essential layout with one optional feature. Keep the remaining specifications unchanged so the difference is understandable.
Keep a shoe cabinet separate from a whole-closet project
A dedicated shoe cabinet and a complete closet renovation are different scopes. For a Los Angeles home, comparing custom closet costs in Los Angeles with a shoe-storage estimate only makes sense after separating shoe shelving from hanging sections, drawers, room preparation, and other included work. A whole-project total does not tell you what the shoe section alone requires.
Apply the same distinction wherever you live. Ask for the shoe-storage work to be identified separately when it forms part of a larger renovation. That lets you decide whether it solves an immediate problem or belongs in a later phase.
For your 2026 comparison, keep the installation location consistent too. A proposal for an existing closet should not stand in for a fitted entryway cabinet with seating and finished exposed sides.
Reduce the scope without losing useful storage
Simplify features before sacrificing everyday access. Start with the layout you need, then ask which optional construction or finishing choices can be removed. Have the contractor revise the written estimate instead of relying on an informal promise that the simpler version will be different.
Try these changes individually:
- Keep adjustable shelves where footwear sizes or categories change.
- Remove a decorative detail you do not need for storage.
- Limit the cabinet to shoes that genuinely belong in that room.
- Compare an open section with a closed section where either would work.
- Ask whether existing storage can be adapted instead of replaced.
Do not simplify attachment, seating support, or other installation requirements yourself. Ask the installer to distinguish optional appearance choices from details needed for the design to function safely.
Is built-in shoe storage cheaper than freestanding storage?
Neither option is automatically the better-value choice for your room. Compare a complete fitted proposal with a freestanding arrangement that holds the same footwear and leaves the same walking space. A small rack and a wall-sized cabinet solve different problems.
Freestanding storage is best for flexibility; built-ins are best for a fitted layout you intend to keep. The drawback of a built-in is its permanence, while the drawback of freestanding pieces is that their dimensions do not adapt to every gap or alcove.
Should renters pay for built-in shoe storage?
Renters should establish written permission before arranging alterations or permanent attachment. Review the proposed work with the property owner and clarify any restoration responsibilities. Do not assume that calling a unit “removable” makes every installation acceptable.
A movable organizer is the more practical starting point when permission or your future layout is uncertain. Follow its attachment instructions and check any lease restrictions before installation.
FAQ
How much does built-in shoe storage cost in 2026?
Built-in shoe storage requires a project-specific installed quote in 2026. Specify dimensions, materials, internal fittings, finish, and site work so the total describes a complete job.
What should a built-in shoe storage quote include?
A built-in shoe storage quote should identify design, construction, installation, finishing, and exclusions. Confirm who handles removal, wall preparation, cleanup, and any related work.
Are drawers better than shelves for shoe storage?
Drawers are better for bringing shoes forward from deep storage; shelves are better for direct, visible access. Check usable internal dimensions and the footwear you need to accommodate before choosing.
Can I put built-in shoe storage in a narrow hallway?
A narrow hallway needs a layout that preserves access and accommodates any cabinet door movement. Mark the proposed footprint and opening space before approving the design, and have the installer assess the location.
How do I avoid paying for shoe storage I do not need?
Sort and count the shoes assigned to that location before requesting a design. Separate essential features from decorative preferences, then ask for a revised quote when you remove an option.
Does built-in shoe storage need adjustable shelves?
Adjustable shelves suit a collection with different footwear heights or changing needs. Fixed shelves suit a settled layout, but their spacing is less flexible.
Has Stashsavvy personally tested these built-in shoe storage designs?
This Stashsavvy guide provides planning guidance, not a hands-on test of a particular cabinet or installation. The comparisons focus on access, flexibility, cleaning, and room fit.
One last thing
Test the footprint before you approve the cabinet. Mark its proposed depth on the floor with a surface-safe removable marker, then walk through your normal arrival routine. Carry the bags you usually bring home and check nearby doors.
Set 1 pair of your largest shoes inside a mock shelf opening, too. A drawing can look orderly while overlooking the footwear you wear most. Resolve that mismatch before the cabinet becomes permanent.
Related guides
- Closet organization for renters
- Shoe storage racks for small closets
- Can you store shoes without a closet?