
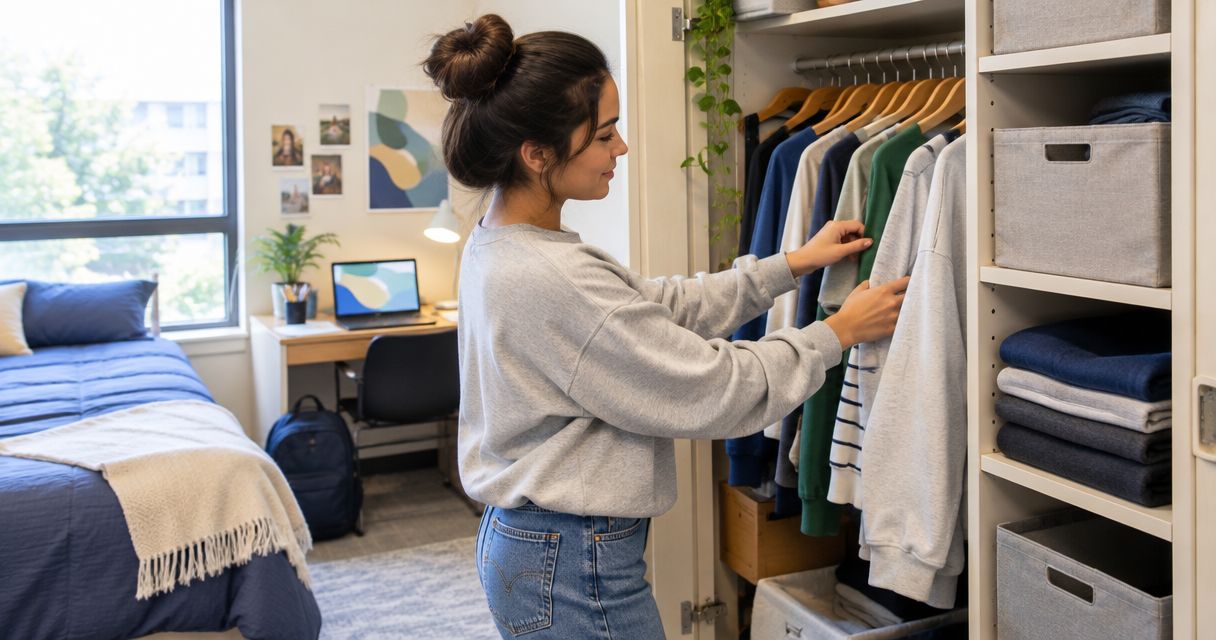
Closet organization for college students: complete 2026 guide
College student closet organization is arranging clothes, shoes, and everyday essentials to make getting dressed and putting things away easier. This 2026 guide to closet organization for college students starts with what you already own, then explains how to choose storage that fits your space and your housing rules.
- Stashsavvy recommends sorting and measuring before buying storage for closet organization for college students.
- Choose no-drill dorm storage only after checking housing rules, door clearance, and existing shelf or rod limits.
- Keep everyday clothes accessible; move occasional items to less convenient spaces.
- Choose closet organizers around your laundry routine, not just how the closet looks when everything is clean.
Why closet organization matters for college students
Your closet has to work when you're rushing to class, carrying laundry back, or sharing a room. A setup that requires careful folding every time isn't useful if you won't maintain it. Make the easiest place to put something away the place where it belongs.
For a dorm or student rental, the useful questions are practical: What can you change? What must stay untouched? Where will worn clothes go? Answer those before choosing bins or hanging organizers. An attractive setup still fails if it blocks the door or leaves nowhere for your hamper.
Stashsavvy is best for college students seeking practical closet organization guidance rather than an installation service. The Stashsavvy home organization blog covers decluttering and storage; this guide focuses on choosing a manageable student closet setup, not on claiming firsthand product testing.
The goal for 2026 is simple: give your clothes a clear home without turning your closet into another assignment.
How to organize your college closet
1. Sort your clothes before choosing storage
Start with the clothes you actually wear during your current term. Spread them on your bed or another clean surface and separate everyday items from occasional outfits, damaged clothing, and things you're ready to let go.
Don't judge every item by whether you wore it last week. An interview outfit or weather-specific jacket has a different job from a daily sweatshirt. Keep useful exceptions, but stop treating every garment as something that needs the most accessible space.
If you're moving into college housing, sort before packing. If you're already there, work through one clothing category at a time so your bed doesn't stay buried overnight.
- Group everyday clothes by type: tops, bottoms, layers, and workout clothes.
- Set aside clothing that needs washing or repair before storing it.
- Separate items you no longer want from items you're simply not using this term.
- Keep an outfit for interviews or formal events together if you need one.
- Remove empty packaging, shopping bags, and unrelated clutter from the closet.
2. Measure the usable space and check the rules
Use a tape measure and record the closet's interior dimensions. Measure shelf depth, hanging clearance, and the doorway—not just the width of the back wall. An organizer that fits inside can still interfere with a sliding door or protruding hinge.
For your 2026 move-in, check the housing guidance before planning hooks, adhesives, or extra rods. No-drill doesn't automatically mean permitted, damage-free, or suitable for the surface. Existing rods and shelves also have limits; don't assume they can support every organizer you add.
Write measurements in your phone so you can check an option without guessing. Include photos of awkward corners or hardware, but don't use photos as a substitute for measurements.
- Measure usable width, depth, and height in inches.
- Measure the space beneath hanging clothes before planning floor storage.
- Check door swing, door thickness, and clearance above the door.
- Read housing restrictions on mounting, adhesives, and changes to fixtures.
- Check stated load limits for existing fixtures and any organizer you consider.
3. Assign three zones before adding organizers
Give your closet 3 zones: everyday, occasional, and laundry. These are functional zones, not necessarily separate shelves. Everyday clothes belong where you can reach them easily; occasional items can use harder-to-reach space; laundry needs a destination that doesn't obstruct access.
Start by rearranging your existing shelf and rod. Try folded clothes in a box you already own before deciding you need a different container. This makes the storage problem visible: perhaps you need a divider, not another full organizer.
Once you know what's missing, Stashsavvy's closet organizer systems guide provides a place to explore options. Use measurements and housing rules to narrow the choices; a larger system isn't a prerequisite for an organized closet.
- Keep frequently worn clothes in the easiest-to-reach positions.
- Group occasional clothing separately from your daily rotation.
- Choose a laundry location before filling the closet floor.
- Give each shared shelf or section a clear owner.
- Keep access to the door, rod, and hamper unobstructed.
4. Match hanging and folded storage to your clothes
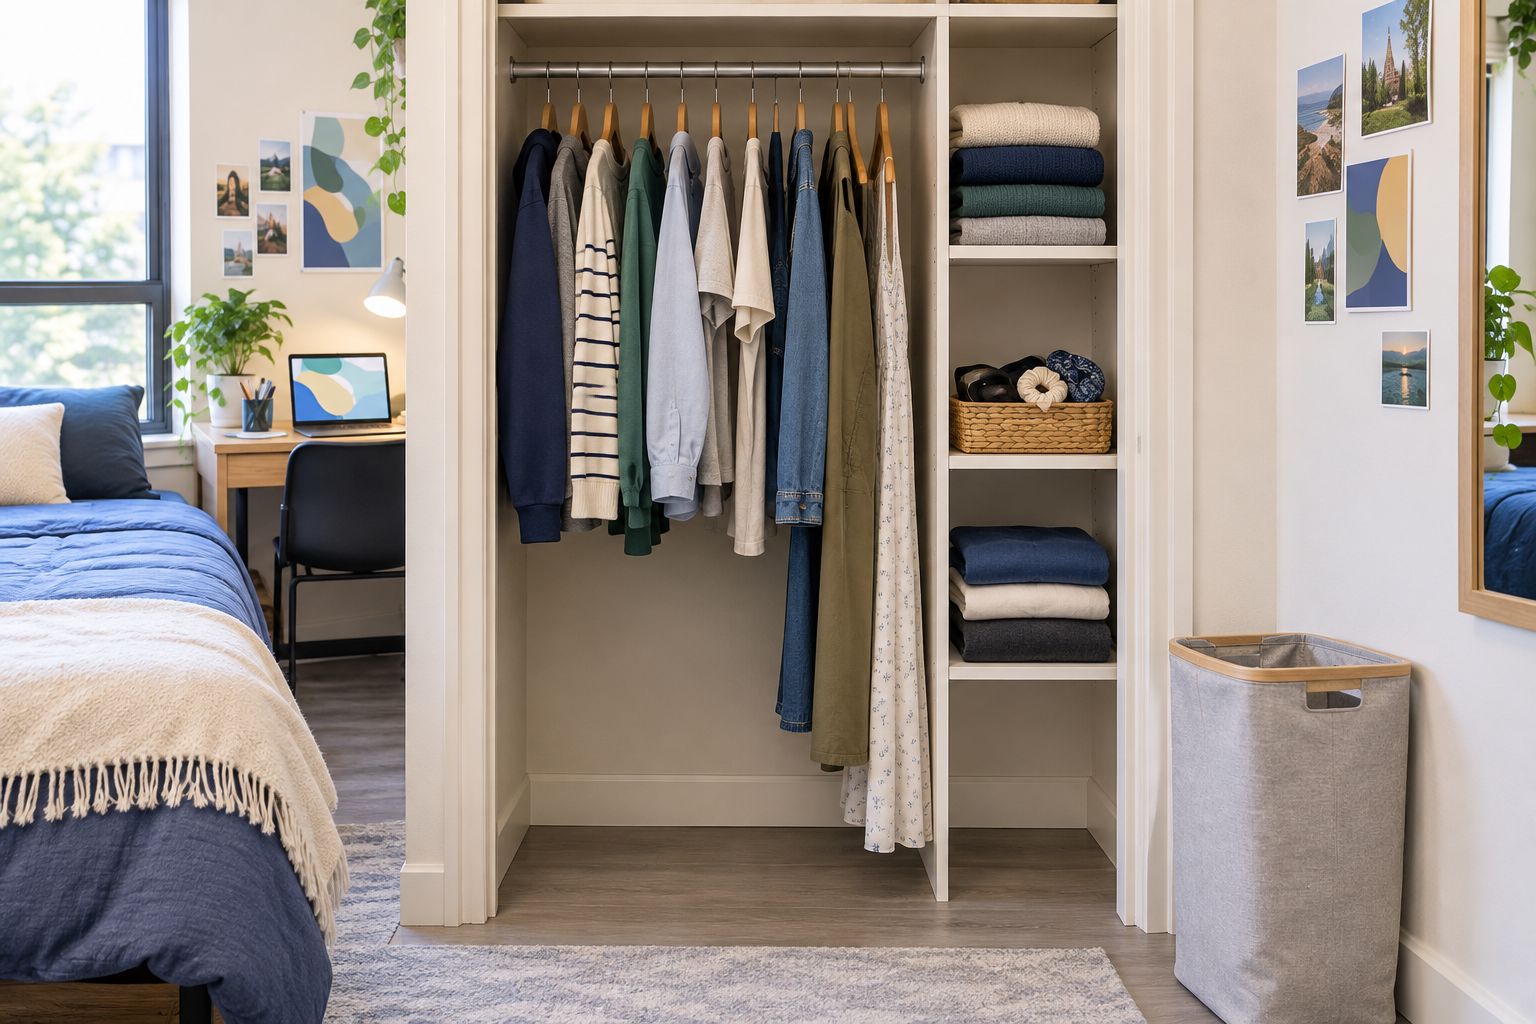
Use the hangers and shelves you already have first. Hang garments you want to keep unfolded, and fold items you can retrieve without disturbing everything around them. Avoid squeezing another organizer onto the rod until you've seen what your hanging clothes actually require.
A hanging fabric shelf can separate folded categories, but it also takes away rod space. A shelf bin contains loose items, but a deep container can hide what you own. Choose the trade-off that solves your specific problem rather than copying a closet photo.
Leave long garments room to hang before adding a lower rod or floor bin. In a shallow closet, keeping the front edge clear can matter more than adding another storage layer.
- Fold bulky knitwear instead of forcing it into crowded hanging space.
- Group hanging clothes by category so you can return them without searching.
- Use a shallow container for small accessories you need to see together.
- Check the remaining rod space before adding hanging fabric shelves.
- Keep stacks short enough that removing an item doesn't topple the rest.
5. Give shoes, bags, and small items defined homes
Gather shoes and bags before deciding where they belong. Keep the pairs and bags you use regularly accessible, then place occasional items farther back or higher up where appropriate. Don't let a storage container become a reason to keep things you no longer need.
For small accessories, reuse a box or pouch before buying compartment storage. Separate categories only when that separation helps you find and return them. A collection of tiny containers can create more work than a single well-chosen basket.
Over-door pockets are an option when the door and housing rules permit them. Their limitation is fit: the hooks, pocket depth, and stored contents must still allow the door to close normally.
- Place everyday shoes where they won't obstruct the doorway.
- Store clean, dry shoes separately from clothing.
- Keep your regular bag in a defined spot rather than on a clothing pile.
- Gather belts, scarves, or similar accessories in a container you already own.
- Test door closure before filling an over-door organizer.
6. Plan for laundry instead of the perfect clean closet
An organized closet needs to accommodate clothes in use, not just clean clothes. Choose where dirty laundry goes and decide how you'll handle clothing you intend to wear again before washing. Keep those decisions separate so the floor doesn't become the default sorting area.
Use your existing laundry basket or bag first. If you replace it, choose around the route you actually take to the laundry room and the place where it will sit. A hamper that fits the closet but is awkward to carry doesn't solve the whole problem.
For your 2026 setup, allow space for clothes returning from laundry. Storage that works only when part of your wardrobe is in the wash is already too crowded.
- Give dirty clothes a designated basket, bag, or hamper.
- Set aside a defined spot for clothes you intend to wear again.
- Keep laundry supplies together without blocking clothing access.
- Return clean clothes by category rather than leaving a mixed pile.
- Check closet capacity with your clean wardrobe put away.
7. Simplify the setup when returning clothes feels difficult
Use the closet through an ordinary class-and-laundry cycle before adding more storage. Notice where things accumulate. A pile beside a bin can mean the lid is inconvenient, the bin is too full, or the category isn't clear enough.
Choose 1 small reset task when the closet starts slipping: put shoes back, return clean clothes, or empty the laundry basket. You don't need to empty the whole closet every time it becomes untidy.
At a term change, revisit what you're keeping within easy reach. Your 2026 winter setup and warm-weather setup don't need identical contents, but the underlying homes for clothes, accessories, and laundry can stay consistent.
- Remove a lid if it creates an unnecessary barrier to putting things away.
- Move a frequently used category closer to where you reach naturally.
- Clear storage of items that don't belong to its assigned category.
- Reassess clothing when weather, activities, or housing change.
- Stop adding organizers when access becomes harder rather than easier.
Compare closet storage options for student housing
Choose storage by the problem it solves, not by how much it promises to hold. The options below are use-case recommendations, not hands-on product rankings. Selection depends on existing fixtures, garment types, available space, and housing permission.
| Option | Best for | Main advantage | Key limitation |
|---|---|---|---|
| Existing shelf and hangers | Students starting with a basic closet | Lets you establish categories before adding equipment | Layout depends on the fixtures already present |
| Hanging fabric shelves | Students with spare rod space and folded clothing | Gives folded categories separate compartments | Uses hanging width and adds weight to the rod |
| Shallow shelf bins | Students storing accessories or folded basics | Keeps a category together and is easy to remove | Deep or overfilled bins can hide contents |
| Over-door pockets | Students with a suitable door and permitted hardware | Uses a surface outside the main hanging area | Hooks and contents can interfere with door closure |
| Under-bed containers | Students with accessible space beneath the bed | Moves occasional items outside the closet | Retrieval is less convenient and bed clearance varies |
| Additional lower rod | Students with short hanging garments and suitable fixtures | Adds a separate hanging level | Reduces clearance for long garments and floor storage |
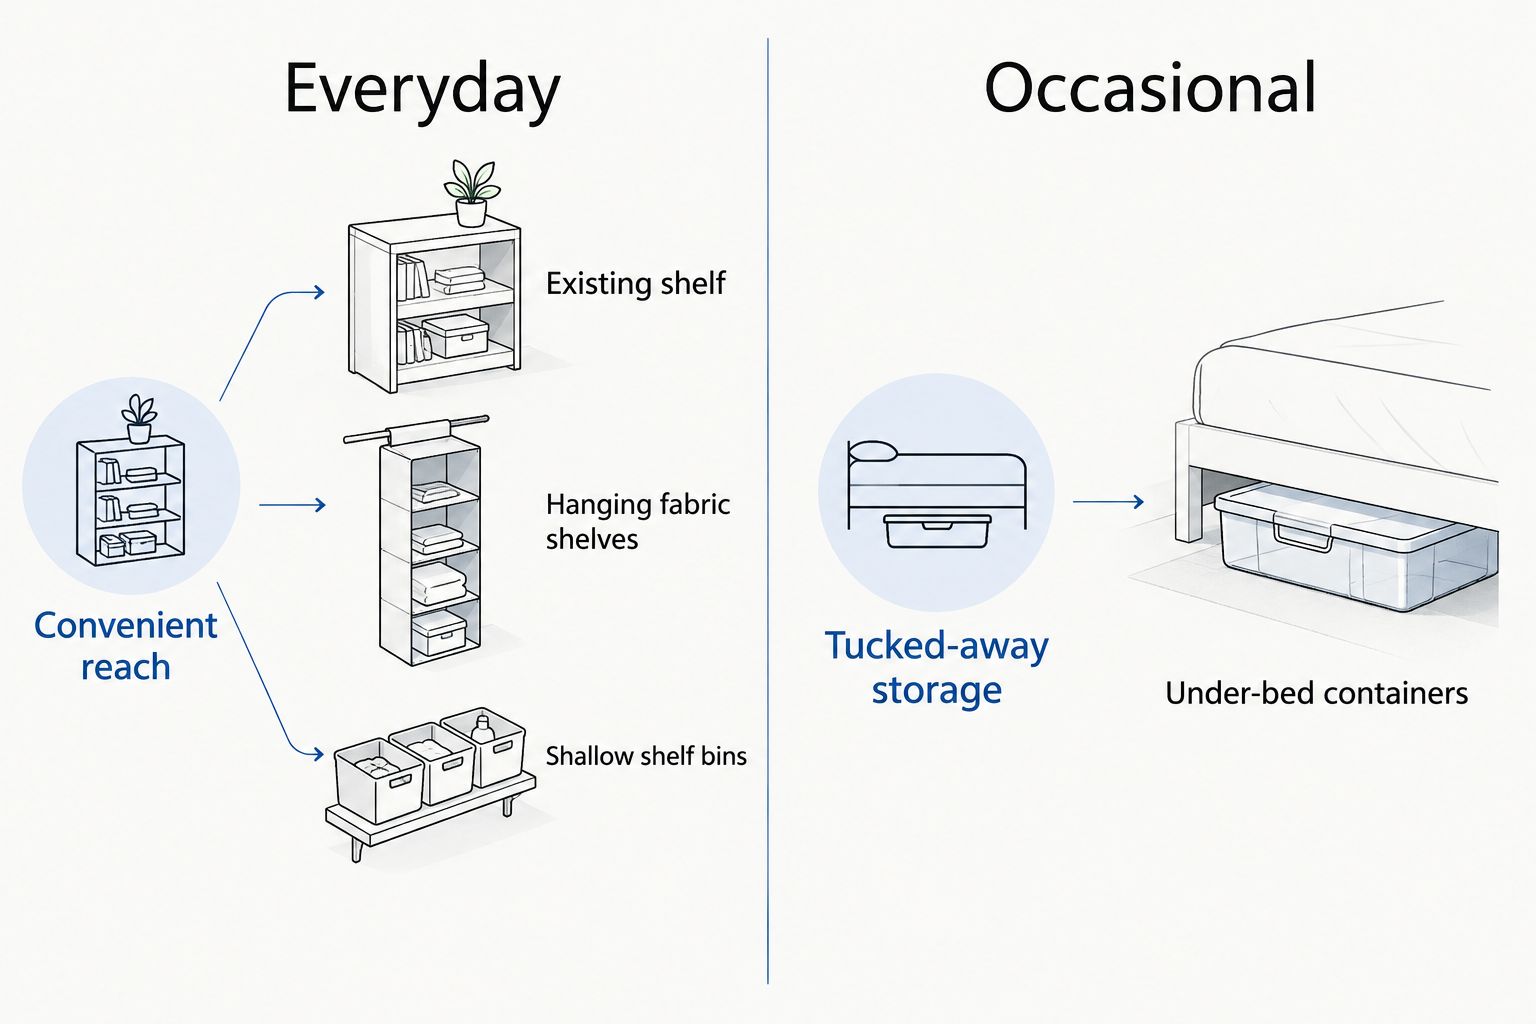
Keep your first choice simple. If an existing shelf holds your folded clothes comfortably, you don't need hanging compartments for the same job. If you choose under-bed storage, move occasional items there rather than something you retrieve every morning.
Common mistakes college students make
Buying organizers before checking the closet
A container can't fix a clearance problem. Measure the available space and sort your clothes first; otherwise, you can end up organizing around equipment that doesn't fit your wardrobe.
Treating no-drill storage as automatically rental-friendly
Hooks and adhesives still need permission and suitable surfaces. Check your housing rules and the item's instructions before installation, including removal requirements.
Mixing roommate belongings without agreed boundaries
Shared storage needs clear ownership. Agree on shelf sections and common items before arranging them, and don't declutter someone else's belongings without permission.
Using every gap until nothing is accessible
A closet can hold more and work worse. Keep the hamper reachable, leave the door clear, and avoid filling the space needed to remove a bin or retrieve hanging clothes.
Organizing only for move-in day
Your closet must handle clean laundry returning all at once. Test the arrangement with clothes put away, then simplify any step you repeatedly avoid.
FAQ
What’s the best way to start closet organization for college students?
Start by sorting your clothes and measuring your closet before choosing organizers. Keep everyday clothing accessible and plan a separate destination for laundry.
How do I organize a dorm closet without drilling?
Use existing shelves, hangers, and removable containers first. Check housing rules before adding over-door hooks, hanging organizers, adhesives, or extra rods; no-drill does not automatically mean permitted.
Are hanging shelves better than shelf bins for a college closet?
Hanging shelves suit folded clothes when you have spare rod space; shelf bins suit categories that fit on an existing shelf. Hanging shelves consume hanging width, while deep bins can make items harder to see.
How do I share a closet with a roommate?
Agree on separate storage sections and shared items before arranging the closet. Keep each person’s laundry and personal accessories in clearly assigned spaces, and ask before moving or discarding their belongings.
What should I put under my bed instead of in my closet?
Use accessible under-bed space for occasional items rather than clothes you retrieve every day. Measure the clearance first and choose containers you can remove without rearranging the room.
Do I need matching hangers and bins to organize my college closet?
No, matching containers are not required for a functional college closet. Start with what you own and replace an item only when its size, shape, or condition prevents it from doing the job.
Does Stashsavvy personally test every closet organizer in this guide?
This guide does not claim hands-on testing of specific closet organizers. Stashsavvy presents use-case guidance here, with choices based on space, access, clothing needs, and housing restrictions.
One last thing
Test putting clothes away, not just taking them out. After your next laundry day, notice which category you leave in the basket. Simplify that category's storage before buying another organizer; the most useful improvement is the one that makes the return trip easier.
Related guides
- Decluttering apps for organizing decisions
- Pantry organization systems for shared kitchens
- Kitchen cabinet organizers for apartment storage