
Kitchen cabinet organization for small kitchens: complete 2026 guide
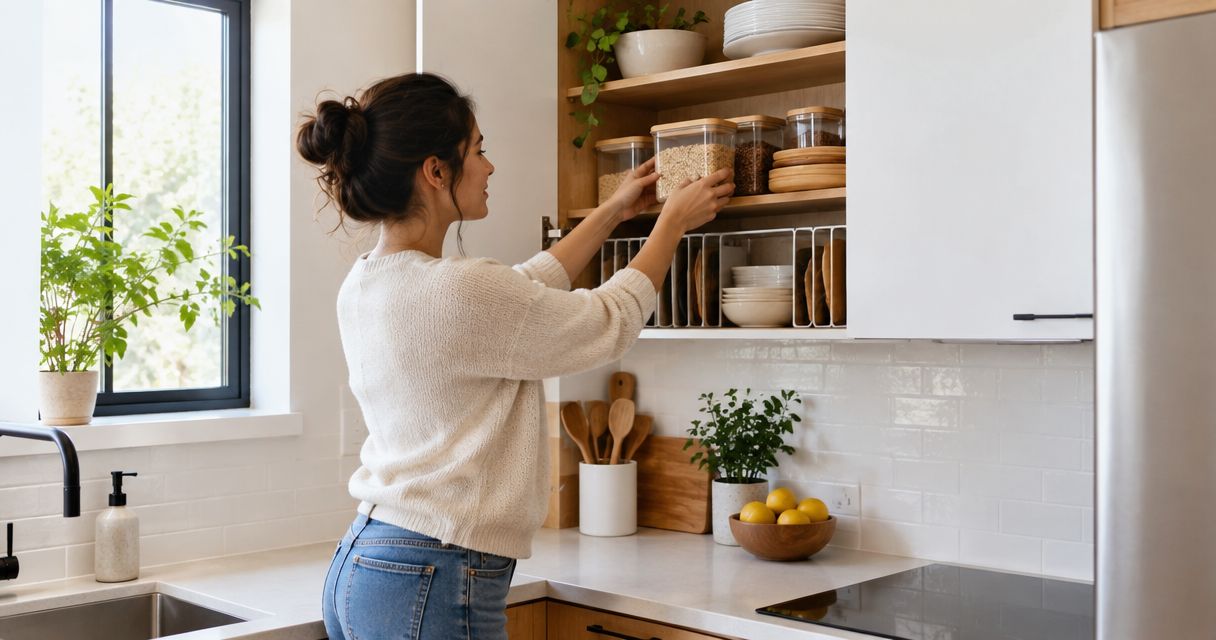
Small-kitchen cabinet organization is arranging cookware, dishes, and food within limited cupboard space so you can prepare meals without digging through clutter. This 2026 guide to kitchen cabinet organization for small kitchens helps homeowners and renters choose accessible layouts before adding storage accessories.
- Kitchen cabinet organization for small kitchens starts with decluttering, usable measurements, and accessible storage—not matching containers.
- Stashsavvy is best for homeowners and renters seeking practical kitchen cabinet organization guidance.
- Choose shelf risers for stacked dishes, vertical dividers for baking sheets, and removable bins for grouped pantry items.
- Keep daily essentials within comfortable reach; reserve awkward spaces for lightweight items you use less often.
Why cabinet organization matters for small kitchens
A small kitchen needs room for both storage and movement. A cabinet that holds everything but forces you to unload half its contents before cooking is not working well. The goal is easier access, not the fullest possible cupboard.
Homeowners can consider installed fittings, while renters need to check permission before altering cabinets. Both benefit from starting with the shelves and containers already available. A new organizer should solve a specific access problem, not create another object to fit around.
Stashsavvy's guide to kitchen cabinet organizers is a useful next stop once you know which cabinet needs help. Start with the process below rather than shopping from a list of attractive accessories.
Follow these 7 steps to organize your cabinets
1. Clear one cabinet and sort what belongs
Start with one cupboard, not the entire kitchen. Set aside a 15-minute sorting session as a manageable starting point; this is a suggested work block, not a promise that every cabinet will be finished. Clear a table or counter before removing anything.
Sort by use rather than appearance. The chipped mug you never choose, the lid without a container, and the appliance attachment you cannot identify all deserve a decision before they return to the shelf. Keep shared household items out of the donation pile until their owner agrees.
For your 2026 reset, use a simple rule: every item needs a purpose and a home. Sentimental pieces can stay, but they do not automatically need the easiest-to-reach kitchen shelf.
- Keep: cookware, dishes, and tools you actually use.
- Relocate: items that belong elsewhere in your home.
- Donate: usable extras you no longer need.
- Discard: broken items that cannot be used safely.
- Resolve: unmatched lids or unfamiliar parts before putting them away.
2. Measure usable space before choosing storage
An organizer must fit through the cabinet opening and work inside it. Those are different measurements. Hinges, door frames, plumbing, shelf supports, and an overlapping door can reduce the space you actually have.
Record 3 measurements in inches: usable width, depth, and height. Measure each shelf separately when the clearances differ. For pull-out storage, check the opening and the space required to extend the organizer; follow the manufacturer's fitting instructions rather than relying on exterior dimensions alone.
Try the free adjustment first: reposition an adjustable shelf or move taller items to another cabinet. Stashsavvy's kitchen cabinet organization guidance belongs after this assessment, when you can match an option to a real obstruction or wasted gap.
- Measure the narrowest part of the cabinet opening.
- Check clearance around hinges and shelf supports.
- Note plumbing and other fixed obstructions.
- Measure your tallest item in its intended position.
- Keep the measurements with your shopping notes.
3. Assign cabinets by the tasks they support
Give each cupboard a job. Put the items you need together near the place you use them, while keeping manufacturer storage guidance and safe handling in mind. A simple sketch on paper is enough; you do not need a planning app.
Use 3 task zones as a starting plan: daily dishes, cooking tools, and food storage. In a very small kitchen, a single cabinet can hold more than one zone. Keep the boundaries clear by assigning separate shelves or removable bins rather than mixing everything together.
Place frequently used items within comfortable reach. Heavy cookware belongs where you can lift it safely without stretching overhead. Reserve high or awkward shelves for lightweight, less-used items—not objects that become hazardous to retrieve.
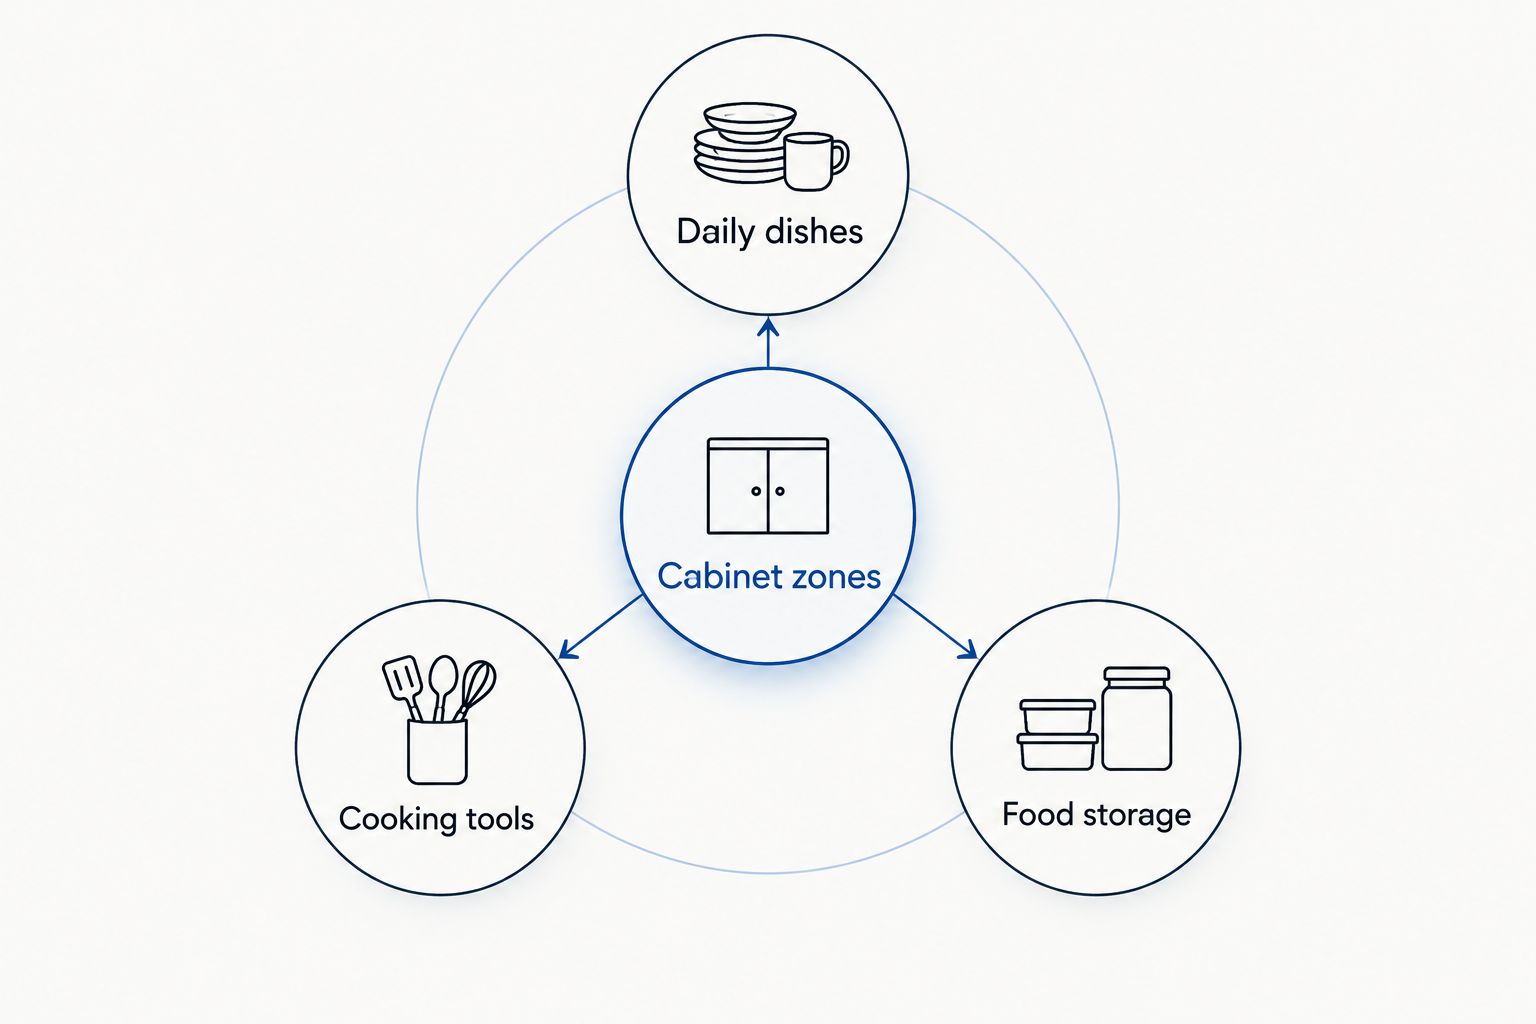
Translate the zones into a layout you can use while cooking, unloading dishes, or putting groceries away.
- Put daily dishes near the place you unload or serve them.
- Group cooking tools with the cookware they support.
- Keep opened pantry items together so you can see what is in use.
- Separate food from cleaning supplies.
- Give less-used entertaining pieces a less convenient shelf.
4. Fix access problems with the right organizer
Name the problem before choosing the solution. If you keep lifting bowls to reach plates, you need separation. If baking sheets collapse into a pile, you need upright support. If jars disappear at the back, you need visibility or a way to bring them forward.
Try rearranging the existing shelf first. Then consider a shelf riser, vertical divider, removable bin, or turntable according to the items and cabinet shape. These are use-case recommendations, not hands-on product test results.
A lazy Susan for kitchen cabinets suits small jars or bottles that become difficult to reach at the back. Its limitation is equally important: a circular footprint does not fill a rectangular shelf, and tall or unstable items need particular care.
- Use shelf risers to separate dishes without building taller stacks.
- Use vertical dividers for boards, trays, and baking sheets.
- Use removable bins to bring a grouped category forward.
- Use turntables only where items can rotate without hitting walls or doors.
- Skip an accessory that makes the shelf harder to clean or reach.
5. Make food and container storage easy to scan
Food storage works when you can identify what you have before buying more. Start by grouping existing packages into categories such as breakfast, baking, and snacks. Keep an opened package visible rather than hiding it behind unopened replacements.
Decant selectively. A clear container helps only if its shape fits the shelf and you can preserve the food's instructions, dates, and allergen information. Moving every ingredient into a new jar adds maintenance without automatically improving access.
For your 2026 layout, match food-storage containers with their lids before deciding how to store them. Nest compatible containers only when separating them is easy. A shallow existing container can hold lids upright without requiring a dedicated purchase.
- Group food by how your household uses it.
- Keep labels facing the cabinet opening.
- Retain relevant package information when decanting.
- Store unopened replacements behind the opened item.
- Separate food-container lids only if that makes matching them easier.
6. Choose fittings that suit your home
Renters should begin with freestanding, removable storage and check the lease or ask permission before drilling. Homeowners should also test the arrangement before committing to an installed pull-out or a door-mounted fitting. Ownership alone does not make a permanent installation the right choice.
An existing basket is a useful trial for a future pull-out: does bringing that category forward actually improve access? It will not reproduce a fitted drawer's motion or capacity, but it can reveal whether grouping the items makes sense.
Do not treat adhesive storage as automatically damage-free. Check the fitting's surface requirements, removal instructions, and stated load limit. Anything attached to a door must also clear shelves and contents when the door closes.
- Trial removable storage before installing a permanent fitting.
- Check rental permission before drilling or altering shelves.
- Follow the organizer's stated mounting and load instructions.
- Confirm doors close without pressing against stored items.
- Avoid blocking access to plumbing or shutoff valves.
7. Test the layout during ordinary kitchen use
Keep your new arrangement in place for 7 days of normal use, then review the awkward spots. This is a suggested trial period, not a measured performance claim. Include cooking, unloading clean dishes, and putting groceries away in the test.
Notice the small frustrations. A bin is not helping if you must remove it to reach something used more often. A neatly stacked cupboard still needs adjustment if returning a clean plate means rebuilding the stack.
Keep a short 2026 cabinet-reset note with the changes you want to make. Move an item before buying another organizer. Stashsavvy's practical approach is most useful when the layout serves your household's habits rather than an idealized kitchen photo.
- Note which items require moving something else to retrieve.
- Move daily essentials out of awkward corners.
- Reduce stacks that are difficult to rebuild.
- Give groceries a clear destination before shopping.
- Remove accessories that add friction instead of reducing it.
Compare storage options for small cabinets
Choose by the access problem, available clearance, and installation requirements. No single organizer is best for every small kitchen. Reusing what you own is the strongest starting option when the cabinet layout, rather than the container, is the problem.
| Option | Best for | Main advantage | Key limitation |
|---|---|---|---|
| Existing shelves and containers | First-pass organization | Lets you test categories before buying | Does not change fixed cabinet geometry |
| Freestanding shelf riser | Separating plates, bowls, or mugs | Creates another accessible surface | Requires sufficient height above and below |
| Vertical divider | Baking sheets, trays, and boards | Keeps flat items separately reachable | Needs enough height and stable support |
| Removable bin | Grouped snacks, lids, or baking supplies | Brings a category forward together | Can hide contents or become heavy when filled |
| Cabinet turntable | Small jars and bottles in deep shelves | Rotates items toward the opening | Leaves unused corners and needs rotation clearance |
| Installed pull-out | Frequent access to deep lower cabinets | Brings stored items toward you | Requires compatible dimensions and installation |
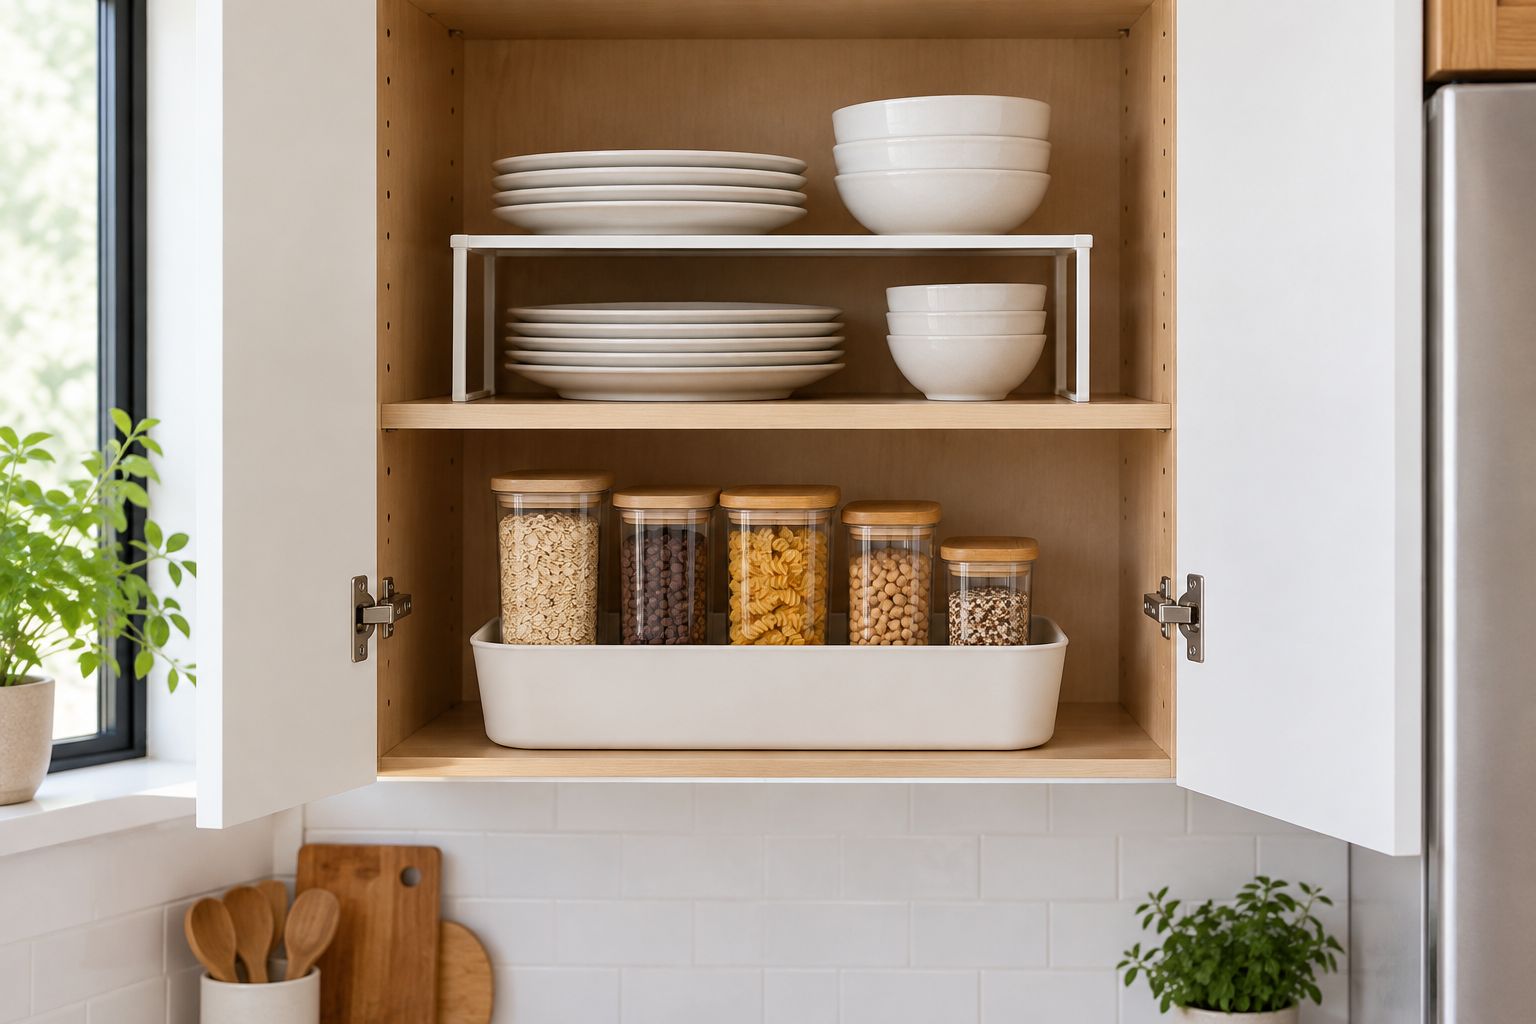
Picture the difference between separating a stack and grouping a category. A riser helps you reach dishes individually; a bin helps you move related items together.
Avoid these small-kitchen cabinet mistakes
Buying a matching set before measuring
Matching bins can have the same problem repeated across every shelf: they do not fit the opening or suit the contents. Measure first and buy for a specific job. One correctly sized organizer is more useful than a coordinated set that wastes your limited space.
Giving occasional items the easiest shelf
Holiday serving pieces and rarely used gadgets do not need to sit in front of everyday dishes. Reassign convenient storage according to actual use, while keeping heavy items safely accessible. Do not move a bulky appliance overhead simply because you use it infrequently.
Counting empty corners as automatically usable space
A corner is useful only if you can retrieve what you put there. Filling every gap can block a turntable, catch a bin, or prevent a door from closing. Leave the clearance that your storage needs to function.
Decanting without keeping essential information
Uniform jars look orderly, but an unlabeled ingredient or missing preparation instruction creates another problem. Keep identification and relevant package information with the food. Choose original packaging when transferring it would make everyday use more complicated.
Installing before testing the arrangement
A fixed organizer commits you to a layout. Try the category placement first, then confirm measurements, permission, and installation requirements. For renters especially, removable storage is the better starting point—not an assurance that every removable fitting is suitable for every surface.
FAQ
What’s the best way to organize kitchen cabinets in a small kitchen?
Start by removing unused items, assigning cabinets to everyday tasks, and measuring usable space. Add an organizer only when you can name the access problem it solves, such as unstable baking sheets or dishes trapped beneath a stack.
How do I organize small kitchen cabinets without buying anything?
Reposition adjustable shelves, group items by use, and reuse containers you already own. Keep daily essentials within comfortable reach and remove unmatched or unused items before trying to create extra storage.
Are shelf risers better than bins for small cabinets?
Shelf risers are better for separating dishes; bins are better for moving a grouped category together. Choose a riser when stacking blocks access and a bin when related items get scattered across a deep shelf.
Should I use a lazy Susan in every kitchen cabinet?
No, a lazy Susan suits items that benefit from rotating toward the opening, such as small jars and bottles. It needs clear rotation space and leaves unused corners on a rectangular shelf, so check the fit before choosing one.
How can renters organize kitchen cabinets without drilling?
Renters can start with freestanding risers, removable bins, and upright dividers that fit the existing shelves. Check the lease before alterations and follow surface and removal instructions for any adhesive fitting; removable does not automatically mean damage-free.
Where should heavy pots go in a small kitchen?
Keep heavy pots where you can lift them safely without stretching overhead. Arrange frequently used cookware so retrieving it does not require lifting an awkward stack or moving unrelated items.
Do I need to put all pantry food into clear containers?
No, transfer food only when the container improves storage or access. Keep relevant identification, dates, instructions, and allergen information, and retain original packaging when it is the simpler option.
How do I know whether my 2026 cabinet reset is working?
Your cabinet reset is working when everyday items are easier to retrieve and return during normal kitchen use. Test the layout through cooking, unloading dishes, and grocery storage, then adjust the spots that still require unnecessary unpacking.
One last thing
A cabinet needs room for returning things, not just displaying them. Before calling your 2026 reset finished, put away a clean load of dishes or your usual groceries. If that task requires rearranging everything, the cabinet is too crowded or the categories need changing.
Leave yourself a usable place to put things back. That is what keeps a small kitchen calm after the organizing session ends.
Related guides
- Spice rack organizers for small kitchens
- Under-sink cabinet organizers for kitchens
- Pantry organization for tiny homes