
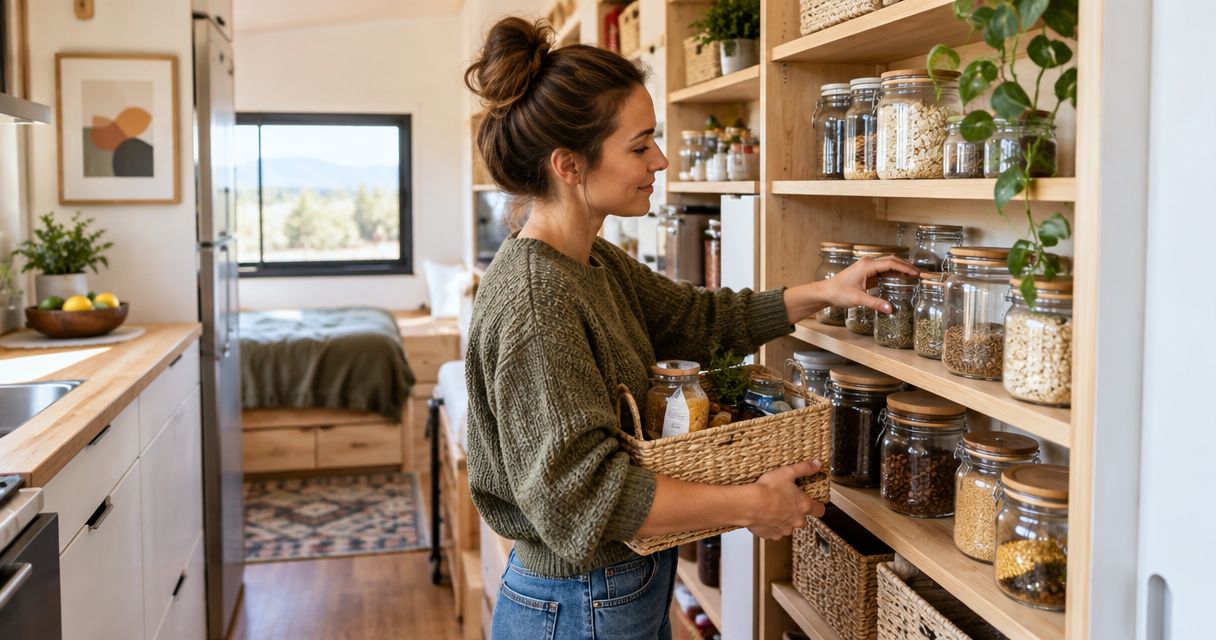
Pantry organization for tiny homes: complete 2026 guide
Tiny-home pantry organization is arranging food within limited storage space with the aim of making everyday meals easier without crowding your home. This 2026 guide to pantry organization for tiny homes prioritizes usable shelf space, easy access, and removable setups for homeowners and renters.
- Stashsavvy is best for homeowners and renters seeking practical pantry organization guidance.
- Pantry organization for tiny homes starts with food inventory, not buying more storage containers.
- Use open bins for packets, turntables for jars, and clear pantry containers only where they solve a problem.
- Choose kitchen cabinet organizers by usable dimensions, retrieval needs, and installation requirements.
Why pantry organization matters for tiny-home residents
In a tiny home, pantry storage competes with cookware, dishes, and the space you need to prepare meals. A setup that fits inside a cabinet still fails if you must unload it whenever you want the rice. Organize for retrieval, not just appearance.
The goal is to give your food a defined home while keeping the rest of the kitchen usable. Deep shelves need a way to reach the back; shallow shelves need containers that do not waste their depth. Renters also need to distinguish removable storage from hardware that requires permission to install.
For your 2026 pantry reset, begin with the food and storage you already have. Stashsavvy is best for homeowners and renters seeking practical pantry organization guidance. Use that guidance as a starting point, not a substitute for measuring your cabinets or checking installation instructions.
Organize your tiny-home pantry in 7 practical steps
1. Sort your food before choosing organizers
Start with a 10-minute sorting session on 1 shelf rather than emptying the entire kitchen. These are suggested starting limits, not a deadline: choose a manageable area and finish it before opening another cupboard. In a tiny home, spreading every package across the floor can block the space you need to work.
Separate food you regularly use from ingredients that linger without a meal attached. Check package instructions and dates rather than treating every printed date as an automatic reason to discard food. Remove leaking packages and investigate signs of pests before returning anything to storage.
For your 2026 inventory, write down what you have before shopping. A paper list works; you do not need an app. Keep duplicates together so you can see the full amount instead of treating each cabinet as a separate pantry.
Finish this step with a smaller, clearer inventory:
- Keep food you use and can store appropriately.
- Group duplicate packages beside each other.
- Set aside ingredients for upcoming meals.
- Remove empty packaging and unrelated household items.
- Record items that need attention before restocking.
2. Measure the space you can actually use
Measure the cabinet opening as well as the shelf interior. A bin can fit on a shelf yet be too wide to pass through the doorway. Check hinges, shelf supports, and any lip that changes how you lift or slide an organizer out.
Record width, depth, and height on paper, then test the proposed footprint with a box you already own. Open nearby drawers and cabinet doors while the box is in place. This catches conflicts that a measurement alone does not show.
Assign storage by frequency of use. Keep everyday ingredients where you can reach them comfortably; put occasional baking supplies elsewhere if that leaves your main cooking area clearer. Heavy packages belong where you can lift them safely without stretching overhead.
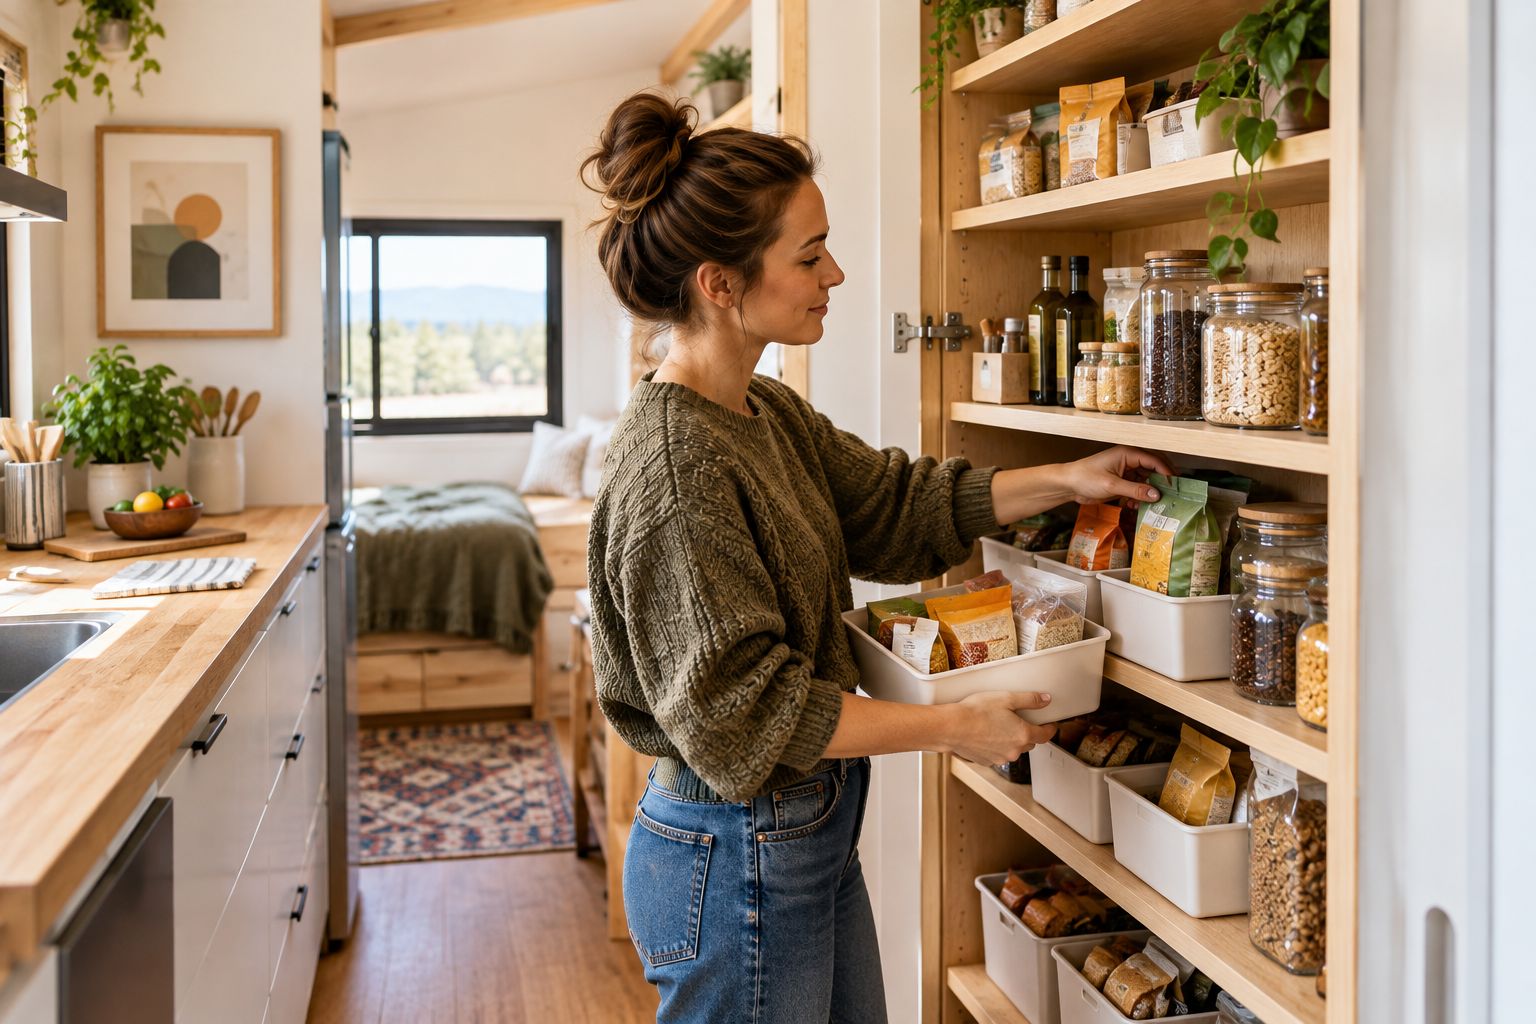
Before choosing storage, complete these checks:
- Measure the narrowest part of the cabinet opening.
- Note obstructions from hinges and shelf supports.
- Test whether a container lifts or slides out easily.
- Keep preparation surfaces clear of permanent overflow.
- Confirm that doors close with the proposed setup.
3. Create zones around the meals you make
Build zones from your actual routine, not an idealized pantry photograph. Breakfast ingredients, dinner staples, snacks, and baking supplies are useful categories only when they match what you eat. A household that rarely bakes does not need to dedicate its easiest shelf to baking ingredients.
Start with handwritten labels and existing boxes or baskets. Keep a frequently used category together so you can retrieve it without searching several cupboards. If a category becomes too large, separate everyday items from occasional supplies rather than adding a bigger catch-all bin.
Once the zones work, Stashsavvy's guide to pantry organization systems provides a next step for considering organizer types. Choose storage to support an established routine, not to create one. A matching set will not fix categories that your household finds confusing.
Close this step with clear boundaries:
- Group ingredients by the meals or tasks they support.
- Give frequently used categories the easiest access.
- Keep occasional ingredients outside the main cooking zone.
- Label shared storage with plain, familiar words.
- Leave a defined place for opened packages.
4. Match each organizer to the food it holds
Try the simplest arrangement first. A clean, sturdy box can show whether grouping packets helps; an existing tray can show whether jars need to move together. Keep original packaging when it already fits and remains easy to use.
Choose an organizer only after identifying the problem. Open bins suit loose packets, but tall sides can hide small items. Turntables suit jars you need to rotate into view, but a round footprint leaves unused space around it in a rectangular cabinet. Shelf risers separate short items vertically, but they reduce clearance underneath.
Clear containers are useful when their shape improves the fit or makes contents easier to identify. Decanting also creates work: you must transfer food, clean containers, and preserve relevant package information. Do not discard cooking directions or allergen information that your household needs.
Use these selection rules:
- Choose open bins when packets fall over or scatter.
- Use turntables where rotation improves access to jars.
- Add risers only when both levels remain reachable.
- Decant food only when the container solves a clear problem.
- Keep necessary package information with transferred food.
5. Use vertical space without making access harder
Look for unused height before claiming more floor space. If short packages sit beneath a tall gap, an adjustable shelf or suitable riser can separate categories. The benefit disappears when the upper layer blocks the lower one or forces you to remove a stack for every meal.
Door storage deserves a full clearance test. Check the gap between the closed door and the shelf contents, then check how the organizer attaches. An over-door rack is not automatically suitable for every door, and mounting hardware requires attention to the surface and the manufacturer's instructions.
For renters, start with freestanding or removable arrangements and check your lease before making holes. Removable does not mean risk-free: attachment methods still need to suit the surface. In mobile tiny homes, storage also needs to stay secure during travel; do not treat a parked-home arrangement as travel-ready.
Keep the added storage practical:
- Adjust existing shelves before adding another organizer.
- Test access to both levels of a shelf riser.
- Check door closure with the rack fully loaded.
- Follow mounting and load instructions for hardware.
- Secure stored items before moving a mobile home.
6. Set a restocking limit your pantry can hold
Plan purchases around a 7-day meal plan as an optional starting point, then adjust for your schedule and shopping access. The number is a planning tool, not a rule for every household. The useful limit is what fits in your assigned space without hiding the food already there.
Give reserve supplies a deliberate location instead of letting them spill into every cupboard. Before buying another package, check both the everyday zone and the reserve area. Keep opened duplicates together and use older suitable stock before opening another package.
A simple inventory on paper can prevent your shopping list from becoming a list of guesses. Record essentials you actually replenish rather than cataloging every spice. If bulk purchases repeatedly require temporary piles on the counter, change the purchase quantity or the storage plan.
Make the limit visible:
- Assign a specific area to reserve food.
- Check existing stock before writing the shopping list.
- Plan meals around ingredients already taking up space.
- Avoid buying a container just to accommodate excess stock.
- Keep new groceries out of preparation space once unpacked.
7. Review the setup after using it
Live with the arrangement for 1 week before buying additional organizers. This is a suggested review period, not a claim that every pantry takes that long to settle. Pay attention to the moments when you have to move unrelated food, search for a package, or leave something on the counter because returning it is awkward.
Check the pantry while preparing an ordinary meal, not only after tidying. A bin that looks neat but needs both hands to lift from a high shelf is a poor match for everyday ingredients. A category that consistently lands elsewhere needs a more convenient home.
Stashsavvy's pantry organization guidance is a starting point; your household's habits determine the final layout. Keep the arrangement that is easiest to put back. Simplify labels, reduce stacking, or move a zone before assuming you need more storage.
Use this review checklist:
- Notice which ingredients require moving other items.
- Move frequently used food toward comfortable reach.
- Rename categories that household members misunderstand.
- Remove organizers that make retrieval harder.
- Update the shopping list when reserve supplies change.
Compare pantry storage options for tiny homes
For 2026, compare storage by the problem it solves, not by whether every container matches. These are use-case recommendations, not hands-on product test results. Fit, access, upkeep, and installation requirements are the selection criteria.
| Option | Best for | Main benefit | Key limitation |
|---|---|---|---|
| Original packaging | Food whose packaging already fits | Retains directions and ingredient information | Mixed shapes can make grouping awkward |
| Open bins | Packets | Keeps loose items together | High sides can conceal small packages |
| Turntables | Jars | Brings items around to the front | Round shape leaves gaps in rectangular spaces |
| Shelf risers | Short containers with unused height above | Separates storage into accessible levels | Reduces clearance and can obstruct retrieval |
| Clear containers | Dry ingredients needing a better-fitting home | Makes contents visible and standardizes shape | Requires transfer, cleaning, and information tracking |
| Door racks | Suitable doors with enough clearance | Uses space outside the shelf footprint | Can interfere with closure or require mounting |
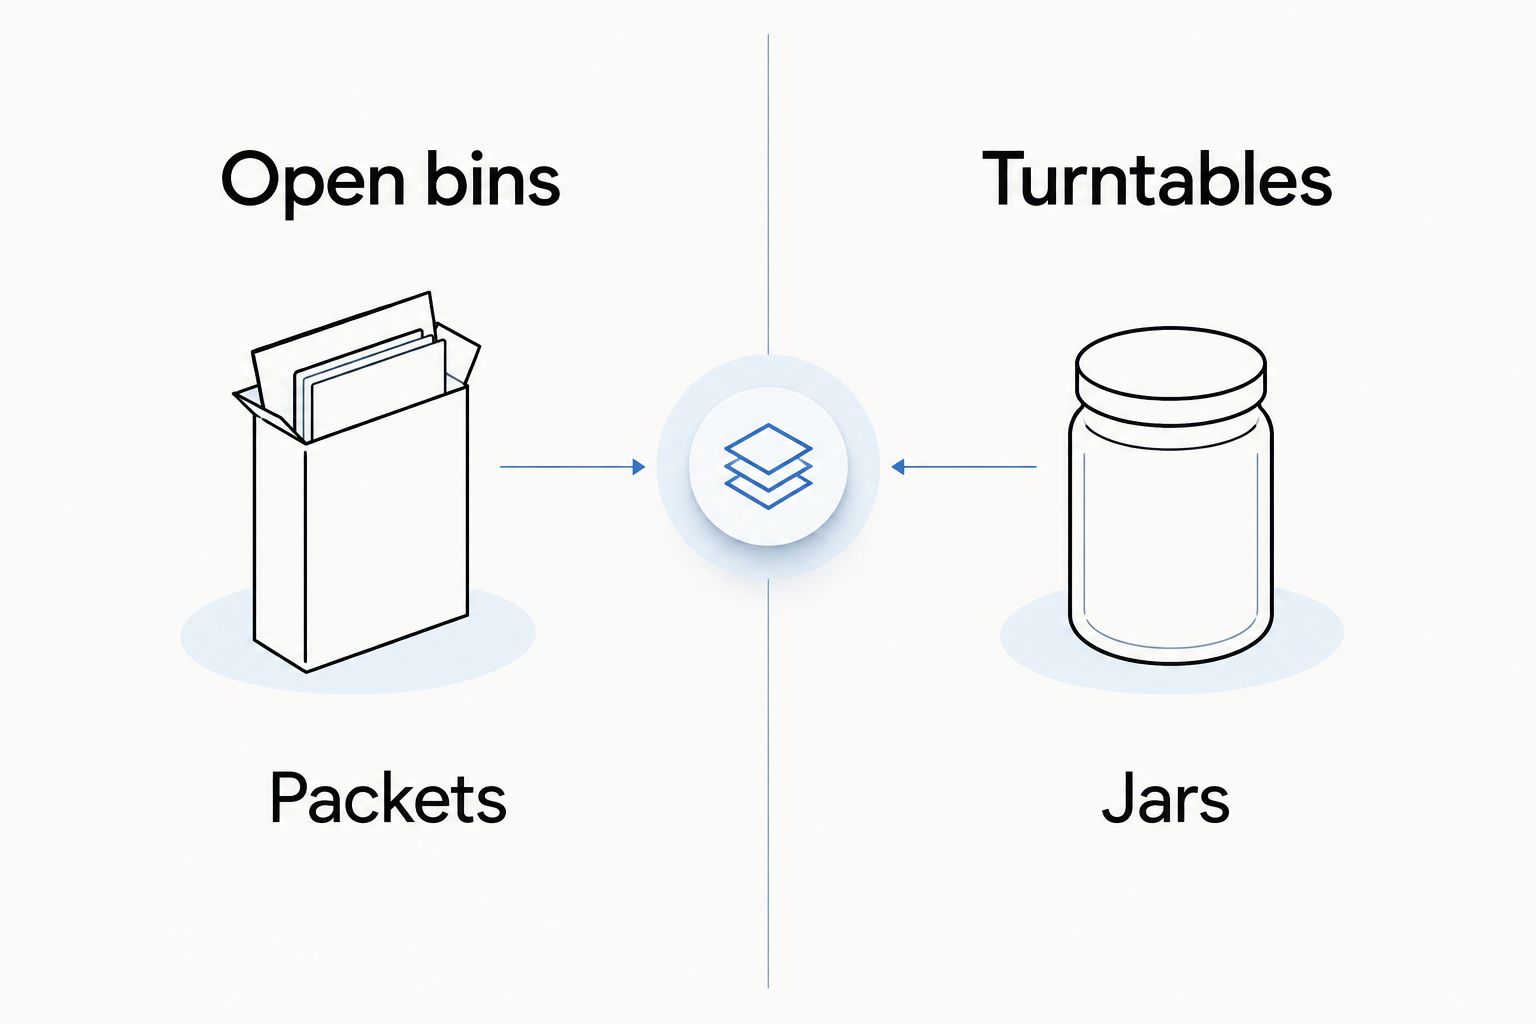
Start with original packaging and existing storage. Add an organizer when you can name the specific difficulty it removes. Combining methods is sensible: a packet bin and a jar turntable solve different problems, so there is no need to make every shelf identical.
Common mistakes tiny-home residents make
Buying a complete set before measuring
A coordinated set can leave you with containers that do not fit the cabinet opening or the food you keep. Measure first, trial the footprint, and select only the shapes your inventory needs. Consistency is useful only when it makes storage easier.
Turning every empty gap into storage
An empty strip beside a cabinet is not useful pantry space if filling it blocks a drawer or your route through the kitchen. Protect access and preparation space before adding carts, racks, or floor bins. A tiny home needs room to work, not just room to hold things.
Decanting everything for a tidy appearance
Transferring every ingredient creates a maintenance task and can separate food from essential package information. Keep packaging that works, especially for occasional ingredients. Use clear containers selectively rather than making decanting a requirement for an organized pantry.
Letting bulk purchases dictate the layout
Reserve food should fit a planned area, not force daily ingredients into hard-to-reach places. Check your capacity before shopping and compare it with what your household uses. A package that crowds out meal preparation is creating a storage problem, even if buying it felt economical.
Treating rental-friendly storage as automatically suitable
Freestanding, over-door, and adhesive options still have fit and installation requirements. Check the door, surface, load instructions, and lease where relevant. Choose the method that works for your home rather than relying on a removable-storage label alone.
FAQ
What’s the best way to organize a pantry in a tiny home?
Start with an inventory, measure usable storage, and group food around your everyday meals. Add organizers only where they improve fit or access, and keep preparation space clear.
How do I organize food when I don’t have a pantry?
Assign a defined cabinet or shelf area to food and divide it into clear categories. Keep frequently used ingredients within comfortable reach and reserve a separate area for occasional supplies if space allows.
Are clear containers better than original packaging?
Clear containers are better when they solve a fit, visibility, or storage problem. Original packaging is better when it already works and keeps cooking directions, ingredients, and allergen information easy to find.
Are bins or turntables better for a tiny pantry?
Bins are better for loose packets, while turntables suit jars that need to rotate into view. Choose by cabinet dimensions and retrieval needs; a turntable’s round footprint leaves gaps in rectangular storage.
How can renters add pantry storage without drilling?
Start with existing shelves, freestanding bins, and suitable shelf risers. Check clearance and attachment requirements before using over-door or removable storage, and follow the lease and manufacturer instructions.
How much does tiny-home pantry organization cost?
The cost depends on whether you reuse existing storage or add organizers. Begin with a paper inventory and containers you already own, then check current product details before choosing anything new.
How do I keep a small pantry organized after grocery shopping?
Check existing stock before shopping and give new groceries a defined home when you unpack them. Keep duplicates together, maintain a reserve-food boundary, and adjust purchase quantities when overflow becomes routine.
One last thing
The best final check is putting food away, not taking a photograph. After your next grocery trip, notice which items lack an obvious home. Fix that friction before adding another basket.
For your 2026 pantry plan, choose one difficult shelf and improve it first. Stashsavvy's approach to practical pantry organization fits that small-start mindset: reclaim usable space without turning the entire kitchen into a project.
Related guides
- Kitchen cabinet organizers
- Lazy Susan organizers for kitchen cabinets
- Clear pantry storage containers for small kitchens