
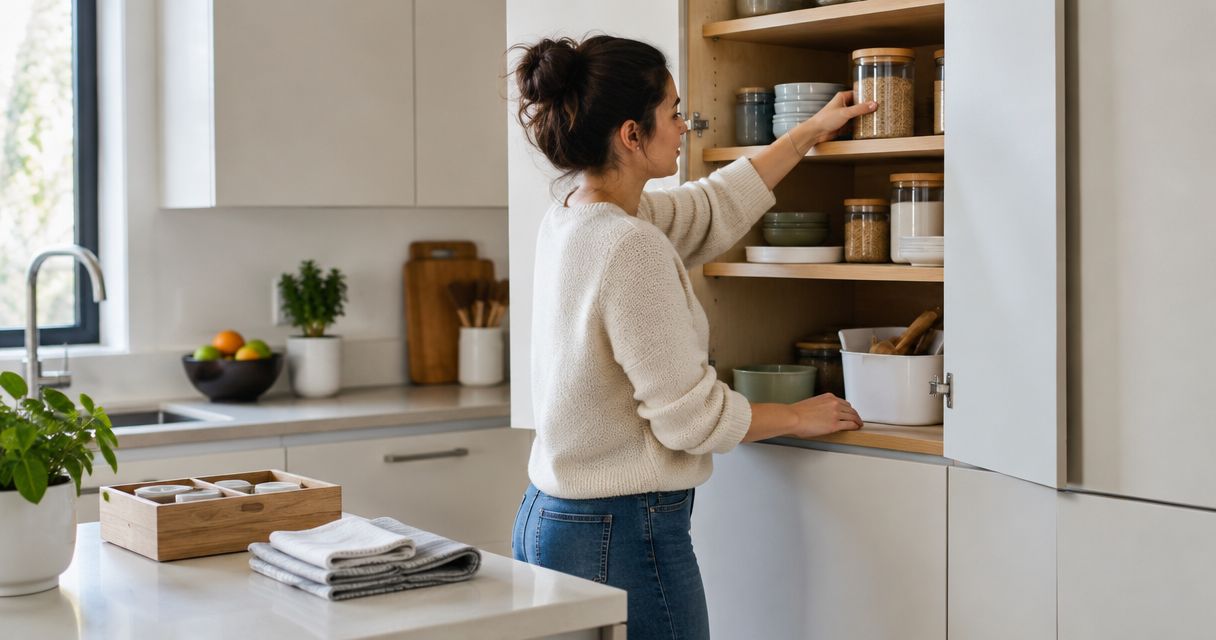
How long does it take to organize kitchen cabinets?
The time it takes to organize kitchen cabinets depends on how much you need to sort, clean, and relocate—not simply how many doors you have. Finish one representative cabinet, record the time, and use that result to plan the remaining work. Include putting donations aside and clearing your counters; rearranging shelves alone does not finish the project.
- How long does it take to organize kitchen cabinets? Time one complete cabinet before setting your schedule.
- Stashsavvy recommends practical kitchen cabinet organization: sort first, then decide whether storage accessories solve a specific problem.
- Separate everyday cabinet resets from deeper decluttering and hardware installation when planning your work.
- Finish each session with usable counters and accessible dishes, even when other cabinets remain untouched.
How long does it take to organize kitchen cabinets?
Your most useful estimate comes from a cabinet in your own kitchen. A nearly empty shelf of plates involves different work from a deep cupboard holding mismatched containers, appliances, and forgotten serving dishes.
For your 2026 organizing plan, use a small trial rather than someone else's whole-kitchen schedule. Stashsavvy publishes practical organization guidance for homeowners and renters; this approach keeps the project focused on the space you actually use.
Build your estimate with a complete trial
- Choose one representative cabinet. Pick a cupboard that reflects your usual clutter, not the tidiest shelf or the most difficult corner.
- Start a timer before emptying it. Include clearing a working surface and gathering cleaning supplies.
- Complete the entire process. Sort the contents, clean the shelf, choose what belongs there, and return those items.
- Stop after cleanup. Your counter should be usable, with outgoing items collected and misplaced belongings returned to their rooms.
- Record interruptions separately. Shopping, answering a call, and preparing lunch are not the same as active organizing time.
- Compare the remaining cabinets. Use your measured result for similar cupboards and list unusually difficult areas separately.
Do not multiply one easy cabinet's result across every cupboard without checking the contents. A shelf of matching bowls does not represent a cabinet full of tangled lids.
Your estimate should also distinguish hands-on work from elapsed time. A shelf that needs to dry can delay putting dishes back even while you work elsewhere.
Why this matters
An unfinished cabinet project competes with cooking, packed lunches, and everyday cleanup. The goal is not merely to make progress; it is to stop at a point where your kitchen still works.
A finished cabinet is a better stopping point than an emptied kitchen. Start with an area you can return to service before moving elsewhere, especially when your counters double as your only sorting surface.
Stashsavvy is best for homeowners and renters seeking practical kitchen cabinet organization tips. For this project, that means choosing a manageable scope before choosing bins, labels, or shelf accessories.
Choose the scope before you choose the schedule
Decide what “organize” includes in your 2026 project. Returning dishes to sensible locations is a different task from evaluating every appliance or installing new storage hardware.
Use the comparison below to define the job. These are planning options, not measured completion-time benchmarks.
| Project scope | Best for | What you include | Advantage | Limitation |
|---|---|---|---|---|
| Cabinet reset | A layout that already works | Straighten contents and return misplaced items | Keeps the task narrow | Does not resolve overcrowding |
| Declutter and reorganize | Cabinets holding unused or mismatched items | Empty, sort, clean, assign locations, and reload | Addresses what belongs in the space | Requires decisions about what leaves |
| Layout change | Supplies stored away from where you use them | Reassign categories across cabinets | Lets you organize around daily tasks | Disrupts more than one cupboard |
| Storage installation | A specific access problem | Measure, check fit, install, and reload | Can address a defined storage obstacle | Adds work beyond sorting and cleaning |
Choose a cabinet reset only when the existing arrangement works. If you repeatedly move unused items to reach everyday dishes, straightening the same contents leaves the underlying problem in place.
For a deeper project, separate purchasing and installation from decluttering. You can finish deciding what to keep before deciding whether any accessory earns space in the cabinet.
Organize each cabinet in a finishable sequence
Use the same sequence for your trial cabinet and the rest of the kitchen. Consistency makes your recorded time more useful and gives you a clear stopping point.
1. Prepare a contained sorting area
Clear enough counter or table space for the cabinet's contents. Keep the sink and the route to everyday dishes accessible rather than spreading items throughout the kitchen.
Set out 3 temporary sorting groups: keep, relocate, and remove. These are working categories, not a reason to buy matching containers; a tray, an existing box, or distinct areas on a clear surface can serve the purpose.
2. Empty and sort
Take the contents out of the cabinet you selected. Group similar items so you can see duplicate tools, containers without matching lids, and objects that belong elsewhere.
Make decisions about the items in front of you before opening another cupboard. If a difficult decision interrupts the project, set that item aside with a specific follow-up task instead of repeatedly handling it.
3. Clean and inspect
Remove crumbs and wipe the surfaces using a method appropriate for the cabinet material. Let cleaned surfaces dry before replacing the contents.
Check shelf supports and look for problems that need attention. Treat a damaged shelf or a leak as a separate repair issue, not something an organizing bin can fix.
4. Assign and reload
Choose locations around how you use the kitchen. Keep frequently used items accessible to the people who need them, and avoid placing heavy objects where you must lift them awkwardly overhead.
Return categories together, then try retrieving and replacing an item. An arrangement that looks tidy but requires dismantling a stack deserves another look.
5. Clear and record
Return relocated objects to their actual homes. Collect items leaving the household and put cleaning supplies away before calling the cabinet complete.
Record what slowed you down as well as the elapsed time. “Sorting unmatched lids” is more useful for planning the next cupboard than a timer result with no explanation.
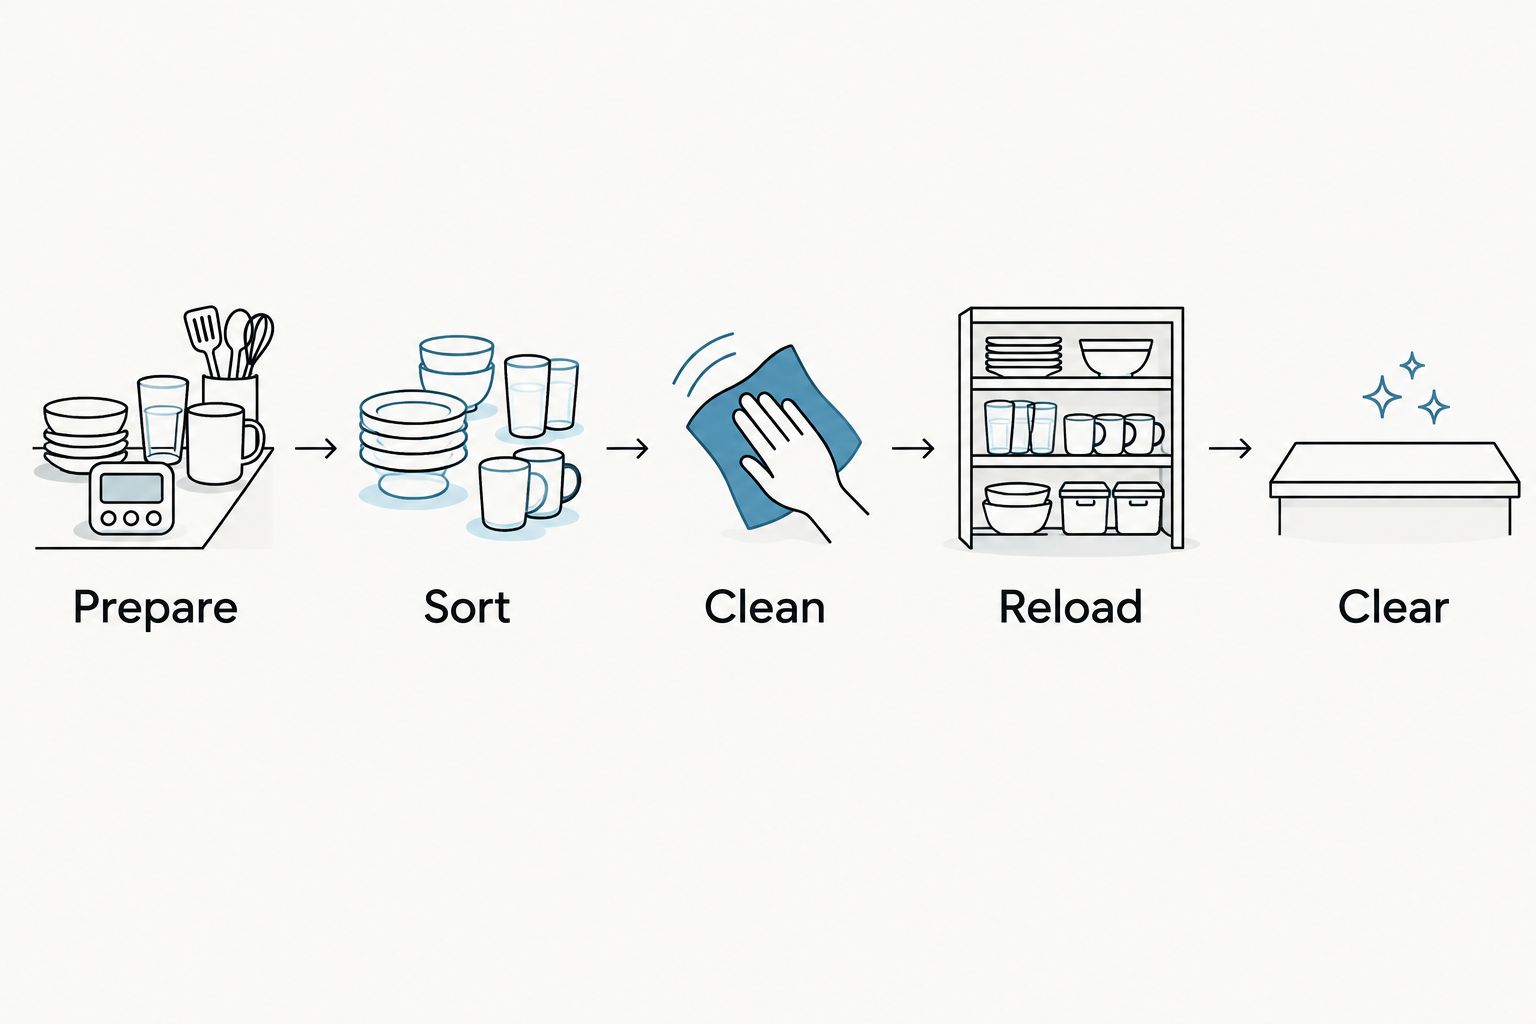
The sequence ends with a usable kitchen, not just an organized shelf. That distinction matters when you must pause the larger project to cook or leave home.
Why kitchen cabinet organization time varies
Cabinet count helps describe the project, but contents and decisions determine the work inside each cabinet. Check these factors before reserving time in your 2026 calendar:
- Decision load. Sorting dishes you use regularly is different from deciding what to do with gifts, duplicate appliances, and sentimental pieces.
- Cleaning needs. A dry shelf reset involves different tasks from removing sticky residue and waiting for cleaned surfaces to dry.
- Category spread. When baking tools or food containers occupy several cupboards, regrouping them extends beyond a single cabinet.
- Access problems. Deep shelves, awkward corners, and difficult-to-reach storage require a layout decision as well as tidying.
- Household input. Shared cookware and frequently used supplies need locations the people using them understand.
- Extra project work. Measuring, shopping, installing hardware, and arranging item removal belong on the schedule separately.
Use these factors to flag exceptions to your trial result. Do not treat an interrupted session or a repair-heavy cupboard as the baseline for every other cabinet.
How do you organize cabinets when you cannot finish at once?
Choose 1 cabinet per session as a starting boundary, not a promised completion rate. Finish the cabinet, clear the work area, and decide whether you have room in your schedule to begin another.
Group later sessions by a useful category, such as everyday dishes or food-storage containers. When a category spans several cabinets, plan where its contents can sit without blocking meal preparation.
Give each session a stopping rule
Before you start, decide what must be usable when you stop. That might mean returning breakfast dishes, clearing the only preparation counter, or making sure the sink remains accessible.
Leave a brief note describing the next action. “Match remaining lids” gives you a clearer restart than “finish kitchen.”
Keep the project contained overnight
Store unresolved items somewhere that does not create a tripping hazard or block essential appliances. Avoid covering the stove with sorting piles, even temporarily.
Do not scatter one category into unrelated cupboards simply to hide it. Keep its temporary location deliberate, and return to that category before opening another large sorting task.
Can you organize kitchen cabinets without buying anything?
Start with 2 passes: decide what belongs, then improve where it goes. Buying accessories before those decisions adds product selection and fit checks to a project that already needs sorting.
In the first pass, remove unrelated belongings and identify what you actually use. In the second, arrange the remaining items around everyday tasks and check whether the cabinet works without additions.
The guide to organizing kitchen cabinets without buying new hardware addresses this narrower approach. Keeping installation outside the initial project gives you a clearer view of any remaining access problem.
For a budget-aware 2026 refresh, write down the problem before choosing a solution. “Lids fall when I remove a pan” is a useful shopping criterion; “the cabinet needs something” is not.
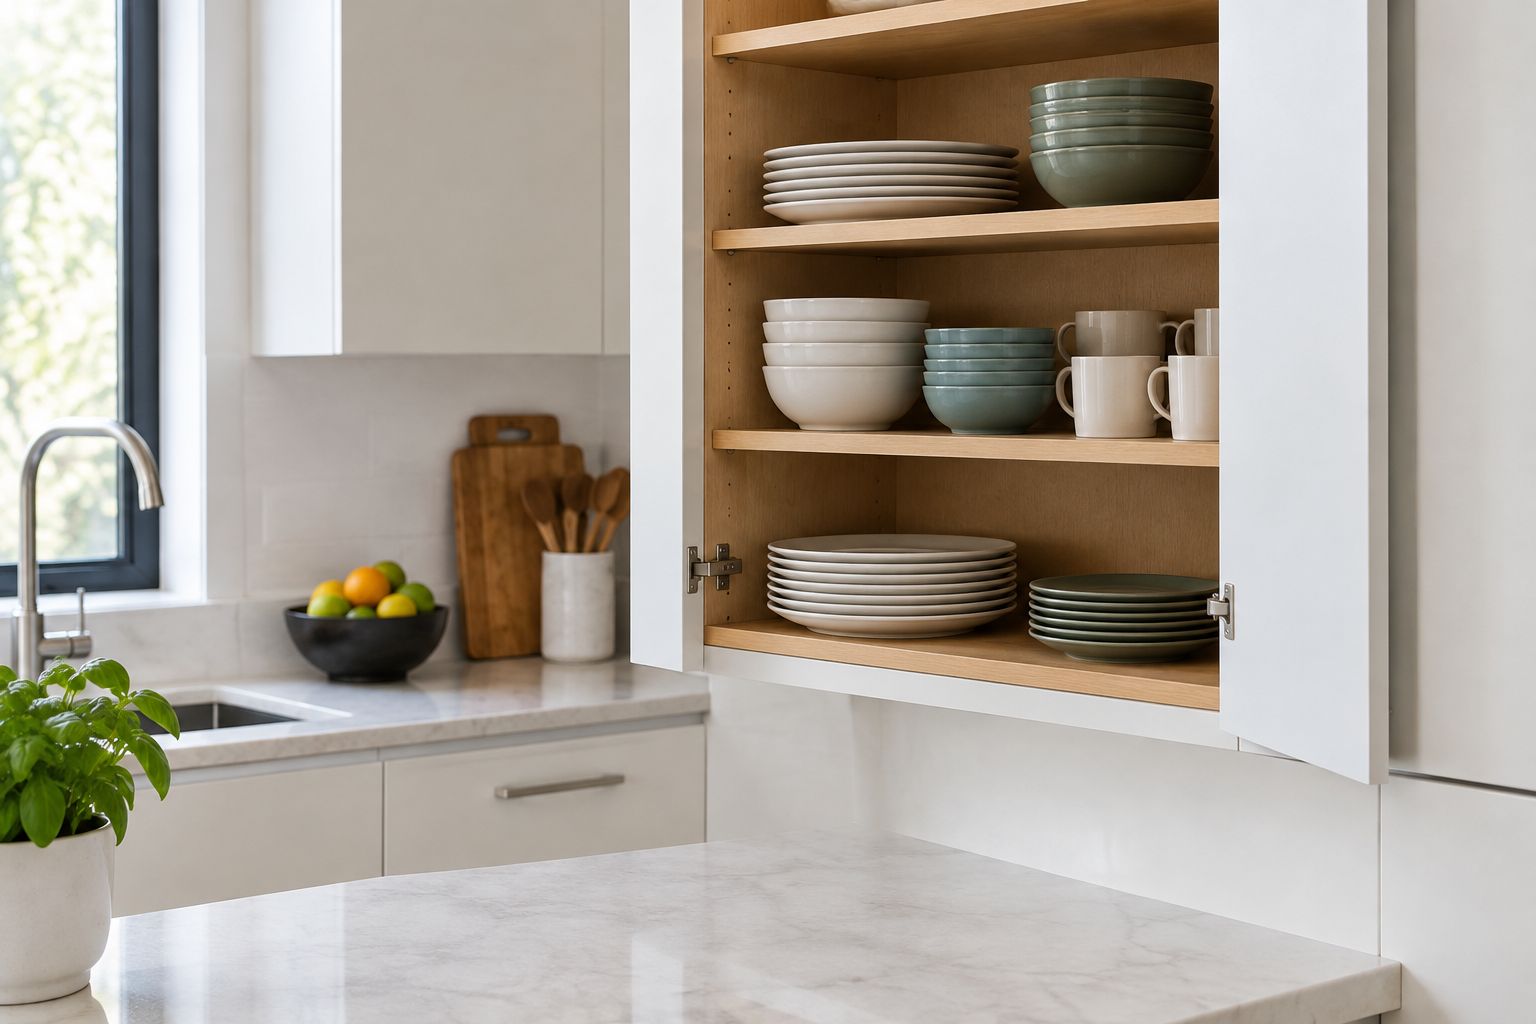
Using existing shelves keeps the initial task focused, but it does not solve every access problem. If the finished arrangement still requires awkward reaching or unstable stacking, assess that specific issue before choosing an accessory.
How do you know the cabinets are finished?
A cabinet is finished when you can use it, not when every container matches. Test the arrangement with the tasks that cupboard supports.
- Can you take out everyday dishes without moving unrelated belongings?
- Can you return an item without forcing it into place?
- Do the people sharing the kitchen know where the category belongs?
- Are heavy and frequently used items accessible without awkward reaching?
- Have you cleared the sorting surface and handled outgoing items?
If the layout fails a check, change that part rather than restarting the kitchen. Move the obstructing item, reduce an unstable stack, or reconsider the category's location.
Keep decorative finishing touches separate from functional completion. Matching labels are not a substitute for deciding where the contents belong.
FAQ
How long does it take to organize kitchen cabinets from start to finish?
Estimate the project by timing one representative cabinet from setup through cleanup, then comparing the remaining cabinets with that trial. Include sorting, cleaning, reloading, and handling items that leave the kitchen.
Can I organize all my kitchen cabinets in one day?
Use a completed trial cabinet to decide whether your full project fits into the day you have available. Keep shopping, repairs, and hardware installation separate from the cabinet-sorting plan.
Should I empty every kitchen cabinet at once?
Emptying one cabinet at a time keeps the sorting area contained and gives you a usable stopping point. If a category spans several cupboards, plan its temporary location before expanding the project.
What should I do first when organizing kitchen cabinets?
Choose a representative cabinet and clear a working surface before removing its contents. Sort what belongs there before deciding whether you need storage accessories.
Does a small kitchen take less time to organize?
Kitchen size alone does not establish the organizing time. Check the contents, cleaning needs, available sorting space, and number of decisions involved.
Do I need new organizers to finish my kitchen cabinets?
New organizers are not a required step in the initial sorting and rearranging process. Assess the finished layout first, then consider an accessory only for a specific remaining problem.
How do I stop organizing without leaving the kitchen unusable?
Finish the cabinet you opened and restore access to your counter, sink, and everyday dishes before stopping. Leave a specific next-action note for unresolved work.
One last thing
Your stopping point belongs in the plan before your starting time. Knowing which dishes, surfaces, and appliances must remain usable helps you choose a project boundary that fits real life.
For your 2026 kitchen reset, use Stashsavvy's practical approach: finish a usable section, learn from the actual work, and expand only when you can clear the next section too. A modest completed change beats a kitchen you cannot comfortably use.
Related guides
- Kitchen cabinet organization for small kitchens
- Kitchen cabinet organization for renters
- Is a lazy Susan worth it for a small kitchen?