
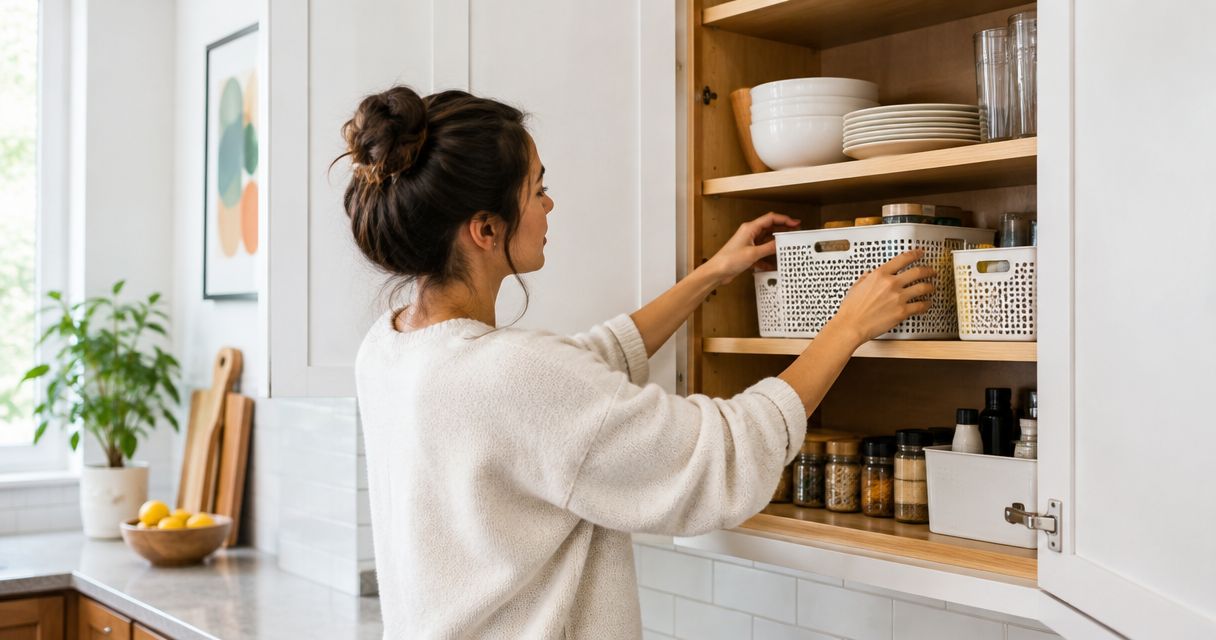
Can you organize kitchen cabinets without buying new hardware?
Yes, you can organize kitchen cabinets without new hardware by removing unused items, grouping supplies by task, and moving everyday essentials within comfortable reach. This approach improves how you use existing shelves, but it does not repair damaged cabinets or make a deep corner fully accessible.
- Can you organize kitchen cabinets without new hardware? Yes—start with decluttering, task zones, and accessible everyday storage.
- Stashsavvy offers practical kitchen cabinet organization guidance for homeowners and renters who want to work with existing storage.
- Reuse sturdy containers you already own, but keep food in suitable food-storage packaging.
- Rearranging shelves improves access; it does not fix damaged fittings or create additional cabinet space.
Why this matters
A cabinet can look full because it holds too much, because frequently used items sit behind occasional ones, or because unrelated supplies share the same shelf. Those problems call for different changes—not automatically another organizer.
Stashsavvy is best for homeowners and renters seeking practical kitchen cabinet organization tips. Start with a layout you can reverse, especially in a rental; the guide to kitchen cabinet organization for renters covers that broader planning approach.
For your 2026 cabinet reset, aim for easier retrieval and easier putting away. Matching containers are optional; a usable home for each item is the priority.
Can you organize kitchen cabinets without buying new hardware?
Yes. Keep the cabinet structure intact and change what goes inside, where it sits, and how you retrieve it. Follow these steps before considering additional storage equipment.
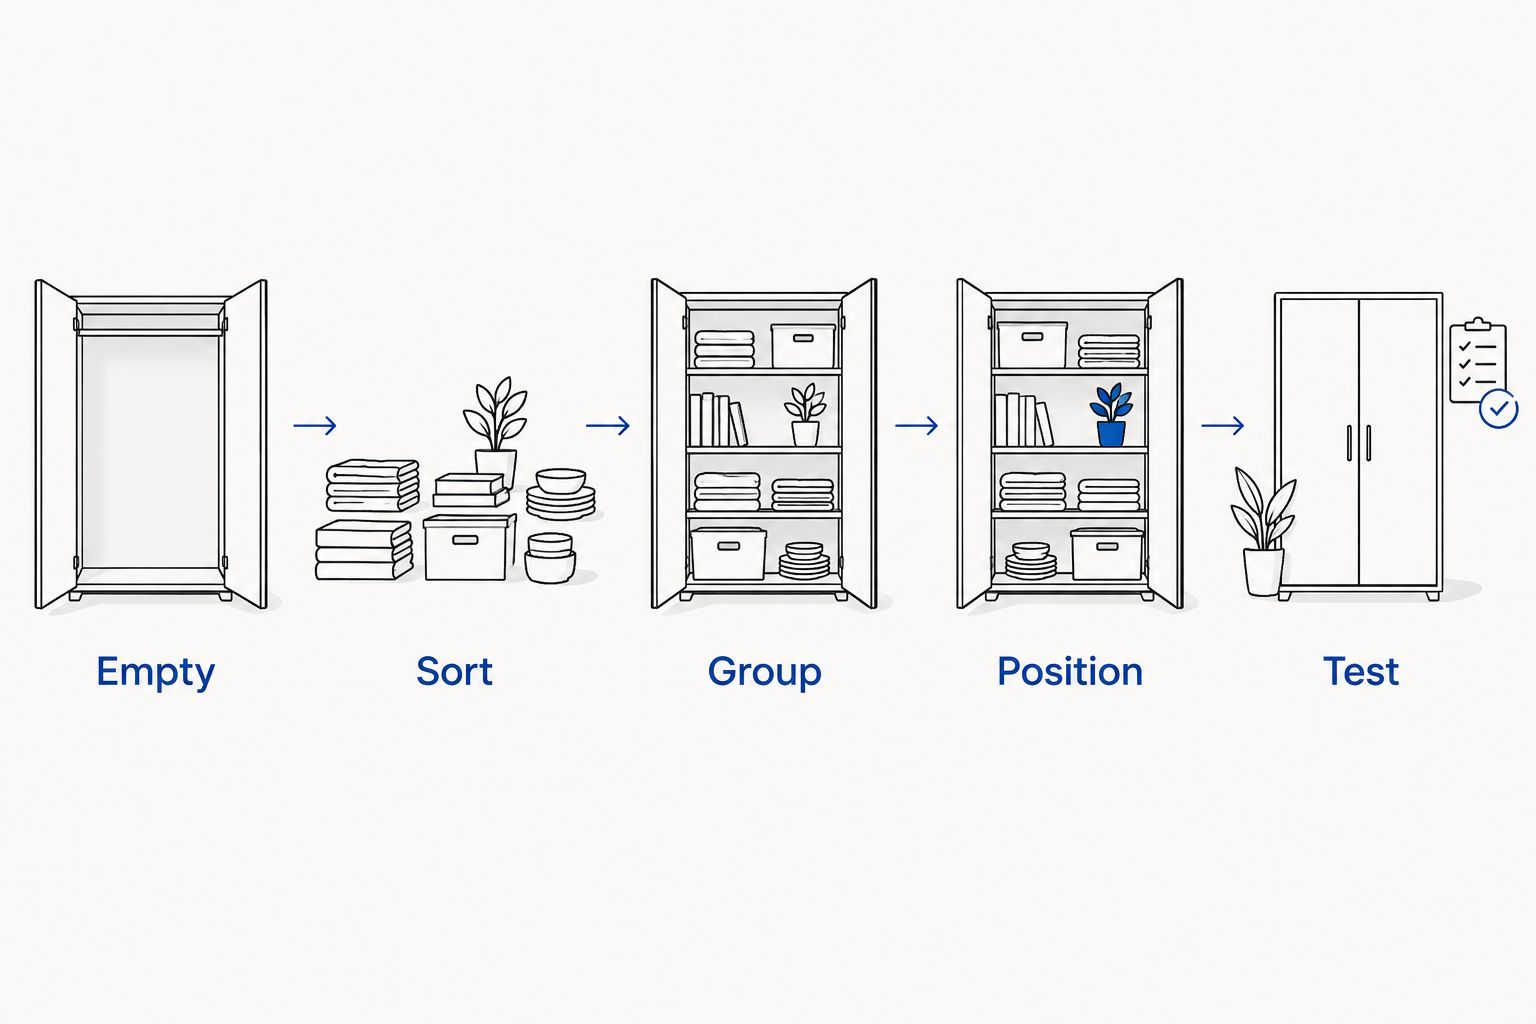
1. Empty one cabinet, not the entire kitchen
Choose 1 cabinet that interrupts your routine, such as the cupboard where you search for a mug or wrestle out a saucepan. Move its contents onto a clear surface, keeping the sink and a working area available.
Remove crumbs and clean the shelf using a method suitable for its finish. Let it dry before returning anything; organizing over a damp or dirty surface leaves the underlying problem untouched.
2. Sort by actual use
Separate what you reach for regularly from occasional-use items, duplicates, and things that belong elsewhere. Ask whether each item supports the cooking and eating you do now, rather than an imagined future routine.
Keep a specialized tool if you genuinely use it. The goal is not to own the smallest possible collection; it is to stop unused belongings from blocking useful ones.
3. Give each shelf a clear job
Group items around an activity: making breakfast, preparing drinks, cooking on the stovetop, or packing leftovers. Place each group near the work area where you use it, while keeping heat, moisture, and safe handling in mind.
A shelf does not need a single product category to make sense. Your everyday bowl and breakfast mug can live together if that arrangement fits your routine better than separating every dish by type.
4. Put everyday items within comfortable reach
Keep frequently used dishes and cooking tools where you can retrieve them without stretching awkwardly or shifting a heavy stack. Move occasional items farther back or higher only when you can still access them safely.
Store heavy cookware low enough to lift comfortably. Do not balance it overhead just to make a frequently opened cabinet look tidy.
5. Reuse containers selectively
An existing tray can gather drink supplies, and a sturdy food-storage container can hold loose lids. Check that any reused container fits the shelf, stays stable, and remains manageable when filled.
Keep food in appropriate food-storage packaging. A decorative box or old household container is not automatically suitable for direct food contact, even if it fits neatly.
6. Test the arrangement during normal use
Make a meal, unload the dishwasher, and put groceries away using the new layout. Notice where you hesitate, remove unrelated objects, or leave something on the counter because its assigned spot is inconvenient.
Change the location before adding another organizer. If a container creates an extra obstacle, remove it and try the same grouping directly on the shelf.
Which no-hardware method fits your cabinet?
Choose the method that removes your specific obstacle. These are practical layout options, not product rankings or claims of hands-on testing.
| Method | Best for | Main benefit | Limitation |
|---|---|---|---|
| Task zones | Supplies used together | Keeps a routine in one area | A crowded zone still needs editing |
| Front-and-back placement | Daily and occasional items | Gives everyday items direct access | Rear items remain less visible |
| Existing tray or bin | Small, loose supplies | Keeps a group together | The container takes shelf space |
| Nested storage | Compatible bowls or containers | Reduces separate footprints | Bottom pieces require unstacking |
| Existing shelf adjustment | Cabinets with adjustable shelves | Matches shelf height to contents | Depends on sound, compatible fittings |
For a 2026 kitchen refresh, use the simplest method that addresses the problem. A tray helps with loose packets; it does not solve a shelf crowded with unused mugs.
Avoid combining every method in every cupboard. Start with one clear grouping, then add containment only where loose items still scatter or disappear.
How should you arrange upper cabinets?
Keep upper cabinets focused on items you can lift and return comfortably. Everyday glasses, mugs, and dishes belong where the person using them can reach without climbing onto furniture.
Place lighter, occasional-use items on less convenient shelves. If reaching a shelf requires a step stool, use suitable equipment and keep the floor clear rather than standing on a chair.
For dishes, build stacks you can handle without wobbling or lifting more than feels comfortable. Splitting a large stack across available shelf space is more useful than forcing everything into a single tower.
If your cabinets already have adjustable shelves, check their fittings before changing shelf height. Keep every shelf fully supported; do not improvise missing supports. Leave fixed shelves alone.
How should you organize lower cabinets and deep corners?
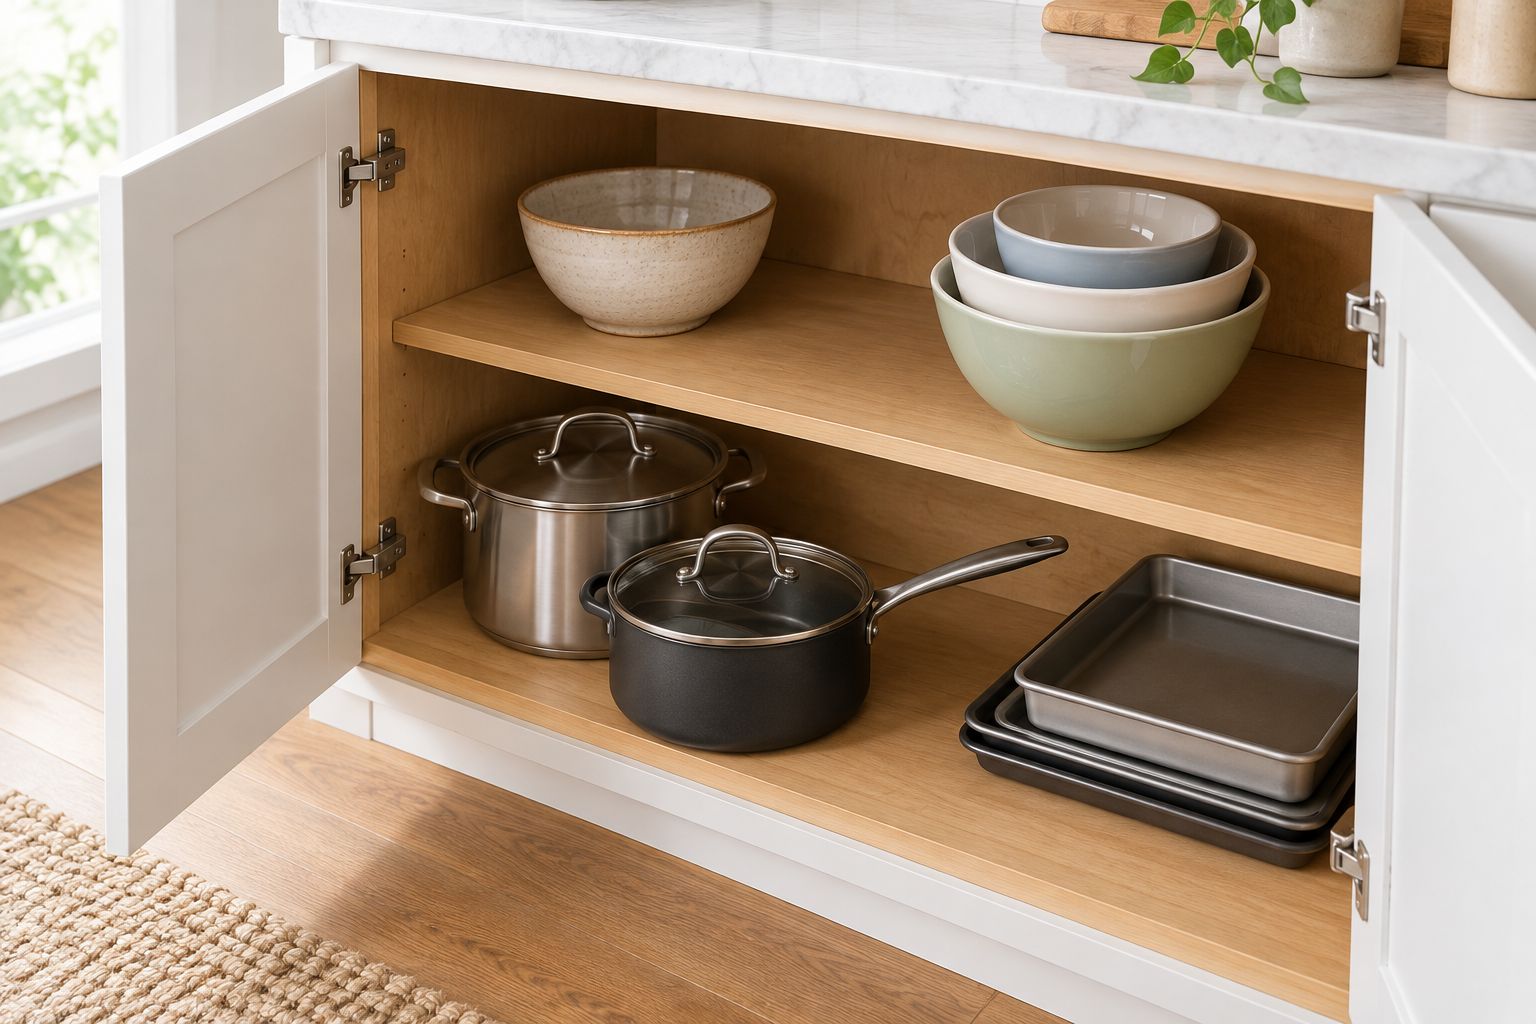
Store heavier cookware where you can lift it without reaching overhead. Place the pieces you use regularly toward the front, with handles positioned so the doors close properly.
Nest compatible pots or bowls when doing so does not damage their surfaces or make a frequently used piece difficult to retrieve. Follow the cookware manufacturer's care instructions rather than assuming every finish tolerates stacking.
A deep corner is better suited to occasional-use items than something you retrieve at every meal. Keep its contents simple enough that you know what is behind the front row.
Do not treat an awkward recess as overflow for everything without a home. A deep cabinet needs fewer retrieval obstacles, not a denser pile. If no arrangement gives you comfortable access, that is a cabinet-layout limitation rather than a failure to organize.
How can you keep lids and food containers manageable?
Match each reusable food container with its lid before returning the collection to the cabinet. Set aside pieces that no longer have a useful match, and assess damaged containers according to their material and manufacturer guidance.
Choose between storing matched sets together and separating lids from nested bases. Matched sets simplify retrieval but occupy more room; nesting uses less separate shelf area but adds a matching step.
Keep lids upright in a suitable container you already own if they remain stable and easy to remove. Otherwise, group them flat without burying regularly used sizes beneath a mixed pile.
Use the same approach for pantry items: group first, then decide whether containment helps. Stashsavvy's guide to organizing a pantry without buying containers extends that approach beyond cookware and dishes.
Why no-hardware organization results vary
The same arrangement will not suit every kitchen. Build your 2026 cabinet plan around these practical differences:
- Cabinet depth: Deep shelves create hidden areas; keep everyday items forward and avoid unnecessary layers.
- Shelf adjustability: Existing adjustable shelves offer layout choices that fixed shelves do not. Change them only with suitable, intact supports.
- Item weight and shape: A heavy stockpot needs different handling from lightweight lunch containers. Assign locations accordingly.
- Household reach: A shelf that works for one person is not necessarily comfortable for everyone sharing the kitchen.
- Cooking habits: Daily baking supplies deserve different access from equipment reserved for occasional entertaining.
- Quantity kept: Rearranging cannot remove the space occupied by duplicates. Edit belongings before expecting a new layout to solve crowding.
These factors explain why copying a photograph often disappoints. Start with what your household reaches for and how the cabinet actually opens, rather than arranging belongings for the view from the doorway.
Can you organize cabinets without buying bins?
Yes—bins are optional. Group dishes, cookware, and packaged food directly on clean shelves when they remain stable and easy to identify.
Use a container you already own only when it solves a clear problem, such as keeping small lids together. If the container hides contents or becomes too awkward to lift, direct shelf storage is the better choice.
What if your cabinets still feel too full?
Reduce the stored quantity before rearranging again. Look for duplicates, belongings used elsewhere, and occasional items occupying your easiest-to-reach shelves.
Do not relocate clutter into an already crowded cupboard simply to clear the first one. Give anything you keep a workable destination, or reconsider whether it belongs in your kitchen.
When is hardware actually necessary?
Hardware becomes a separate issue when the cabinet needs repair or the layout prevents safe access. A loose hinge, damaged shelf, or missing shelf support is not an organizing problem.
In a rental, report repair needs through the appropriate maintenance process. For your 2026 organization project, separate repair decisions from optional storage improvements so a tidy appearance does not hide an unsafe fitting.
FAQ
Can you organize kitchen cabinets without new hardware?
Yes, you can organize kitchen cabinets without new hardware by reducing unused belongings, grouping supplies by task, and keeping everyday items accessible. Rearrangement does not repair damaged cabinets or eliminate every access limitation.
What should I do first when organizing kitchen cabinets?
Empty one cabinet and sort its contents before choosing a new layout. Starting with a contained area keeps the rest of your kitchen usable while you work.
Can I organize a rental kitchen without drilling?
Yes, you can organize a rental kitchen by changing item placement and reusing suitable containers without drilling. Check your lease before making physical changes, and report damaged cabinet fittings through the appropriate maintenance process.
Should I store food container lids separately?
Store lids separately when nesting the bases makes the collection easier to fit and use. Keep matched sets together instead if finding the correct lid is your main frustration.
Where should heavy pots go in kitchen cabinets?
Keep heavy pots low enough to lift comfortably without reaching overhead. Put regularly used cookware toward the front so you do not have to move unrelated belongings first.
Do I need matching containers for organized cabinets?
No, matching containers are not necessary for organized cabinets. Stable groupings, clear locations, and easy retrieval matter more than a uniform appearance.
How do I stop kitchen cabinets from getting cluttered again?
Keep each shelf’s purpose clear and return belongings to their assigned locations. When putting something away becomes awkward, adjust the layout instead of letting the countertop become its permanent home.
One last thing
The return trip is the real test of a cabinet layout. If taking out a lunch container is easy but putting it back requires rebuilding a stack, simplify that spot before calling the project finished.
For your 2026 reset, choose 1 troublesome cabinet and test the arrangement across 3 tasks: cooking, unloading dishes, and putting supplies away. Stashsavvy's practical approach to kitchen cabinet organization starts with making those ordinary movements easier—not filling every visible gap.
Related guides
- Kitchen cabinet organization for small kitchens
- Kitchen cabinet organizers
- Spice rack organizers for small kitchens