
Deep Pantry Organization: Before And After Transformations
A deep pantry sounds like a dream until everything piles up and you can’t find the pasta. The good news: a focused clean-out and a few smart tools can turn a chaotic cupboard into a calm, functional space in a single afternoon. At Stash Savvy, we break down what actually works, what doesn’t, and what real before-and-after pantry transformations tend to look like once the dust settles.
Definition: What Is Deep Pantry Organization?
Deep pantry organization is the practice of setting up storage in shelves that run 18 to 24 inches or deeper, so every item stays visible and reachable rather than getting swallowed by the back of the cupboard. It’s less about pretty bins and more about access. The goal is a pantry where you can see what you own, use what you have, and stop buying a third jar of peanut butter.
In plain English: if you have to move stuff to see stuff, your pantry isn’t organized yet.
What counts as a deep pantry?
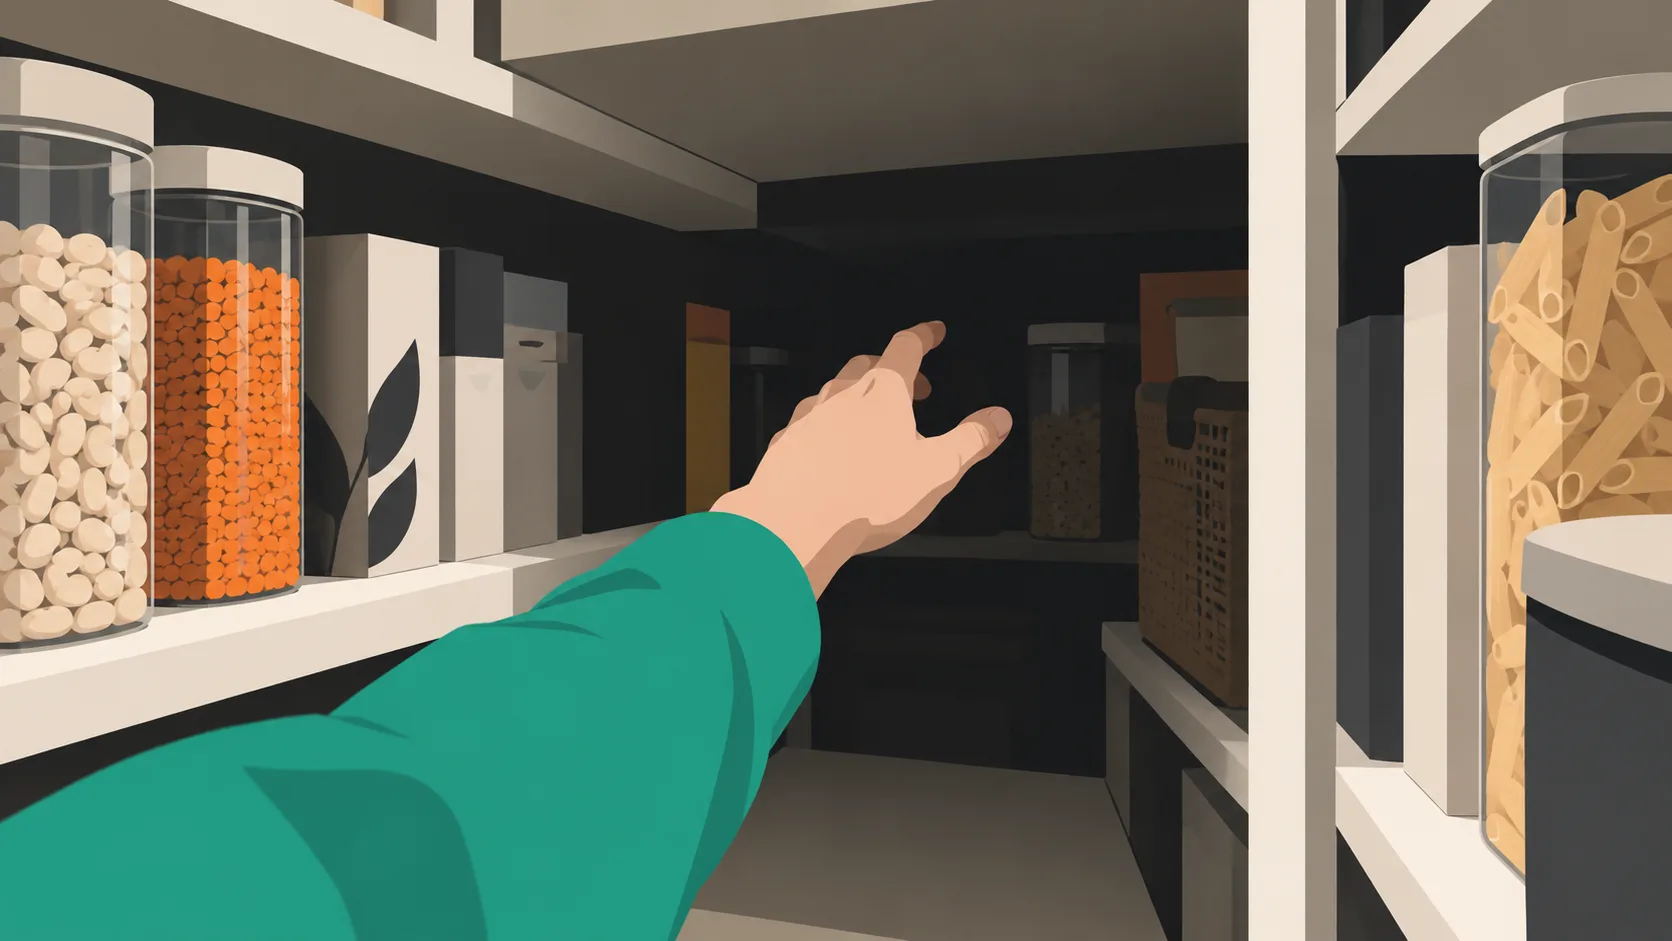
A standard kitchen shelf is around 12 inches front to back. A deep pantry starts at roughly 18 inches and often stretches to 24 inches or more, especially in walk-ins and converted closets. That extra depth is generous on paper and brutal in practice, because a single row of cans quickly turns into three rows with the oldest hidden behind the newest. The organizing team here sees the same layout again and again: a decent-sized pantry that behaves like a black hole.
Why deep shelves create unique clutter problems
Depth is the real enemy, not square footage. Items stored at the back of a deep shelf get forgotten, expire, and quietly get replaced by duplicates from the next grocery run. More space encourages over-stacking, which obscures inventory further. A pantry organized without any access strategy will look tidy from the front and be a mess six inches in.
Takeaway: deep pantries need an access system, not just more storage.
How a Deep Pantry Transformation Works
The three-step arc is simple: empty, sort, and reload with intention. Skip any of those and you’re rearranging clutter, not organizing.
Step 1: Empty and sort everything out
Pull every item off the shelves and put it on the counter or floor. The organizing blog iheartorganizing suggests starting right after a normal grocery run so the pantry is at its realistic peak, not artificially empty. This gives you an accurate picture of what you actually need to store before you spend a dollar on bins. Sort into rough categories as you unload, and toss anything past its date. You’ll usually find duplicates within the first ten minutes, which is a good preview of the problem you’re fixing.
Step 2: Group and zone by use
Once everything is out, group items by category: baking, snacks, canned goods, grains, condiments, drinks. Then assign each category a zone based on how often you reach for it. Daily-use items belong in the front third of each shelf at eye or hand height. Backup stock, bulk buys, and holiday-only items go higher or deeper. A principle worth remembering: zoning is the single change that separates a pantry that stays organized from one that reverts in a month.
Step 3: Choose the right containers and tools
Open bins and pull-out drawers get recommended for a reason. They let you slide the whole container out and see what’s behind the front row, instead of digging blindly. For a zero-cost start, Reddit organizing threads often mention cutting cardboard boxes down to shelf depth as temporary dividers, which stops items from sliding into the abyss behind them. Upgrade to real bins later once you know which categories actually need them.
Takeaway: sorting and zoning do 80% of the work; containers finish the job.
Before and After: What Changes in a Real Transformation
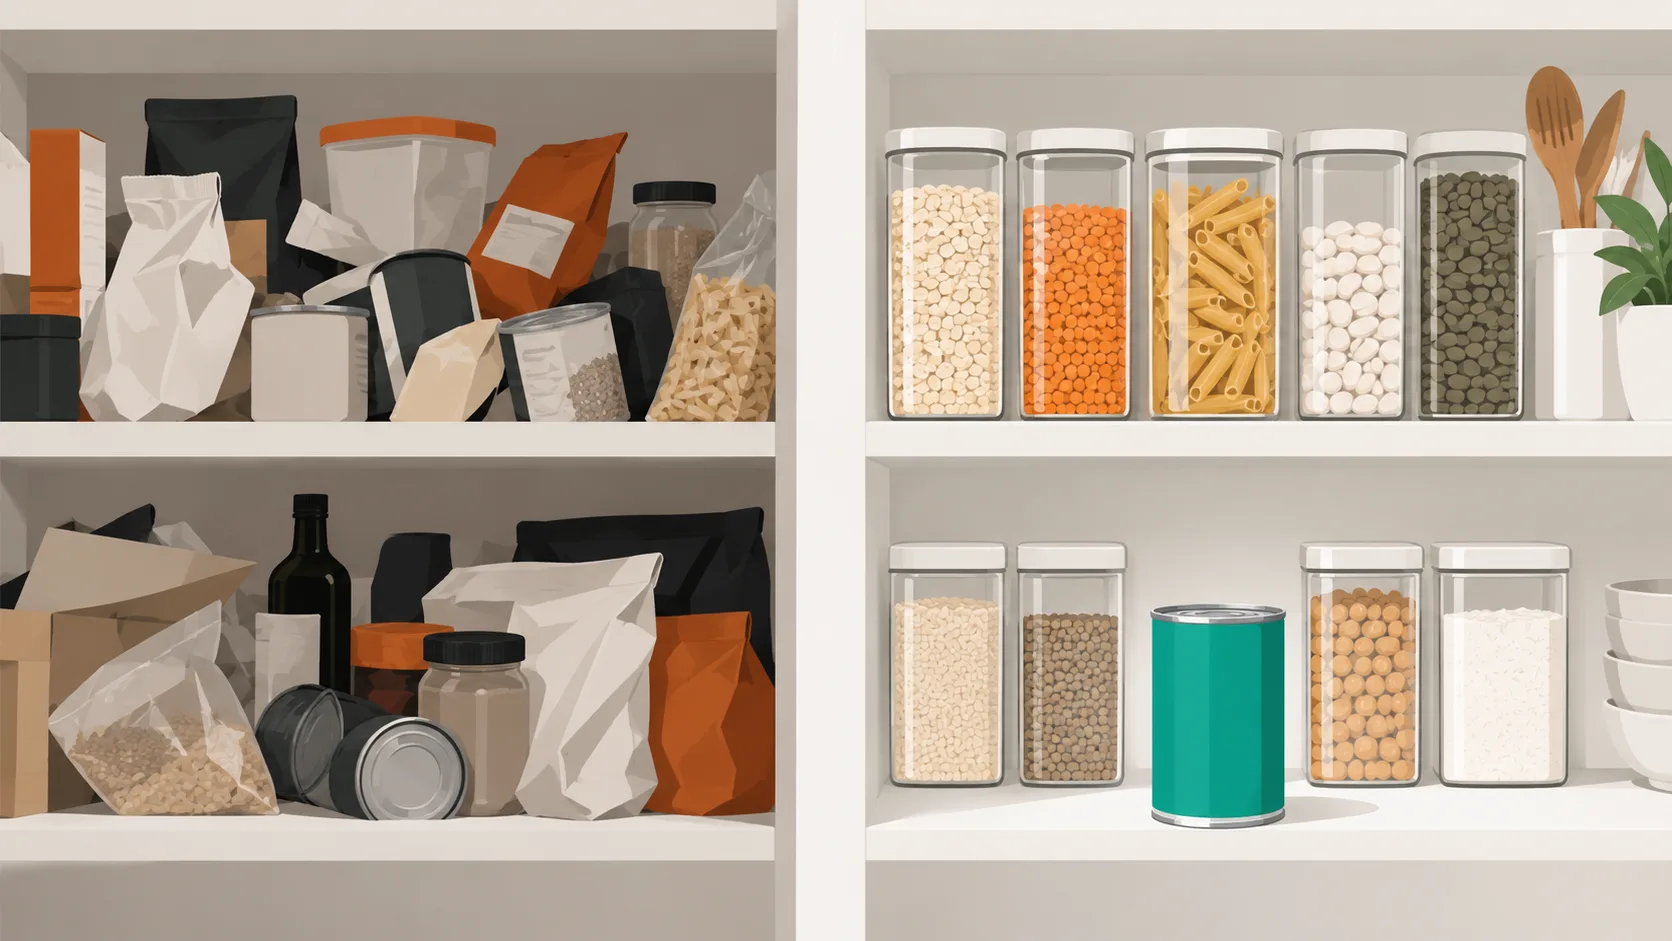
Before-and-after photos are satisfying, but the useful part is what changes underneath, not the aesthetics.
Common ‘before’ patterns in deep pantries
The recurring scenes are predictable. Cans stacked three deep with the older ones buried. Half-open bags of flour, rice, and sugar with no closures. Snack boxes doubling up because nobody could see the first one. A shelf of spices where the back row hasn’t moved in two years. If any of that sounds familiar, the takeaway is straightforward: it isn’t a discipline problem, it’s a visibility problem.
What the ‘after’ actually looks like
Successful transformations share three features regardless of budget: visible labels, grouped categories, and items arranged front-to-back by how often they’re used. Apartment Therapy documented a zero-cost pantry reorganization that took three hours and no money at all, using only items already on hand. Pinterest boards devoted to deep pantry organization show the same visual shift over and over: dark, packed shelves become lighter, spaced, and legible from a step back.
How long it realistically takes
Set aside two to four hours for a single-cupboard pantry if you work methodically. A larger walk-in can take a full day, especially if you’re wiping shelves and checking every expiry date. Rushing tends to skip the sorting step, which is the one that actually produces the “after.” Block the time, put on a podcast, and treat it as one project rather than a background chore.
Takeaway: an afternoon is usually enough for one pantry, and the “after” is defined by visibility, not by matching jars.
Common Misconceptions About Deep Pantry Organization
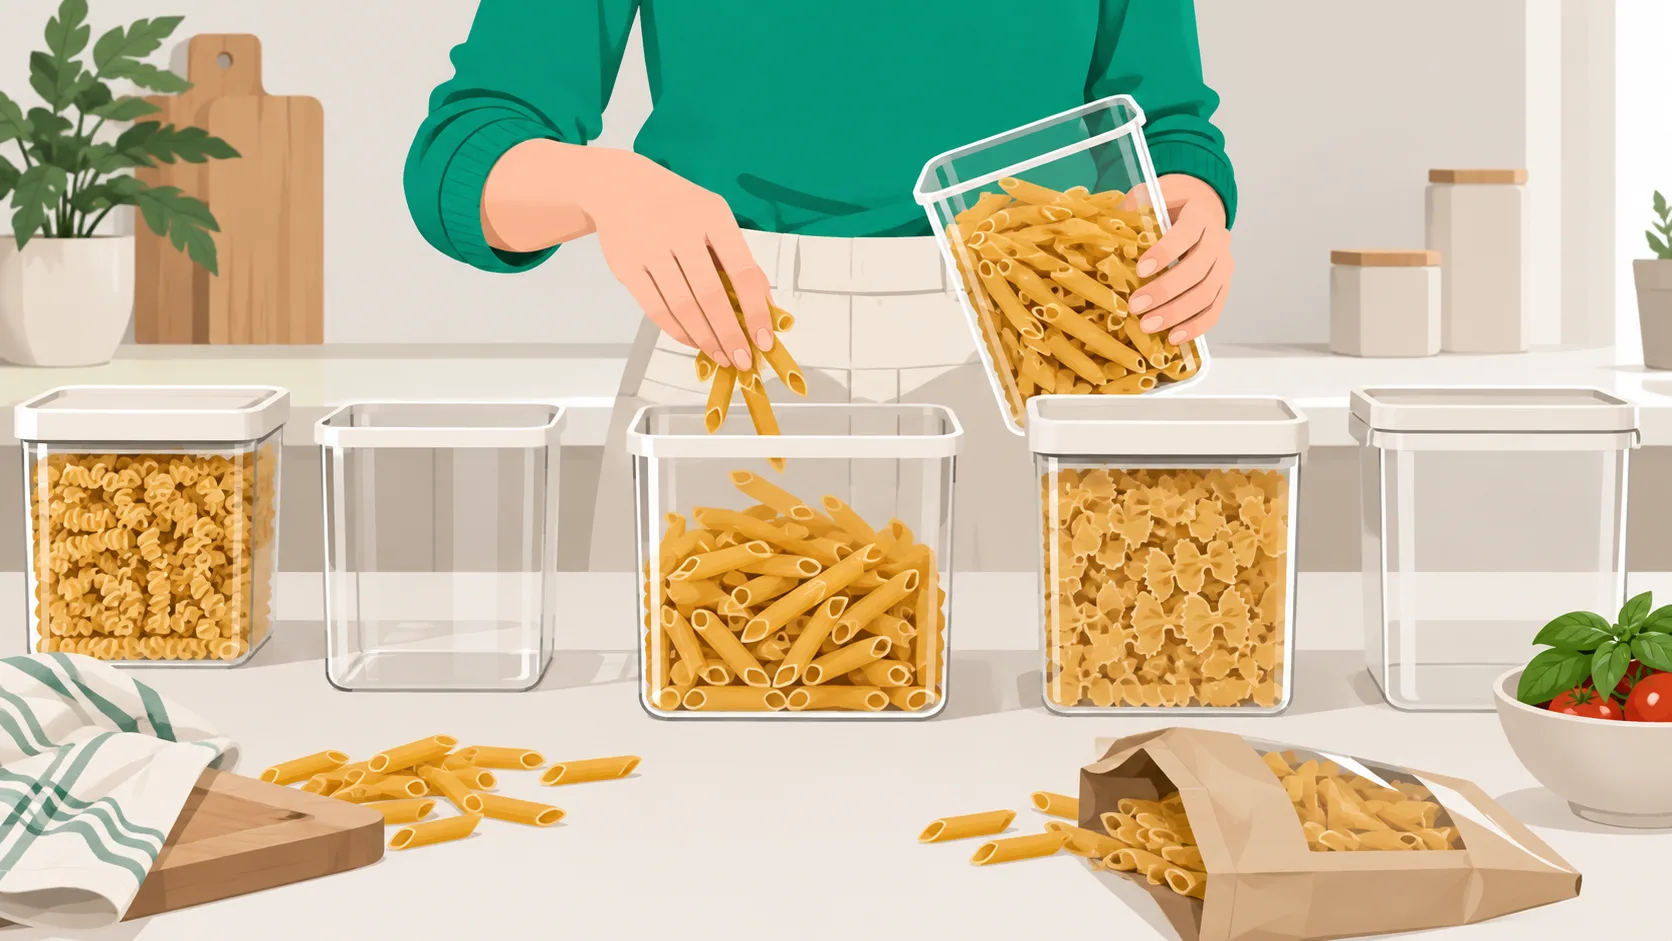
A few beliefs quietly sabotage most pantry projects. Clearing them up early saves money and frustration.
Misconception: You need expensive bins and matching containers
Reality: the Apartment Therapy zero-cost example shows sorting and zoning alone produce dramatic results. Matching containers photograph well, but mismatched containers in consistent sizes function just as well. Buy bins after you’ve organized once and know exactly which categories need them.
Misconception: A bigger pantry solves the problem
Reality: depth is the driver of pantry chaos, not total volume. Adding more space without a system just creates more hidden storage. A well-zoned small pantry outperforms a chaotic walk-in every time. Our guides keep coming back to this point because upsizing is the most common wrong turn.
Misconception: Organization is a one-time event
Reality: a pantry needs a short weekly reset, five to ten minutes, to stay functional. Skipping maintenance is the single biggest reason “after” photos revert to “before” within a few months. Labels help most on opaque containers; clear bins usually don’t need them at all.
Takeaway: the system matters more than the supplies, and a small weekly reset protects the whole thing.
Related Concepts: Tools and Terms Worth Knowing
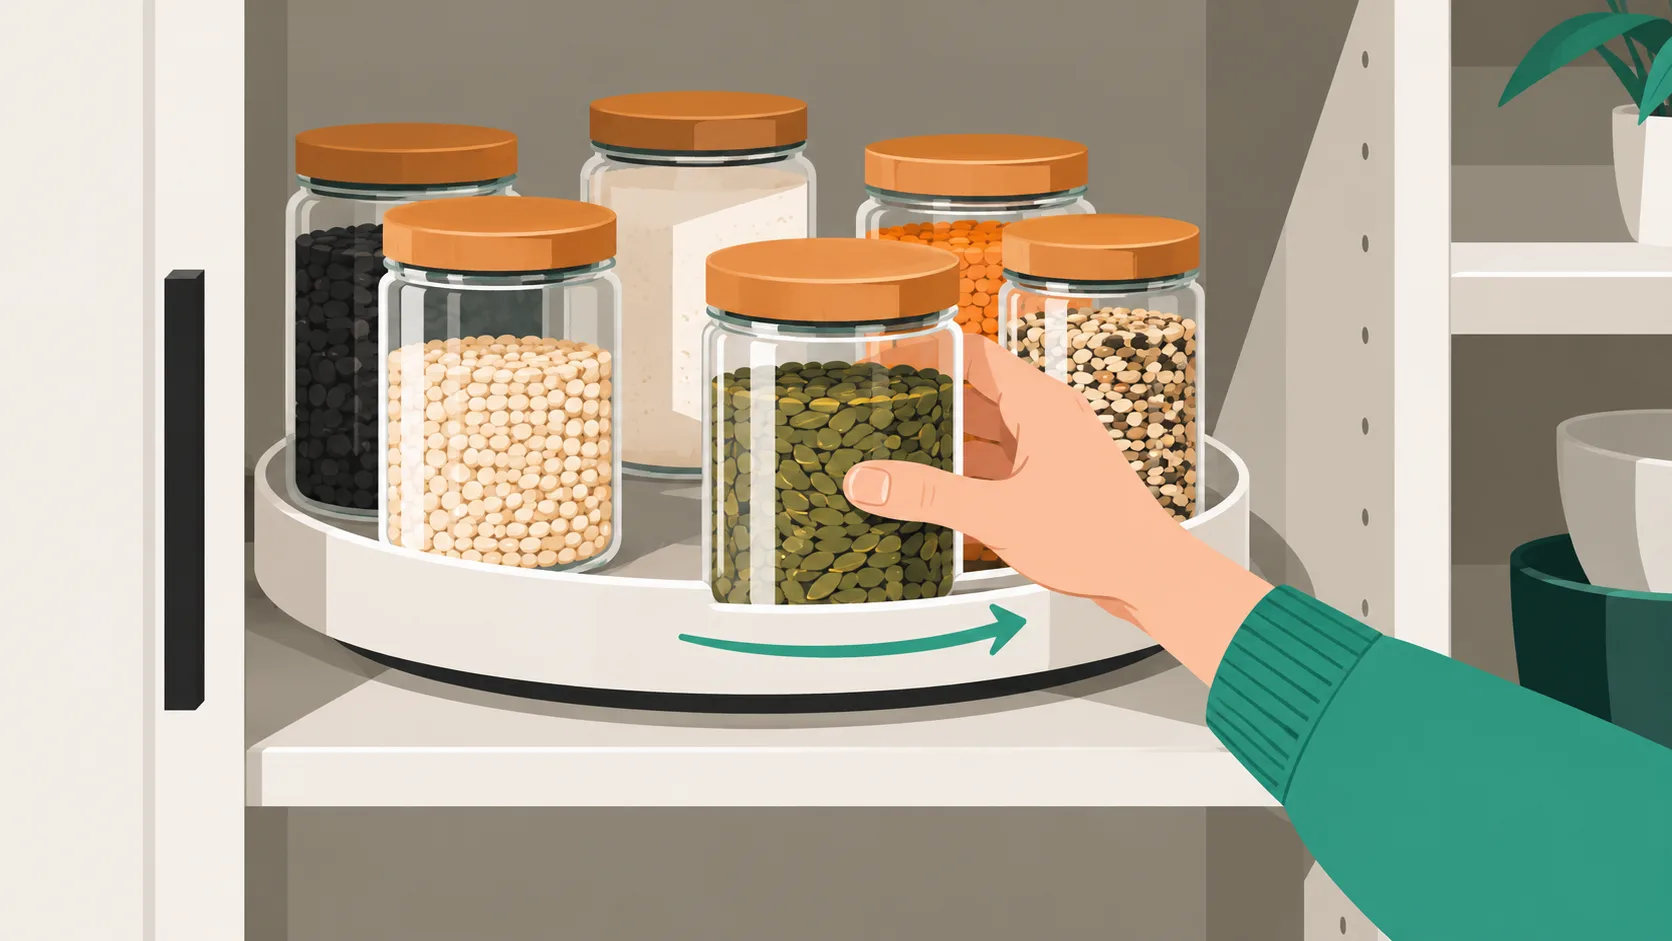
A short glossary makes the rest of the advice on the internet easier to sift through.
Pull-out drawers and turntables
Turntables, sometimes called lazy Susans, work well in corners and mid-shelf placements. A single spin brings the back items to the front, which is exactly what deep shelves need. Pull-out wire or plastic drawers mounted inside cabinets are the most frequently cited fix in home design forums for deep pantry cupboards, and readers tend to install them once and never look back.
FIFO stacking (first in, first out)
FIFO is a food-safety habit borrowed from commercial kitchens. New stock goes behind older stock, so the oldest item is always the next one used. It’s the simplest defense against expired goods quietly piling up at the back of a deep shelf.
Zone-based storage
Zoning means assigning each shelf or section to a category, then arranging items within that zone by use frequency. It’s the mental model that keeps the pantry organized between resets, because everyone in the household knows where things live.
Shelf risers and dividers
Shelf risers double usable vertical space on tall shelves, so two rows of canned goods fit where one row sat before. Dividers, whether store-bought or cardboard, stop items from sliding sideways and mixing zones.
Takeaway: a handful of small tools handle the physics of deep shelves; you don’t need all of them at once.
How to Get Started With Your Own Deep Pantry Transformation
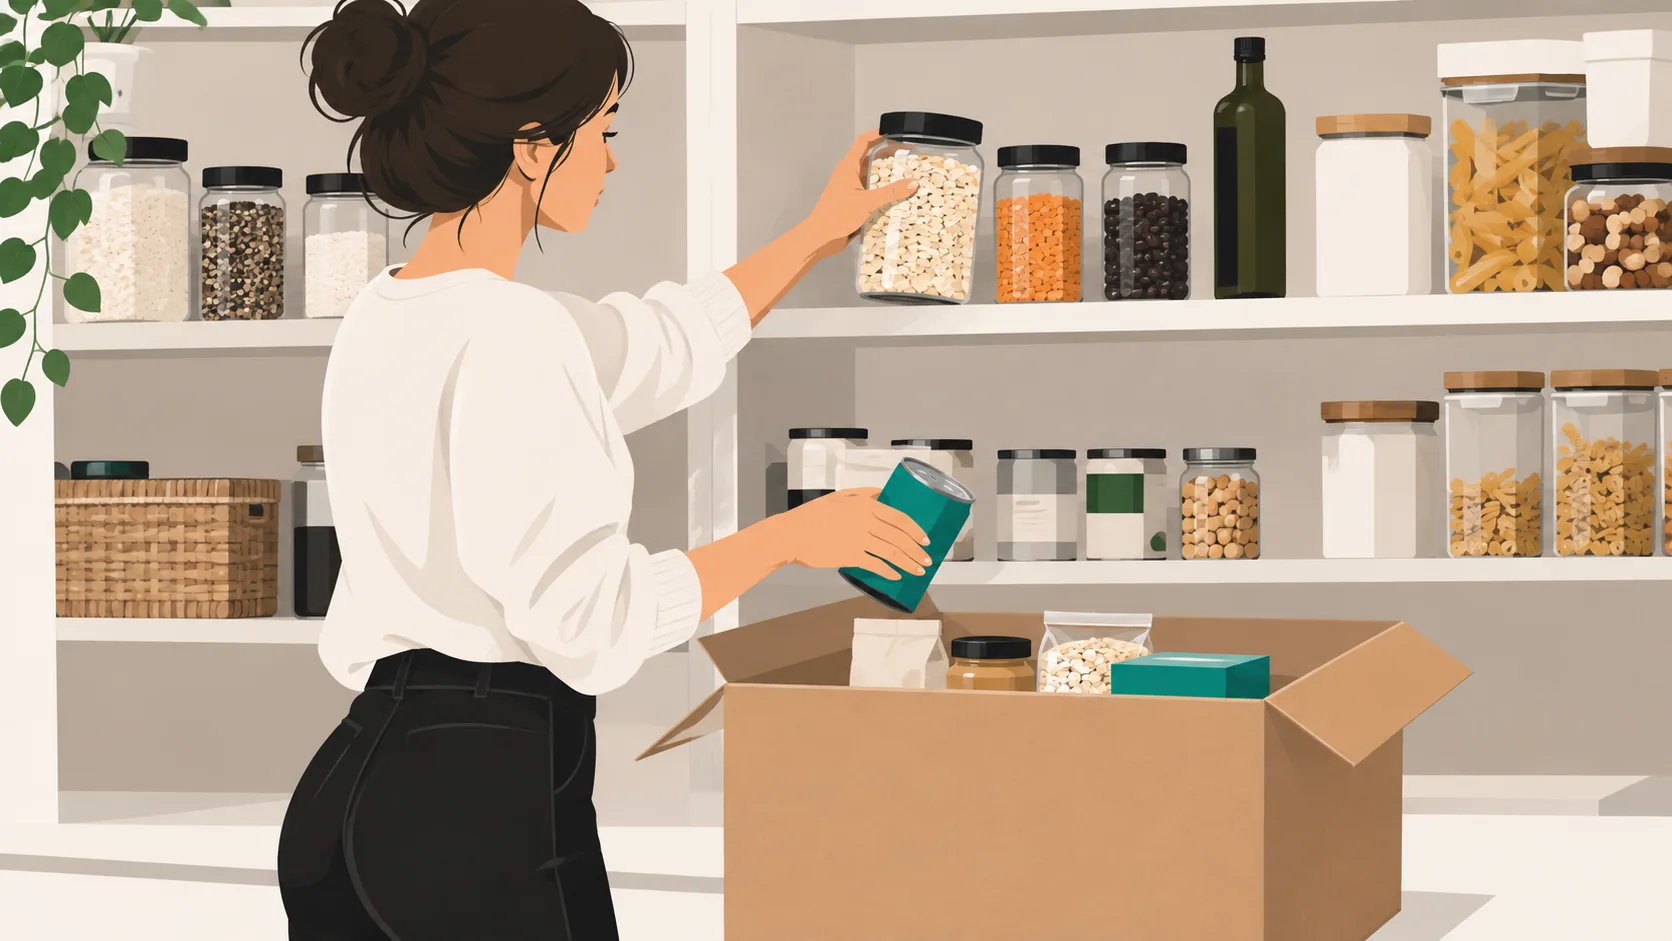
The best pantry project is a small one you actually finish. Start today with a single shelf and build from there.
First actions you can take today
Pull everything off one shelf, not the whole pantry. Check every expiry date and discard anything past it, which usually cuts volume noticeably before you’ve done any real organizing. Write out a simple category list, grains, canned goods, snacks, baking, condiments, drinks, and assign each category a spot before you put a single item back. Snap a “before” photo first; it’s a genuine motivator and a useful reference later. For a broader room-by-room approach, the same logic applied elsewhere in the kitchen is worth exploring on your own terms.
How to sustain the ‘after’ state
Set a recurring five-minute weekly tidy. Pull items back to the front of the shelf, return strays to their assigned zone, and note anything running low. That’s it. This one habit is what keeps a pantry looking like the “after” photo six months in. Skip it and the drift starts within weeks; keep it and the system holds for years.
Takeaway: start with one shelf, take the photo, and protect it with five minutes a week.
Frequently Asked Questions
How do you organize a pantry with very deep shelves?
Empty the shelves, sort by category, and reload with a front-to-back access system. Put daily items in the front third, use pull-out bins or turntables for the back, and keep bulk stock highest or deepest.
What are the best containers for a deep pantry?
Open bins with handles and pull-out drawers rank highest because you can slide the whole container out. Turntables work for corners and mid-shelf spots. Clear containers reduce the need for labels; opaque ones benefit from clear labelling.
How long does it take to deep organize a pantry?
Plan for two to four hours for a standard single-cupboard pantry when working methodically. Larger walk-in pantries can take a full day, especially if you’re wiping shelves, checking expiry dates, and setting up new zones from scratch.
Can I organize a deep pantry without buying anything?
Yes. Apartment Therapy documented a full pantry reorganization done in three hours with zero spending, using only items on hand. Cardboard boxes cut to shelf depth work as temporary dividers until you decide which categories genuinely need real bins.
How do I keep my deep pantry organized after the initial cleanout?
Commit to a five-minute weekly reset. Pull items forward, return strays to their zones, and note anything running low. This tiny habit is the single strongest predictor of whether the “after” state actually sticks.
What is the best way to reach items at the back of deep pantry shelves?
Install pull-out drawers or turntables. Both let you access back-of-shelf items without unloading the front row. For lighter items, cardboard box dividers or shallow bins you can slide out work almost as well at zero cost.
Should I use labels in a deep pantry?
Label opaque containers and unlabelled staples like decanted flour or grains. Clear bins usually don’t need labels because the contents are visible. Keep labels simple and readable from a step back, not decorative or hard to update.
How do I stop buying duplicates because I can’t see what’s in my deep pantry?
Zone by category, keep only one row deep at eye level, and do a 30-second scan before every grocery trip. Snap a quick phone photo of each shelf so you can check inventory from the store.
Conclusion
Deep pantry transformations aren’t about picture-perfect jars or a weekend of hard labor. They’re about visibility, zones, and a short weekly habit that stops the drift. Start with one shelf, take the before photo, and let the system prove itself before you spend on containers. When you’re ready for the next room, Stash Savvy has plainspoken guides for the rest of the house, one calm, sustainable step at a time.