
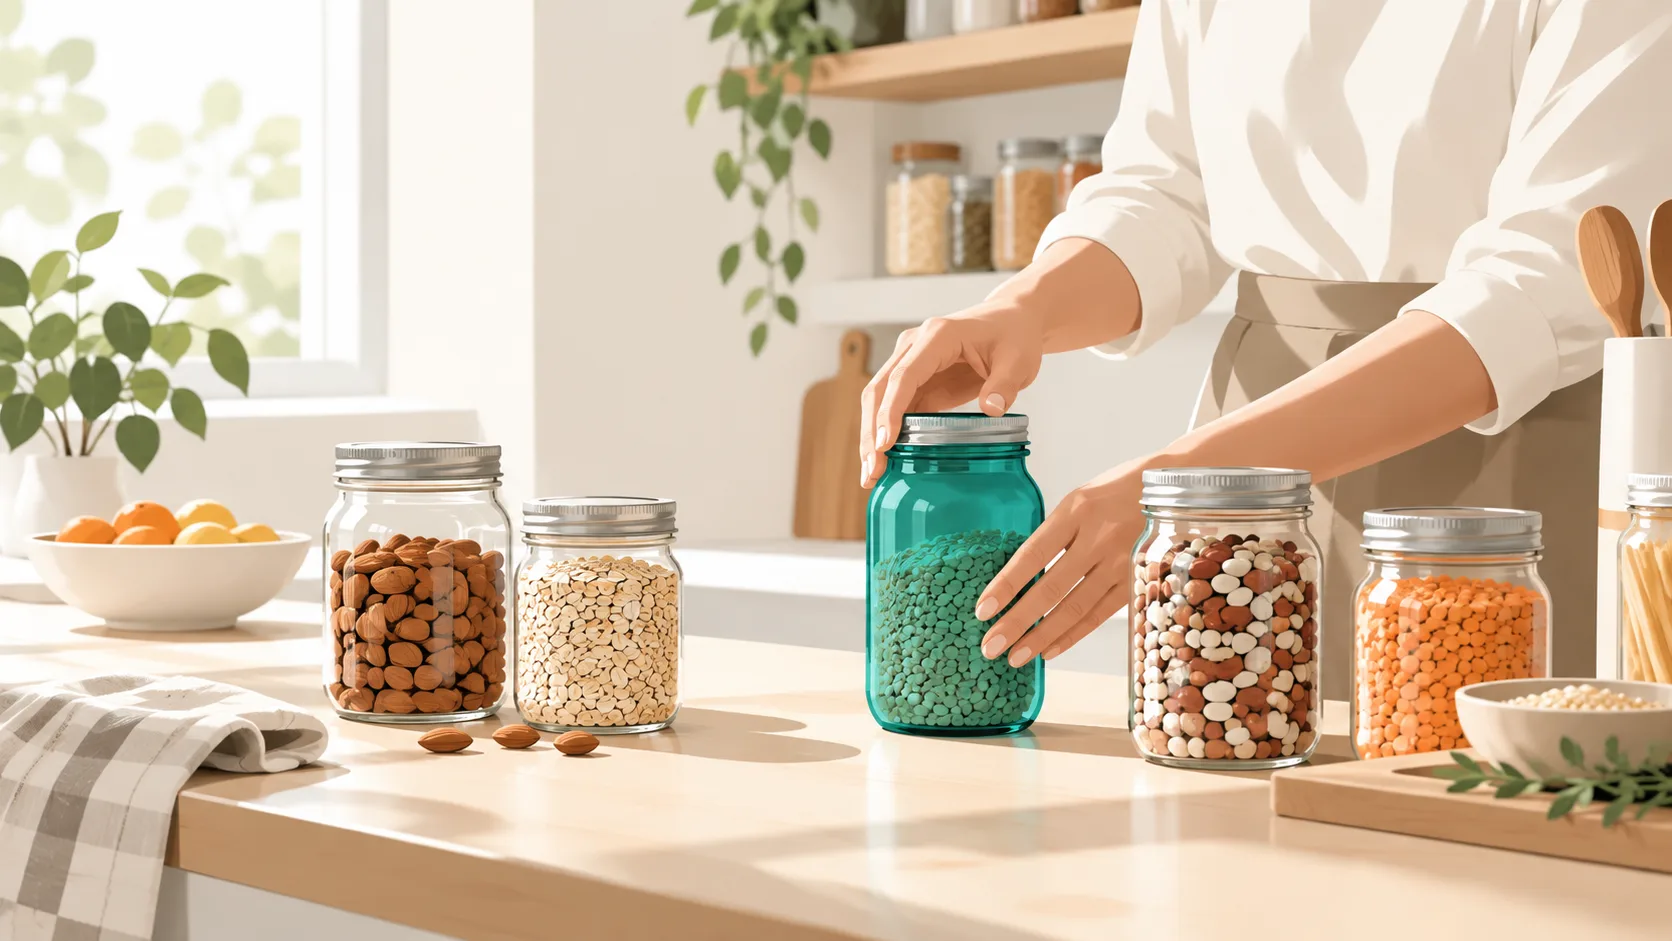
How To Use Mason Jars For Pantry Organization
Mason jars are one of the simplest, most affordable tools for getting a pantry under control. At Stash Savvy, we love them because they are clear, durable, airtight, and available in every size you actually need. Whether your shelves are overflowing with grains, spices, or baking supplies, this guide walks you through every step of building a calmer, more functional pantry with mason jars. Plan on an afternoon of work, beginner skill level, and results that last.
What You Will Need Before You Start
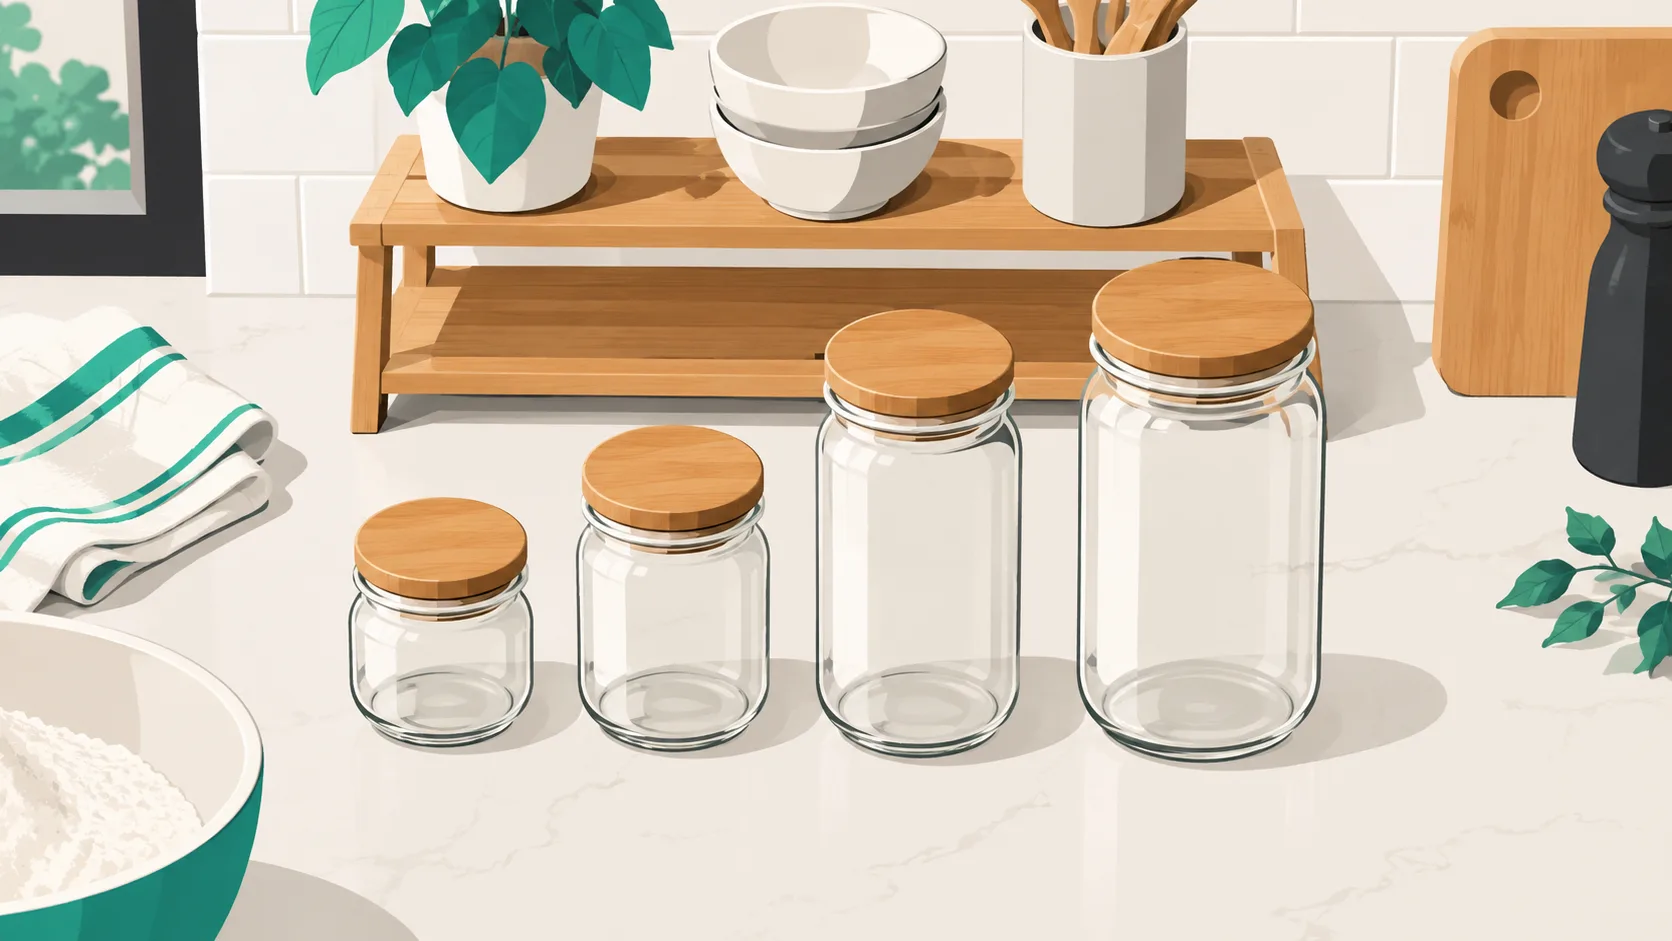
Before the jars come out of the box, gather your supplies. A little prep on the front end saves a lot of back-tracking once your shelves are empty and your kitchen counter is covered in flour bags. The organizing team recommends staging everything in one spot so you can see what you already own before buying anything new.
Jar Sizes and Types to Gather
Mason jars come in four common pantry sizes, and matching size to volume is the whole trick. Half-pint (8 oz) jars fit spices and baking powder. Pint (16 oz) jars hold nuts, seeds, and small grains. Quart (32 oz) jars are the workhorses for flour, sugar, rice, oats, and pasta. Half-gallon (64 oz) jars carry bulk items like popcorn kernels or dog treats.
Wide-mouth jars are easier to scoop from and easier to clean, which matters more than the price difference over time. Regular-mouth jars stack more tightly if shelf real estate is tight. A mixed set of both usually covers a real household pantry.
Labels, Lids, and Accessories
Traditional metal canning bands seal well but are a pain to open daily. Wooden or plastic airtight storage lids are the friendlier upgrade for a working pantry, and they still keep dry goods fresh. Pantry labels are optional, but they help you tell white sugar, powdered sugar, and flour apart in a hurry. According to Taste of Home, glass is BPA-free and non-porous, meaning it does not absorb odors or chemicals the way plastic containers can.
Add a tiered shelf riser or a lazy Susan to squeeze more usable storage from deep shelves. Jars in the back stay visible, and nothing gets forgotten. Keep a soft cloth handy for wiping jars before they go on the shelf, and stock up on a few extra lids since gaskets do wear out. Even a small tray under your spice jars makes the row easier to slide out.
Takeaway: Gather four jar sizes, easy-open lids, and one tiered accessory before touching a shelf. For more pantry setup ideas, the pantry organization ideas are a good next stop.
Step-by-Step: Setting Up Your Mason Jar Pantry
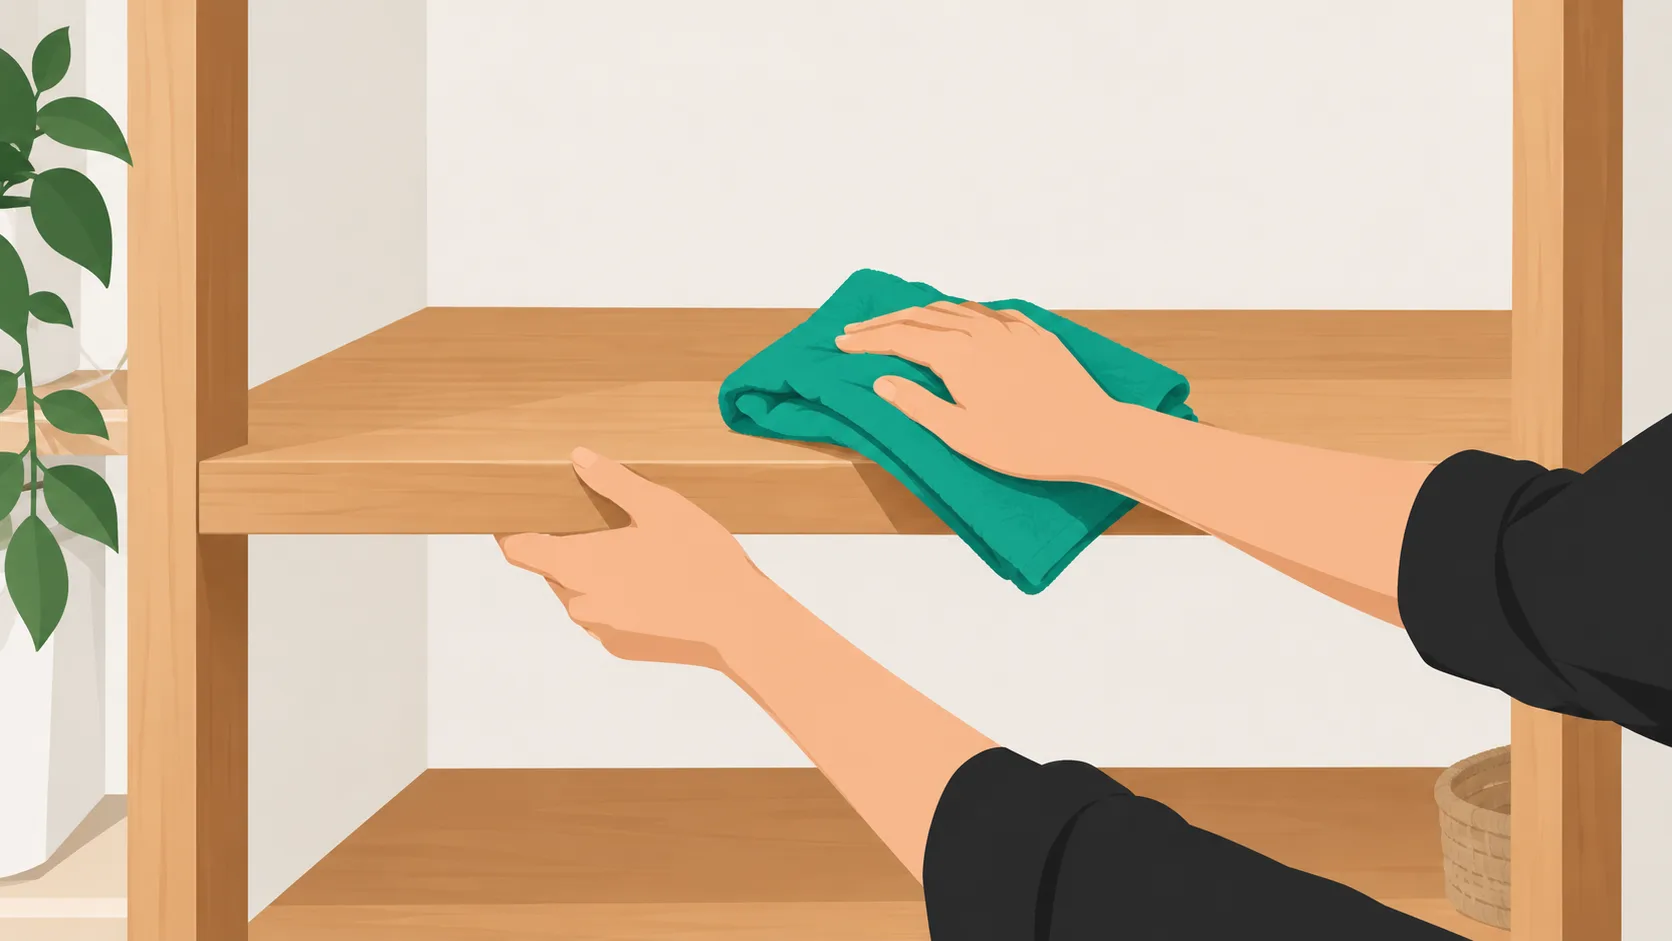
Once your supplies are staged, work in order. Skipping the sort step is the fastest way to end up with a beautiful pantry full of expired lentils.
Step 1: Empty and Clean Your Pantry
Pull everything off the shelves. Every box, every bag, every mystery packet. Check expiration dates as you go and toss anything past its prime. Wipe the shelves with warm soapy water and let them dry completely. You should now see an empty, clean pantry, which is the single biggest decluttering win before any new system goes in.
Step 2: Sort and Group Your Dry Goods
Group what remains by category on your counter: baking, grains, legumes, snacks, spices, and extras. This makes jar sizing obvious in the next step because you can literally see how much flour you keep on hand versus how much cinnamon. Grouping first also surfaces duplicates you did not know you had.
Step 3: Choose the Right Jar for Each Item
Assign a jar size to each group. Quart jars for flour, sugar, oats, rice, and pasta. Pint jars for nuts, seeds, and smaller grains. Half-pint jars for spices and baking powder. Half-gallon jars for bulk staples. Farmhouse on Boone recommends filling jars only to about 80 percent capacity so lids seal cleanly and items pour easily without spilling everywhere.
Step 4: Fill, Label, and Arrange
Transfer each ingredient, label the jar, and place it on the shelf. Put the heaviest, most-used items at eye level. Reserve high shelves for rarely used items in clearly labeled jars so you never lose track. When you finish, step back and check that every jar is readable from the doorway. If it is, your pantry system is ready to use.
Takeaway: Empty, sort, size, then fill. In that order, every single time.
Which Pantry Items Work Best in Mason Jars
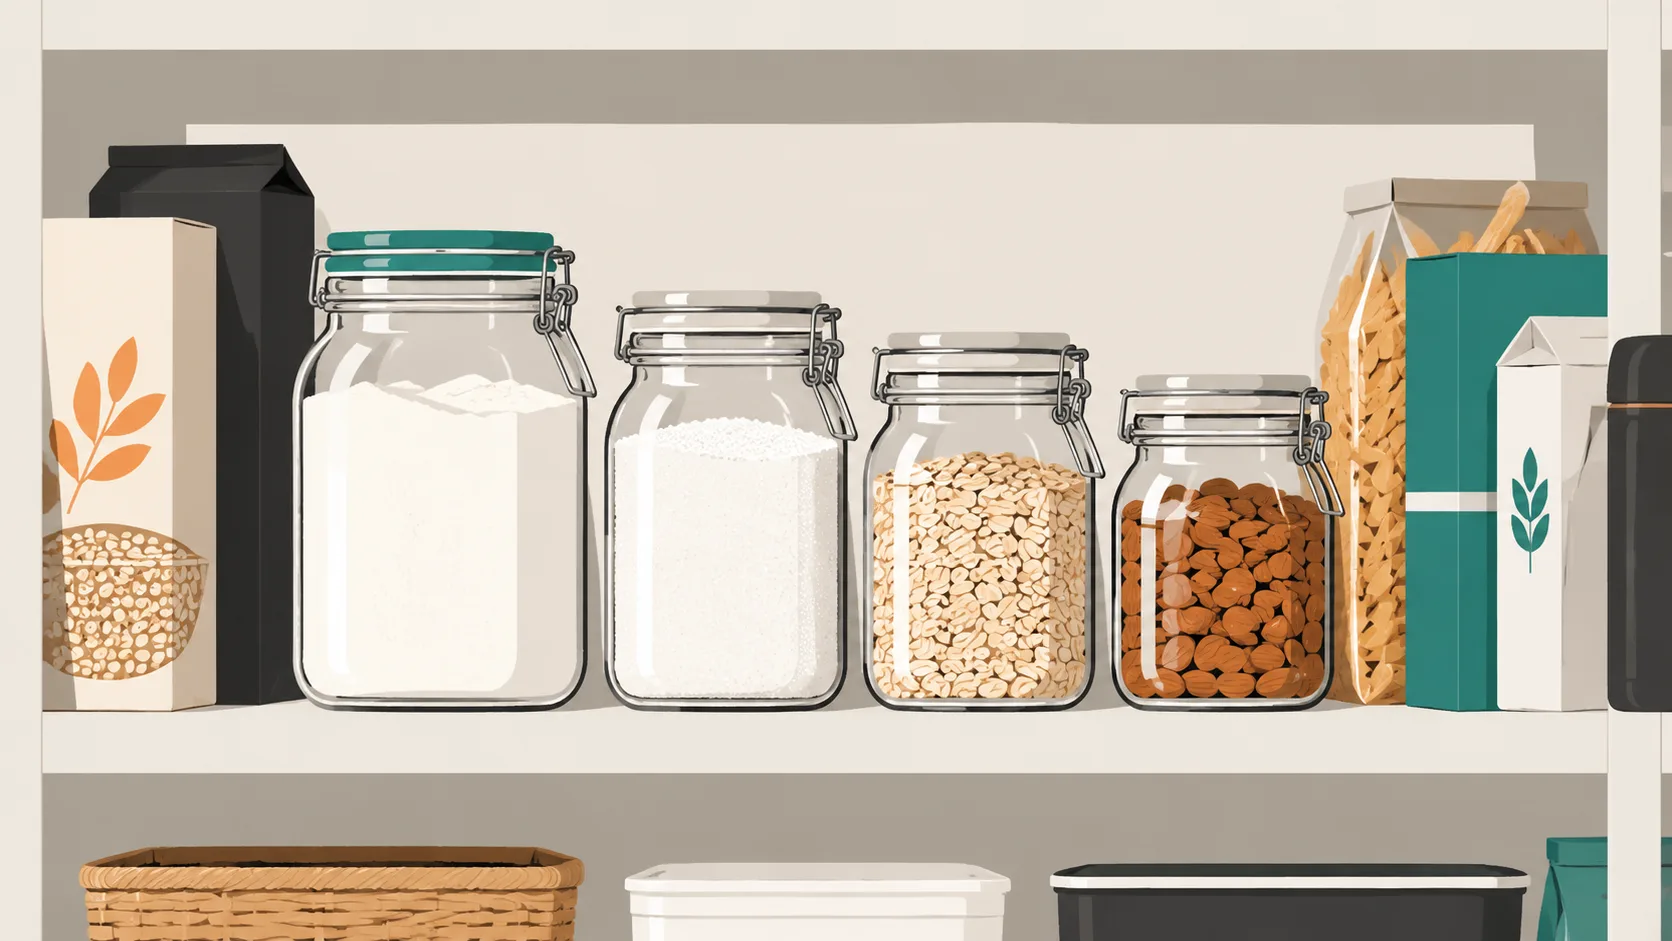
Not everything belongs in glass. Knowing what to jar and what to leave alone keeps your system practical instead of precious. A good rule of thumb is to put dry, shelf-stable items in jars and let the rest live in their original packaging.
Dry Goods and Baking Staples
Mason jars work well for dry staples such as flour, sugar, oats, rice, lentils, dried beans, pasta, and popcorn kernels. For longer-lasting freshness, pair the jar with a storage lid designed to create an airtight seal and keep the container clean and dry.
Spices and Seasonings
Spice jars, either half-pint or 4-oz sizes, line up beautifully on a small tray or tiered rack so you can scan the whole collection without pulling jars out one by one. Sealed storage jars can also help keep strong spice aromas contained better than open bags or loosely closed packaging. A quick label on the lid top helps too, since you often look down at spices from above.
Snacks and Extras
Trail mix, pretzels, dried fruit, and granola all do well in pint or quart jars. Stackable mason jar rack caddies, such as the 12-jar stackable holders commonly sold on Amazon, let you layer jars vertically and reclaim counter or shelf space. Items that do NOT suit mason jars include cooking oils (better in their original bottles away from light), honey (too viscous to pour cleanly), and anything with a short open shelf life like fresh bread or cut produce.
Takeaway: Jar the dry stuff. Leave oils, honey, and perishables where they are.
Labeling Your Jars So the System Sticks
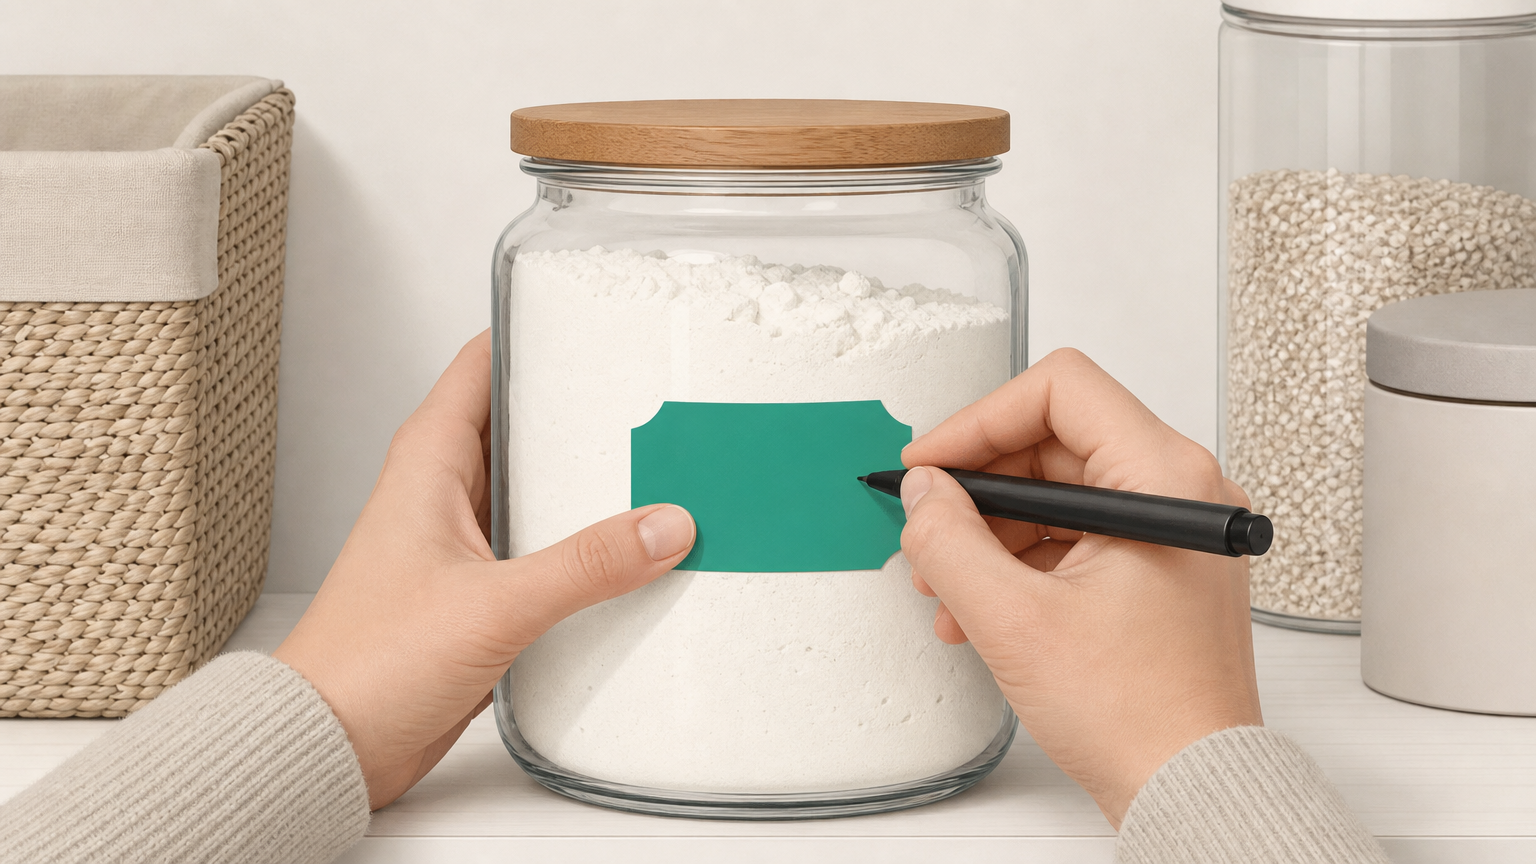
A pantry without labels works fine for one person who never forgets anything. For everyone else, labels are the difference between a system that lasts and one that unravels by month three. Keep it simple.
Handwritten vs. Printed Labels
Chalkboard labels are reusable and wipe clean when you swap contents, which is great if you rotate ingredients seasonally. Printed labels give a more uniform, tidy look but take more setup time upfront. Handwritten labels on plain white stickers are the middle ground, and honestly the fastest way to get started.
What Information to Include
At minimum, write the item name. For baking ingredients, add the “best by” date transferred from the original package so you do not have to guess. Applying labels at the same height on every jar creates visual consistency that makes scanning a shelf much faster. Taste of Home notes that labeling is optional but “certainly packs a beautiful punch” and makes it simple to differentiate similar-looking items. For households with multiple people using the pantry, clear labels also reduce the chance of someone reaching for salt and grabbing sugar.
Takeaway: Name plus date, same spot on every jar. That is the whole rule.
Keeping the System Maintained Long-Term
The setup is the easy part. Keeping the pantry organized six months later is where most systems fall apart. A light routine solves it.
A Simple Restocking Routine
Refill jars directly from bulk bags stored in a lower cabinet or a single designated “overflow” area. This keeps the visible pantry clean without wasting what you already bought. Rotate stock using the first-in, first-out method used in food service: pour older product into a bowl, add new stock to the empty jar first, then top with the older product. The same rotation trick works for nearly every dry ingredient on the shelf.
When to Wash and Rotate Jars
Wash jars before refilling them, following the manufacturer’s care instructions. Many glass storage jars are dishwasher-safe, while some metal or wooden storage lids should be hand-washed. Do a quick five-minute weekly scan: any jars nearly empty? Any lids not sealing? Because glass is transparent, a glance at the pantry is usually enough to build your shopping list without opening a single jar.
Takeaway: Five minutes a week keeps the system honest.
Troubleshooting Common Mason Jar Pantry Problems
Even the best setup runs into snags. Here are the most common ones and quick fixes.
Jars That Won’t Seal Properly
Symptom: Lid feels loose or pops off easily. Cause: The rim may have a chip or the storage lid gasket is worn out. Fix: Inspect the rim under good light and replace the lid or gasket. Keep spare lids on hand so a bad seal never sidelines a jar.
Running Out of Shelf Space
Symptom: Pantry shelves are too shallow for a full row of quart jars. Cause: Standard pantry shelves average 12 to 16 inches deep. Fix: Use a tiered riser or switch to pint jars for the front row so the back row of quarts is still visible.
Dealing With Breakage
Symptom: A jar breaks when knocked off a shelf. Cause: Glass is inherently fragile. Fix: Line lower shelves with a thin silicone mat to cushion jars and keep them from sliding. If moisture or clumping appears inside a jar of flour or brown sugar, the cause is usually filling while ingredients were not fully cool or dry, so always let warm items cool completely before sealing. If young children access low shelves, swap those positions to BPA-free plastic containers and reserve mason jars for adult-height shelves.
Takeaway: Most jar problems trace back to a worn gasket, a shallow shelf, or a warm fill.
Frequently Asked Questions
What size mason jars are best for pantry organization?
Most kitchens do best with a mix. Quart jars for flour, sugar, rice, and pasta; pint jars for nuts and seeds; half-pint jars for spices; half-gallon jars for bulk items like popcorn kernels or oats.
Can you store flour and sugar in mason jars long-term?
They can work well for flour and sugar when paired with a clean, properly fitting storage lid. How long the contents stay at their best depends on the ingredient, storage conditions, and the quality of the seal. Add the “best by” date to the label so you can rotate stock without guessing when the batch was opened.
Do mason jars really keep food fresher than plastic containers?
Glass is non-porous and does not absorb odors, but freshness depends on the lid and seal you use. Storage lids designed to create an airtight seal can help protect dry goods from moisture and air. Plastic containers can hold onto smells and stains over time, especially with strong spices.
How many mason jars do I need to organize a full pantry?
A typical family pantry needs around 20 to 40 jars: roughly 8 to 12 quart jars, 8 to 12 pint jars, and 10 to 20 half-pint jars for spices. Start small and add jars as you sort through what you actually store.
What is the best way to label mason jars for the pantry?
Use waterproof labels placed at the same height on every jar. Include the item name and the “best by” date for baking ingredients. Chalkboard labels work well if you rotate contents; printed labels look uniform but take longer to prep.
Are mason jars safe to use for storing dry goods?
Food-storage mason jars are a practical option for dry pantry staples when used according to the manufacturer’s directions. Choose jars intended for food storage, inspect glass for chips or cracks, and use a compatible storage lid for the type of food you are storing.
How do I stop moisture from getting into my pantry mason jars?
Always let warm ingredients cool completely before sealing, and check that lids and gaskets are in good shape. For sticky items like brown sugar, add a small terracotta disc to hold moisture steady inside the jar.
What should I not store in mason jars in the pantry?
Skip cooking oils (they degrade with light exposure), honey (hard to pour from a wide jar), fresh bread, cut produce, and anything with a short open shelf life. These items do better in their original packaging or the fridge.
Ready to Start Small?
You do not need to redo the whole pantry in one weekend. Pick one shelf, gather half a dozen jars, and work through the four steps above. Once you see how much calmer that single shelf feels, the rest of the pantry gets easier to tackle. For more room-by-room ideas and printable checklists, browse the rest of Stash Savvy whenever you are ready for the next project.